11
FIGURE 10
A
OPERATION
(continued)
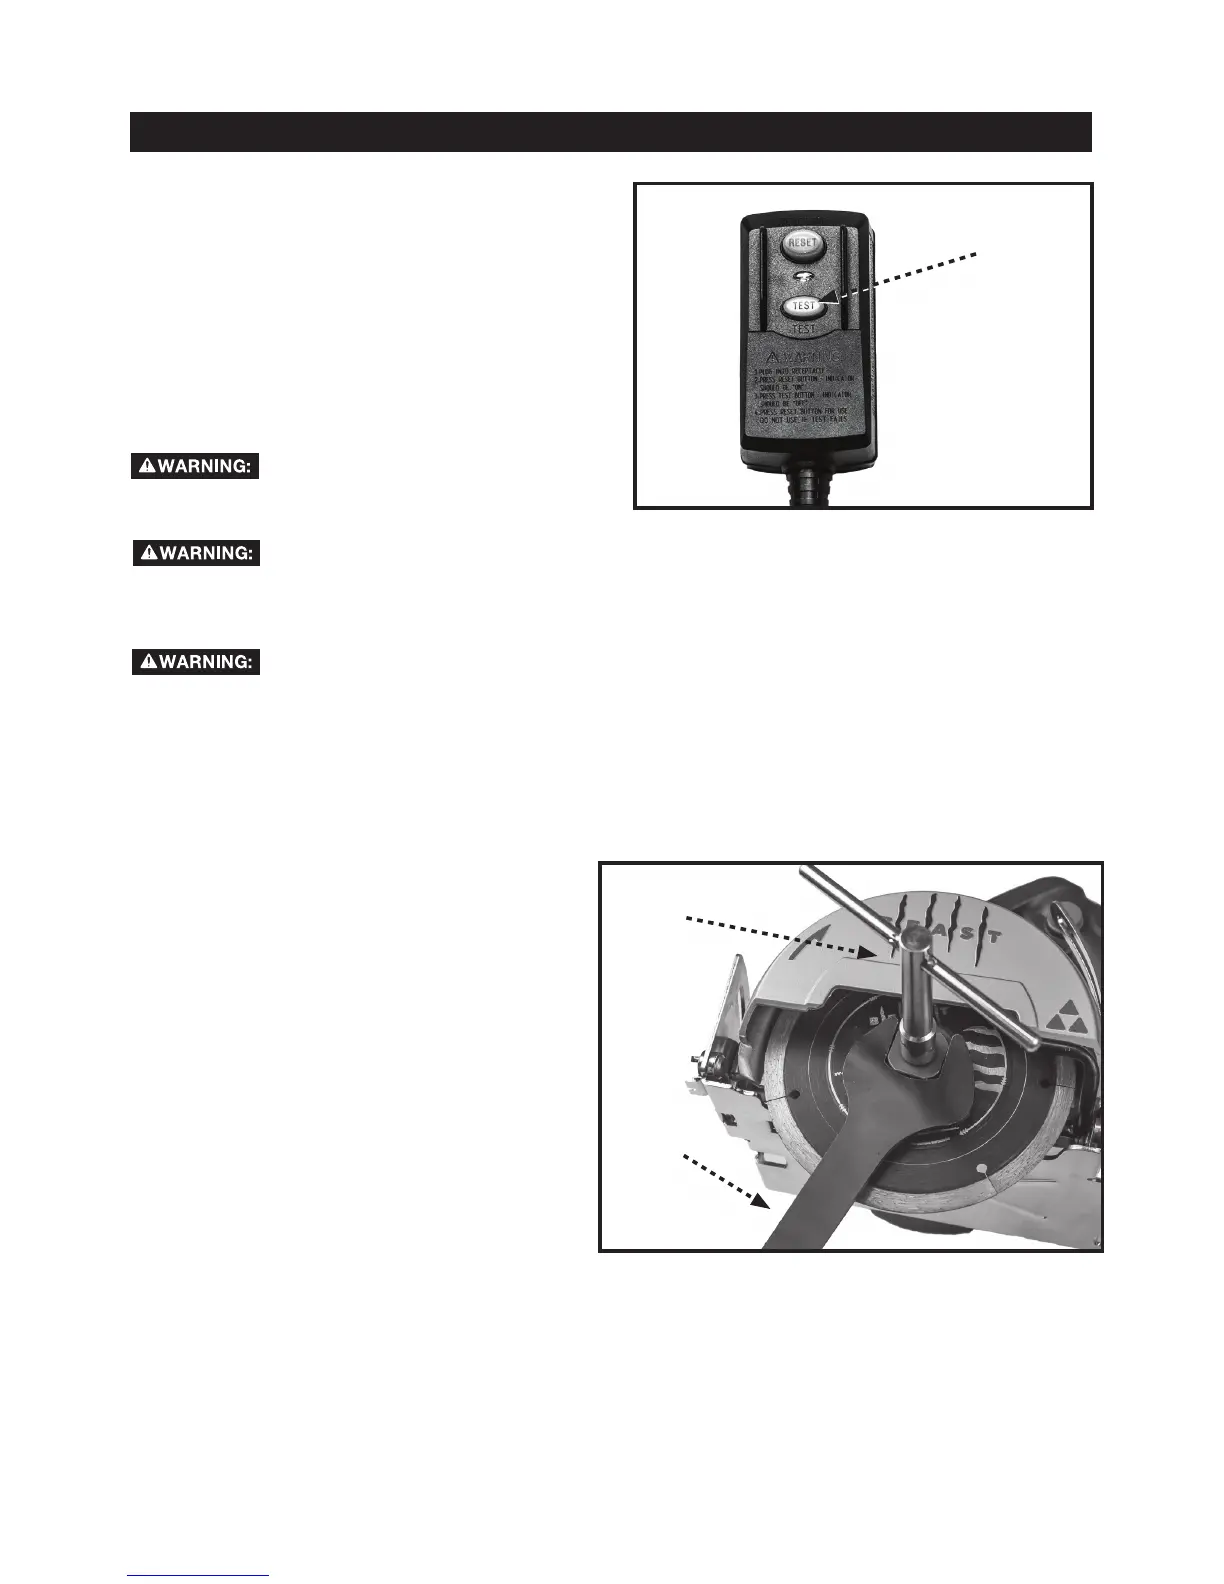
This saw is equipped with a safety feature that prevents
the power plug from short-circuiting in case it gets wet.
Whenever the saw’s power plug is disconnected from
the power source, the safety feature will trip the internal
breaker. This is normal.
To start the saw after it has been disconnected from
the power source, depress the red test button (A) so
that it locks in place.
RE-SETTING THE SHORT-
CIRCUIT SAFETY BUTTON
Note: The arbor screw that secures the blade to
the saw has LEFT-HANDED THREADS. Rotate the
arbor screw clockwise to remove it and counter-
clockwise to tighten it.
1. Using the supplied flat blade wrench (B3), hold
the outer flange in place. With the supplied
T- wrench (B4), loosen and remove the bl de
screw by rotating it clockwise.
2. Remove the outer flange.
3. Remove old blade and place the new blade on
the spindle.
NOTE: If using a blade with a 20mm bore, be
sure to insert the supplied 20mm to 5/8- nch bore
adapter (B8) into the blade before mounting the
blade onto the spindle.
4. Replace the outer flange on the spindle
Use the flat blade wrench and T-wrench, as in
Step 1 to replace and tighten the arbor screw.
Remember to rotate the screw counter-clockwise
to tighten
CHANGING THE SAW BLADE
Never use this tool without the Ground Fault Current
Interrupter (GFCI) provided with this tool.
Always test and verify that the GFCI functions correctly
before each use as described above “Re-Setting the
Short Circuit Safety Button”.
Replacement of the plug or the power supply cord
should be completed by the manufacturer or authorized
service center.
FIGURE 11
B4
B3
a
i
10
12
For your safety, turn off the switch and unplug saw from the power source before performing any
maintenance or cleaning. If thepower cord becomes damaged in anyway, have it replaced imme
diately with approved cord by the manufacturer or its agent. When cleaning the saw, do not expose the motor to
direct water. If excessive water is introduced into the motor, electric shock and/or damage to the motor can occur.
Do not service the electric motor’s internal components yourself. Contact an authorized service center.
Never use water or any other chemical liquids to clean the electrical parts of the machine.
Use a soft cloth to clean off the water and dust from the machine.
Keep the ventilation slots of the motor clean to prevent overheating.
Periodic maintenance of your tile saw allows for long life and trouble-free operation. The cutting residue that the
saw generates could be considerable. A cleaning, lubrication, and maintenance schedule should be maintained.
As a common sense and preventative maintenance practice after each use, follow these recommended steps:
s Clean the entire saw with fresh water after each use.
s Inspect the diamond cutting wheel for its overall integrity. Check the rim for wear or damage
and replace cutting wheel if necessary.
MAKING CUTS
MAINTENANCE
MAKING BEVEL CUTS
The saw enables you to make beveled cuts from 0 to
45-degrees.
To make a bevel cut:
1. Ensure the saw is un-plugged from the power
source.
2. Loosen the bevel lock (12) .
3. Tilt the saw head to the side until the pointer on the
saw head aligns with the desired bevel as shown on
the bevel indicator.
4. Tighten the bevel lock.
5. The cut line indicator (B) can be used for alignment.
ADJUSTING BLADE HEIGHT
You can adjust the height of the depth of cut to
accommodate materials of varying thickness, up to 2
3/8 inches at 90 degrees.
1. Ensure the saw is un-plugged from the power
source.
2. Loosen the blade height lock wing screw (6).
3. Tilt the saw head forward to increase the blade
height (Note: This will reduce the depth of cut.)
4. Once the saw head is re-positioned, re-tighten the
blade height wing screw.
12
B
6
FIGURE 13
FIGURE 12
11
 Loading...