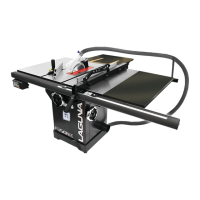
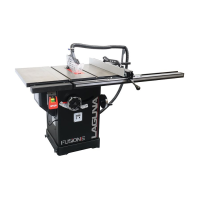
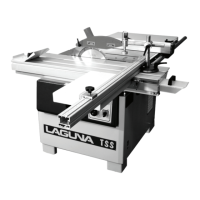
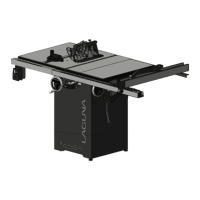
ASSEMBLING THE TABLE SAW
INSTALL THE TABLE EXTENSION WINGS
Attach
the
table
extension
wings
to
the
main
table
using 8x12
mm
hex
head
bolts
(4
per
wing),
and
8
loc
k
w
asher
s.
Align
the
table
extensions
with
the
table
and
loosely
attach
the
bolts
.
P
lace
a
s
traightedge
on
the
table
and
extension
as
sho
wn
to
align
the
extension
table
and
then
tighten
do
wn
the
bolts
.
Note:
Be sure
tha
t
the
ta
ble
e
xtension
wings
are flush with front edge.
MOUNT FENCE STORAGE BRACKETS
The miter gauge and arbor wrench storage
brackets are already installed on the saw.
Install the fence storage brackets on the right
side of the saw as shown in using two Phillips
head screws and flat washers.
FRONT RAIL INSTALATION
Note:
The 36” front rail has 2 pieces of
Tubes & a join pin but 52” Rail is single
piece.
1.
Loosely
thread
the
six
square
head
bolts
t
o
the
fr
ont
of
the
table.
2.
Do not tighten down the nuts. Leave the
square heads of the bolt protruding from
the table
3.
From the left side of the saw, slide the
upper slot of the left (shorter) front rail
onto the square head bolts
4. Set the left end of the rail flush to the outside
edge of the extension wing.


 To Next Page