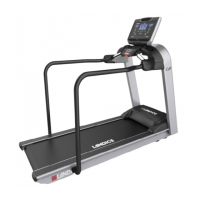
2
Assembly Instructions
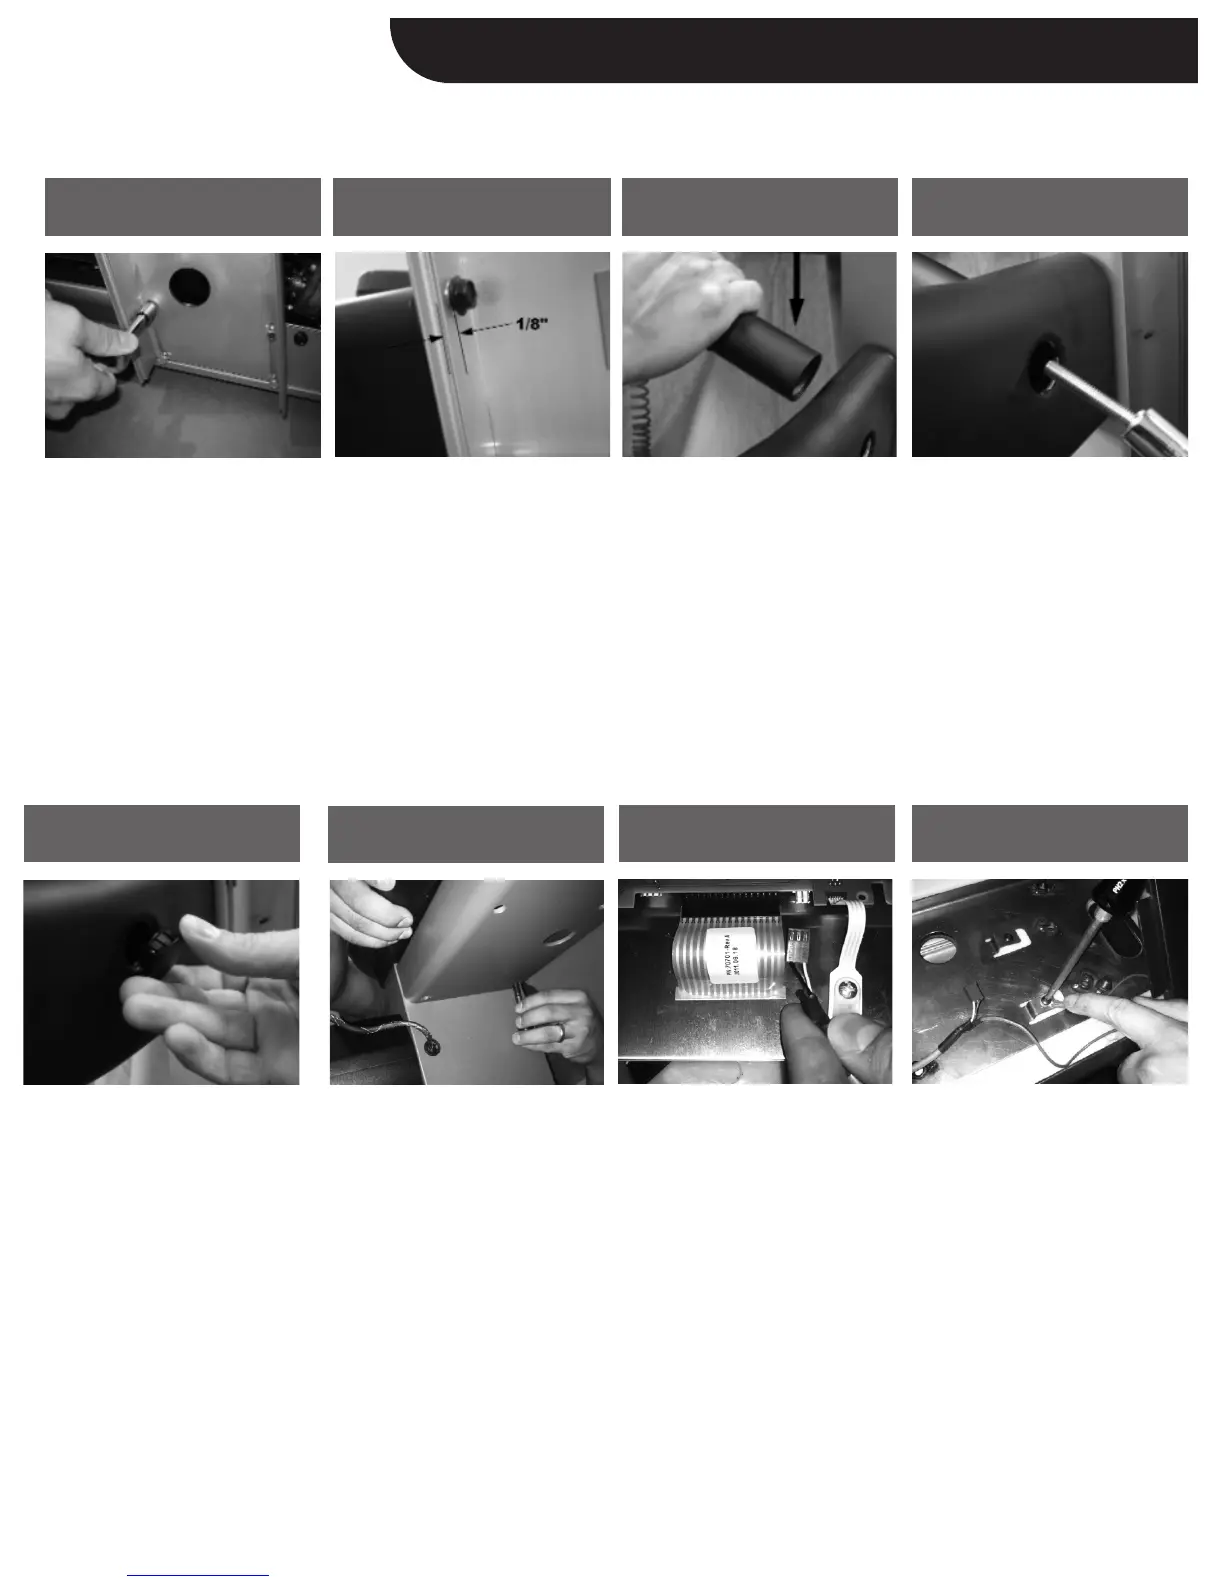
• Slide the upright down onto the
8-side frame bolts.
• Tighten bolts with a 7/16”
extended socket.
• Remove the handrail mounting
bolts that have been threaded
into the rails for shipping.
• Attach both handrails by first
hand-starting the bolts through
the upright and then using a 1/2”
socket. Leave about 1/8”
of slack for now.
(DO NOT TIGHTEN FLUSH TO
SURFACE).
• After mounting both handrails,
gently lower the curved crossbar
into position between them.
• Each end of the crossbar
should cover the two smaller
access holes that are cut into
the handrails.
• For optional contact heart rate
bar, leave connection harness
hanging for now.
• Using an extended 1/2” socket,
carefully guide the 2 inch bolt
with lock washer into the outer
side access hole.
• Once the bolt reaches the
crossbar, tighten it.
• Repeat this step with the other
handrail.
• Remove “POD” assembly from
its box.
• Carefully place it on top of the
uprights and cross bracket.
SUPPORT IT AT ALL TIMES. IT
IS NOT SECURE UNTIL IT IS
BOLTED DOWN.
• Remove bolts that are taped to
the box and bolt them from the
bottom up (see picture above)
using a ½” socket.
STEP 4:
Secure upright to frame
STEP 2:
Cut the box off the pallet
STEP 6:
Place crossbar
STEP 7:
Secure crossbar
STEP 9:
Mount the POD
• Carefully insert control panel
into the bottom edge of the POD
exposing back connections.
• Feed the contact heart rate
harness through the access hole
on the inside of the left upright
(insert strain relief provided).
Feed harness up into the
control panel.
• Pull back the control panel and
connect harness to white 3-pin
connector along the bottom edge
on the back of the control panel.
STEP 10:
Connect contact bar
• Loosen the Philips head screw
nearest the ground harness
from the POD mount plate (see
picture).
• Insert ground eyelet and secure
the screw to mount plate.
• SOME CONTACT BARS DO
NOT USE A GROUND WIRE
STEP 11: Ground the contact
bar
STEP 5: Install hand rails
(Med Rails: See Appendix A)
• Press the dome plugs into the
large access holes on the
outside of the handrails.
• Finish tightening the handrail
bolts from STEP 5.
• NOTE: Med Rails see
Appendix A.
STEP 8:
Secure hand rail
*OPTIONAL Contact Heart Rate Assembly
Skip to Step 12 if treadmill has standard crossbar