14
LANDMANN
S
9/10
9/10
S
4a
3a
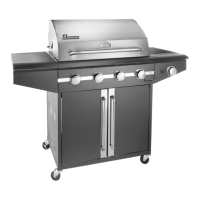
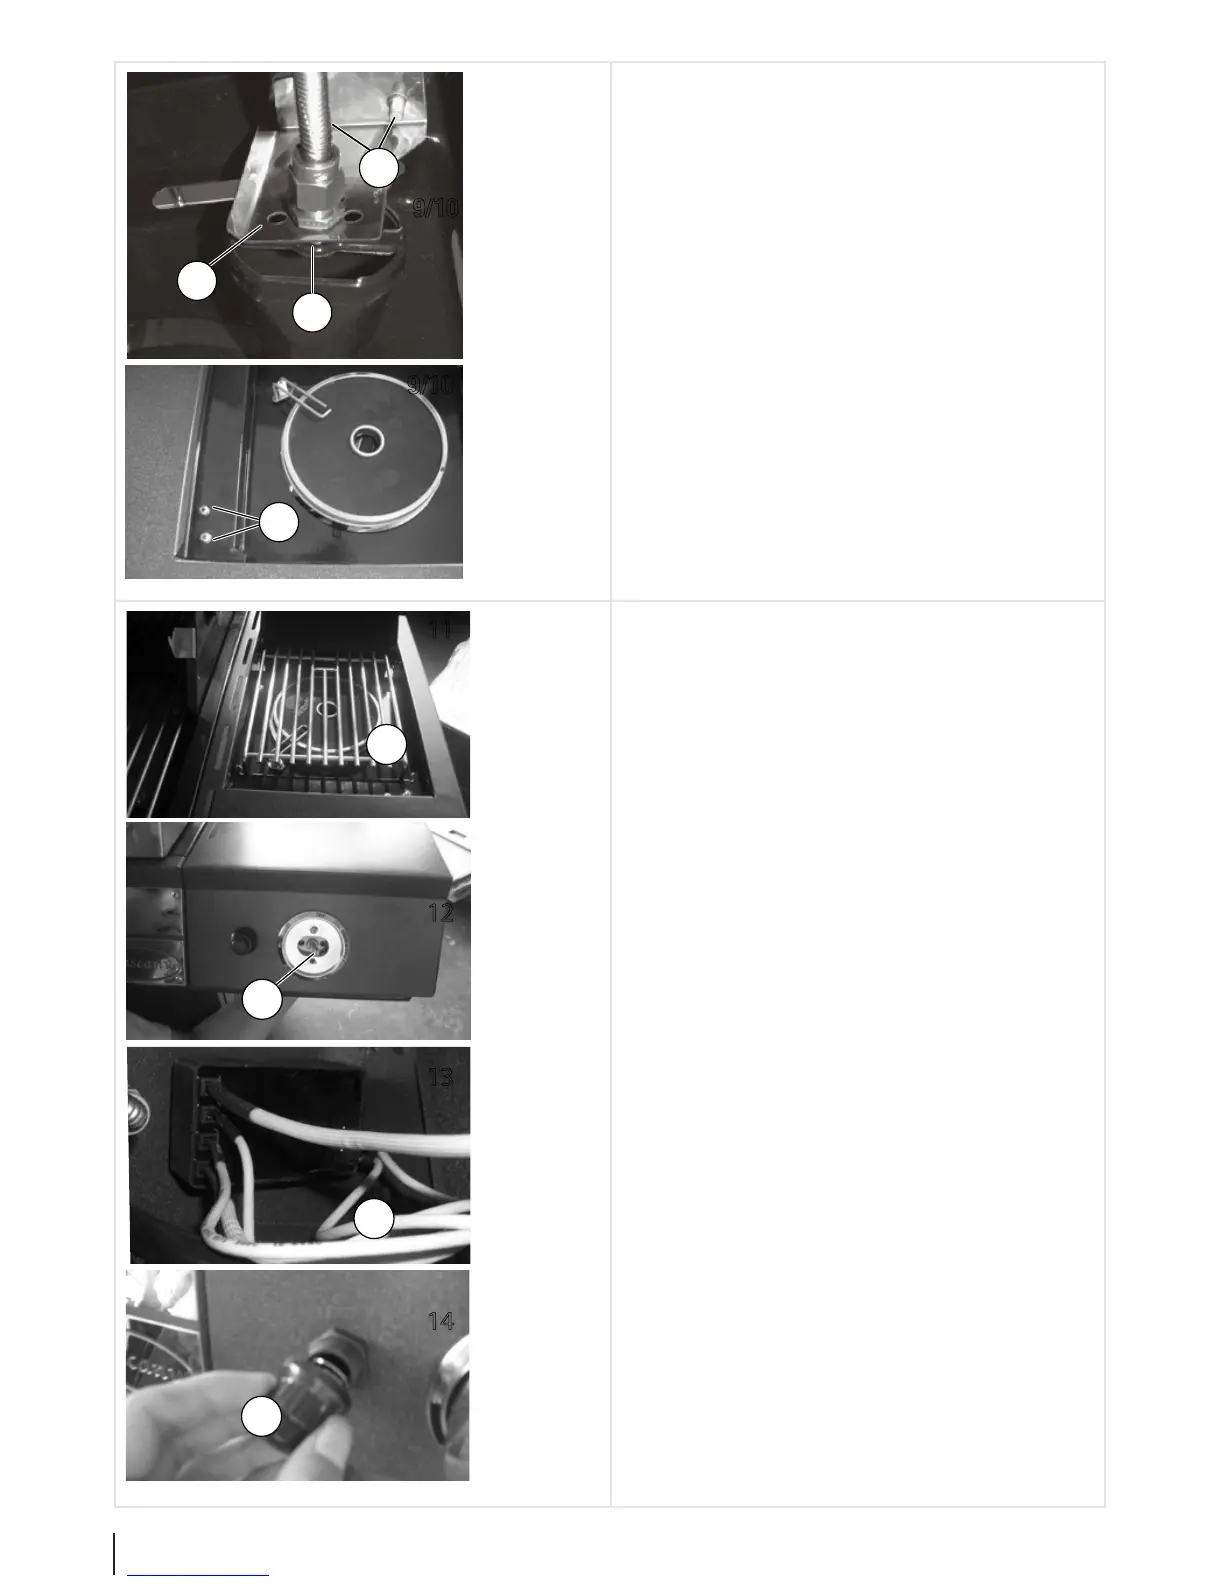
9. Position the bracket for the nozzle adjusting element
(3a) in front of the burner opening (4a) as shown in
the illustration and secure the bracket from above us-
ing two screws (S).
10. Check to make sure the nozzle adjusting element (3a)
is located directly in front of the burner opening (4a).
6
3
12
11
13
14
8
9
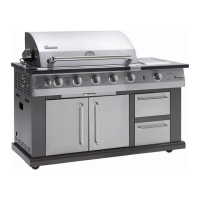
11. Ax the side burner support (6) to the side burner.
12. Insert the ame regulator knob (7, not illustrated)
onto the adjusting element (3).
Note here that the position of the knob is determined by
the attened side of the adjusting element pin (3).
13. Insert the four ignition hoses (8) into the connections
on the ignition button (9, any position)
14. Unscrew the cap for the ignition button (9), insert an
AA battery (negative pole rst) and then carefully re-
place the cap.
 Loading...