2.BEFORE USING THE TIME STAMP
2
1
Package Contents
Unpack the Time Recorder and check its contents to ensure that the Time
Recorder unit and all accessories as shown below are included.
• Keys
................2 pcs. ................1 pcs.
.......4 pcs.
....1 sheet.
• Ribbon Cassette
• Wall-Mount Fittings
Screw
Template
• The ribbon casette is
installed at the factory.
<Back view>
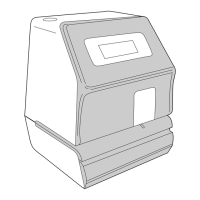
Location of Name
<Front view>
<Cover off>
JAN 31 12:00
JAN 31 12:00
JAN 31 12:00
15mm
30mm
<Print position adjuster>
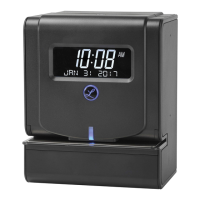
Display
Ribbon cassette
Print head
Control buttons
• User's Manual
Print position from the
card edge is adjustable
by pressing and sliding
the print position
button located on the
right outside bottom of
the Time Recorder.
Maximum distance
from edge of form to
print is approximately
1 3/16"(30mm).
2
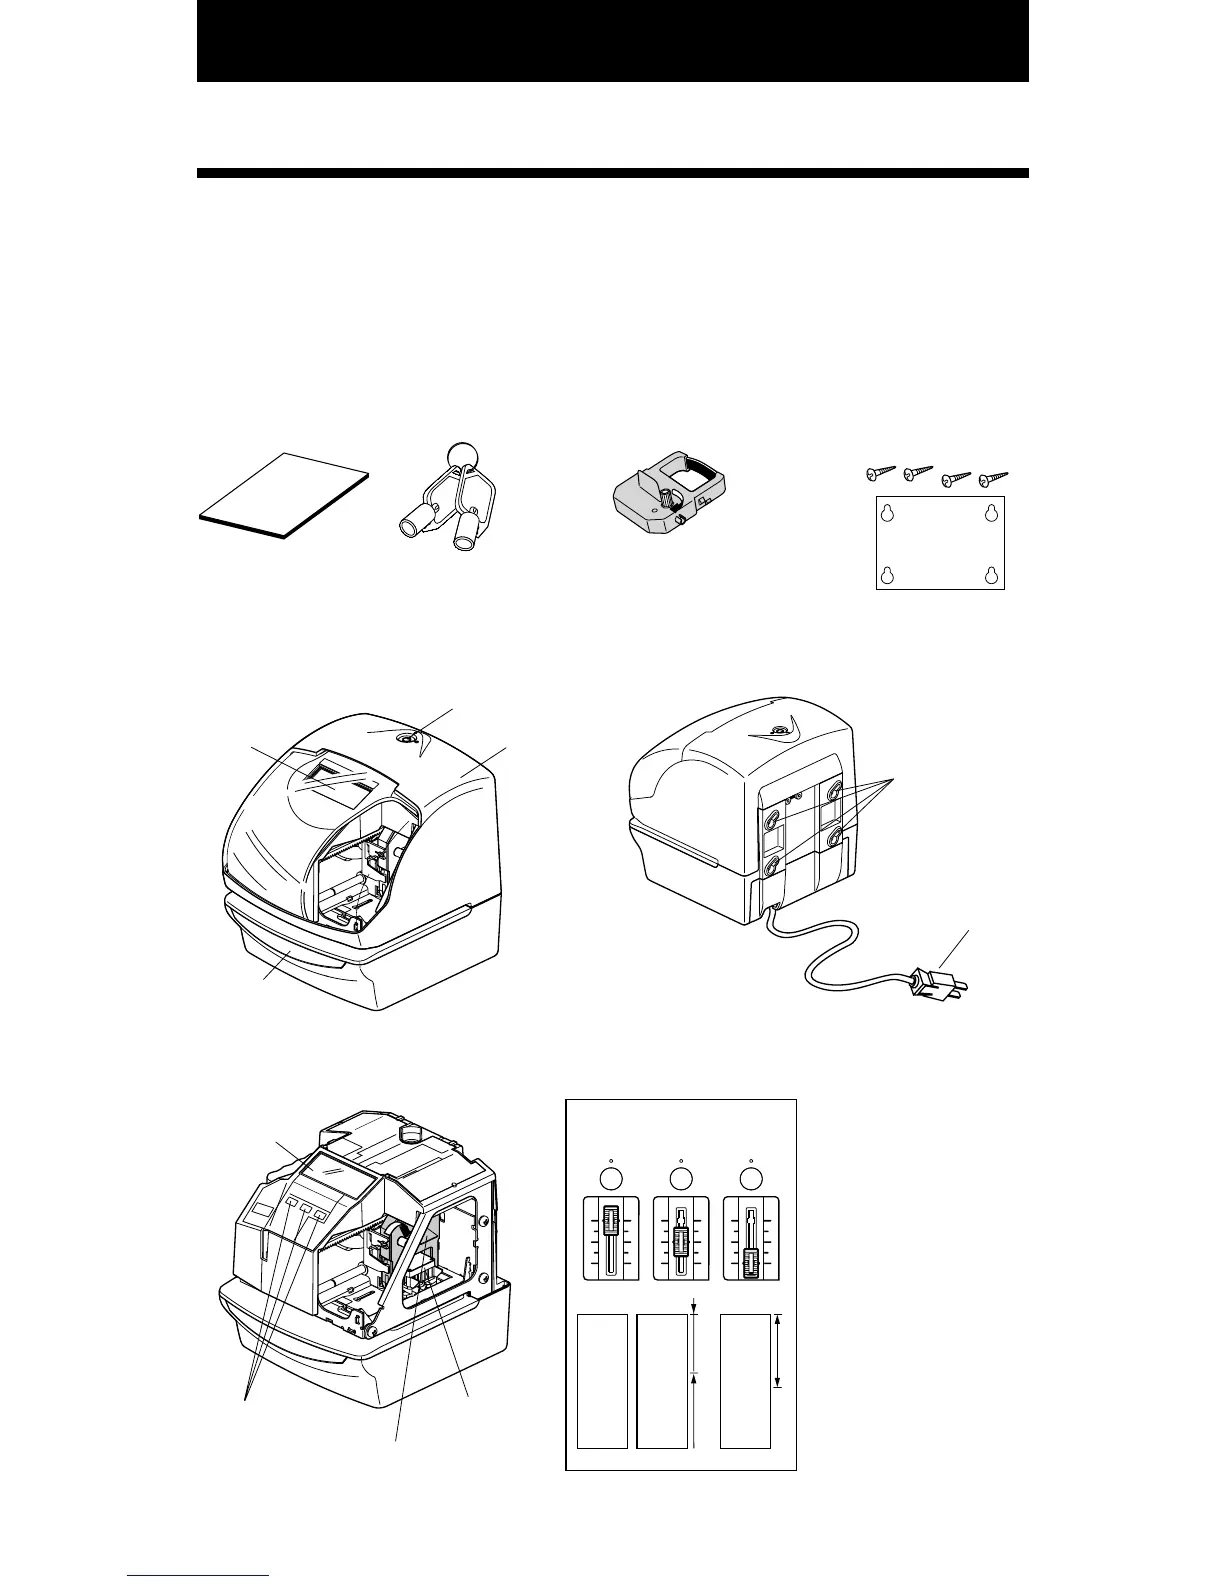
Attached Accessories
Print Position on Time Card
Wall-mount holes
Cover
Display
Push bar
Key hole
AC power plug
(115VAC model)