30
AIR & FUEL SYSTEM
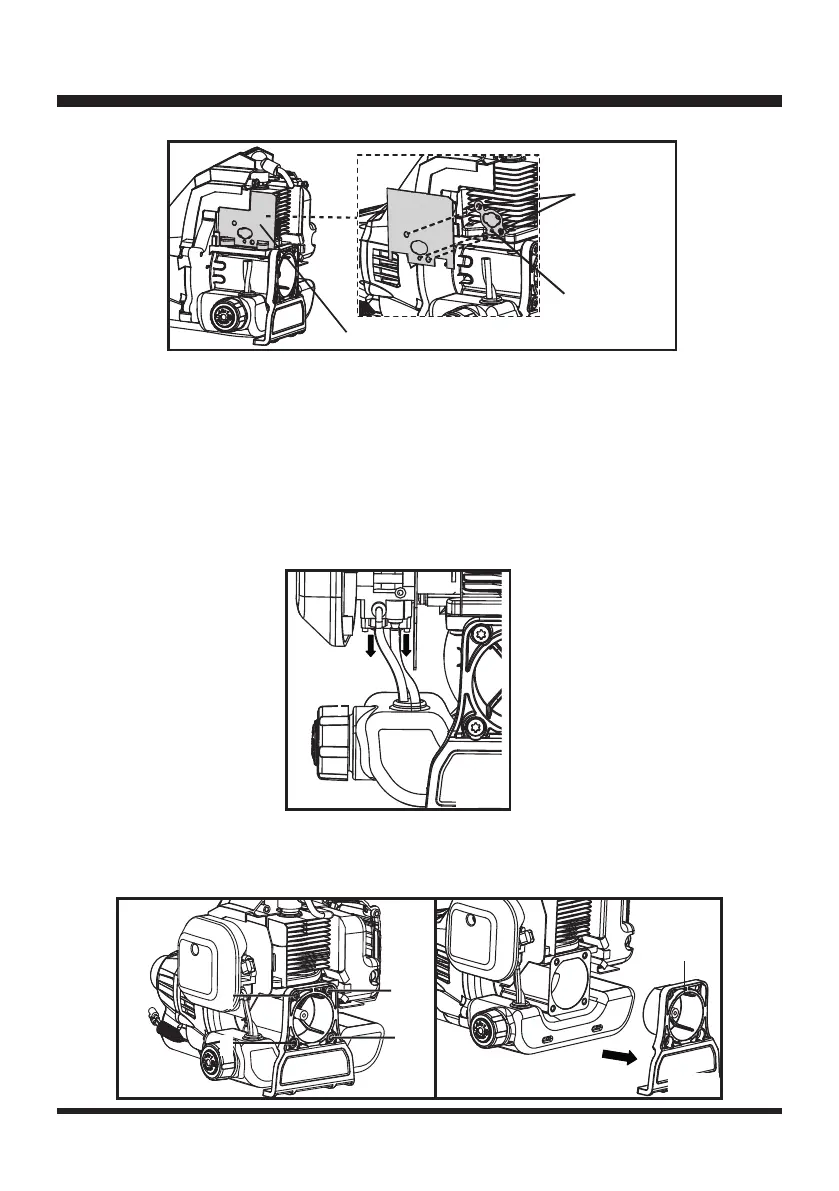
■ Replace with a new carburetor mount and gasket. Make sure to align the holes on the gasket with
the 2 threaded holes and the negative pressure hole on the cylinder (Fig. 44).
NOTE:
Make sure a new carburetor mount and gasket are replaced in the exact order in which they
were removed.
Fuel Tank Replacement
■ Remove the rear engine cover referring to step 5 in Ignition System section.
■ Unplug the 2 fuel tubes (Fig. 45).
■ Remove the 4 screws on the crankcase cover by turning the quincunx wrench counter-clockwise to
remove the crankcase cover (Fig. 46-47). Make sure the 4 rubber pads in the right place as shown
(Fig. 48).
Fig. 46
Fig. 44
Fig. 45
Fig. 47
Threaded
Holes
Negative
Pressure Hole
1
2
3
4
Gasket
Crankcase
Cover
 Loading...