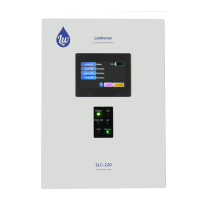
4.2 Calibration Procedure for OPTIONAL 4-20mA OUTPUT and
BAR-GRAPH
This procedure should be implemented after calibration of PS-220 main
board.
All adjustments are performed on the accessory board with open enclosure.
The accessory board is mounted on the backside of the front panel.
WHEN VOLTAGE IS MEASURED, THE NEGATIVE PROBE OF
VOLTMETER IS CONNECTED TO TP10 (GND).
4.2.1 Sensor in the Air
• Measure voltage at TP9.
Using potentiometer R4 set this voltage to a value between 3.47 and 3.50 V.
• Turn potentiometer R9 two turns clockwise.
• Measure DC current between points 1 and 2 of TB4. Using potentiometer
R15 set the current to be 20.0-0.1 mA.
• Slowly turn potentiometer R9 counter-clockwise until the current begins to
decrease, and then set it back to 20.0-0.1 mA.
4.2.2 Sensor in Water (no oil)
Using potentiometer R11 set the current between points 1 and 2
of TB4 to 4.0
+0.1
mA.
4.2.3 Adjustment Loop
Repeat adjustment by R15 (when Sensor in air) in order to attain 20.0-0.1
mA value, and then by R11 (when Sensor in water) for 4.0
+0.1
mA value.
Repeat this loop until both values do not require further adjustment.
4.2.4 For Bar-Graph Option - Sensor in Maximum Oil Layer
OIL light should be on.
Using potentiometer R6 set the Bar-Graph display to make the lower 19
LEDs turn on, and then until all 20 LEDs just turn on.