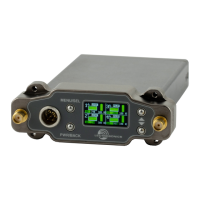
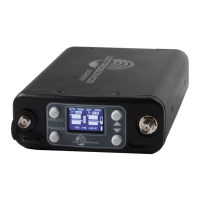
DSR4
LECTROSONICS, INC.
22
IR Reector - Purpose
and Installation
Some users, especally those who plan to use the DSR4
in a rack or closely-packed bag, may find syncing
difficult due to the close spacing near the IR window.
For these users, we include an IR Reflector (P/N 27372)
and Adhesive Strip (P/N 27373). Once in place, this
reflector allows IR sync to happen from the front of the
control panel.
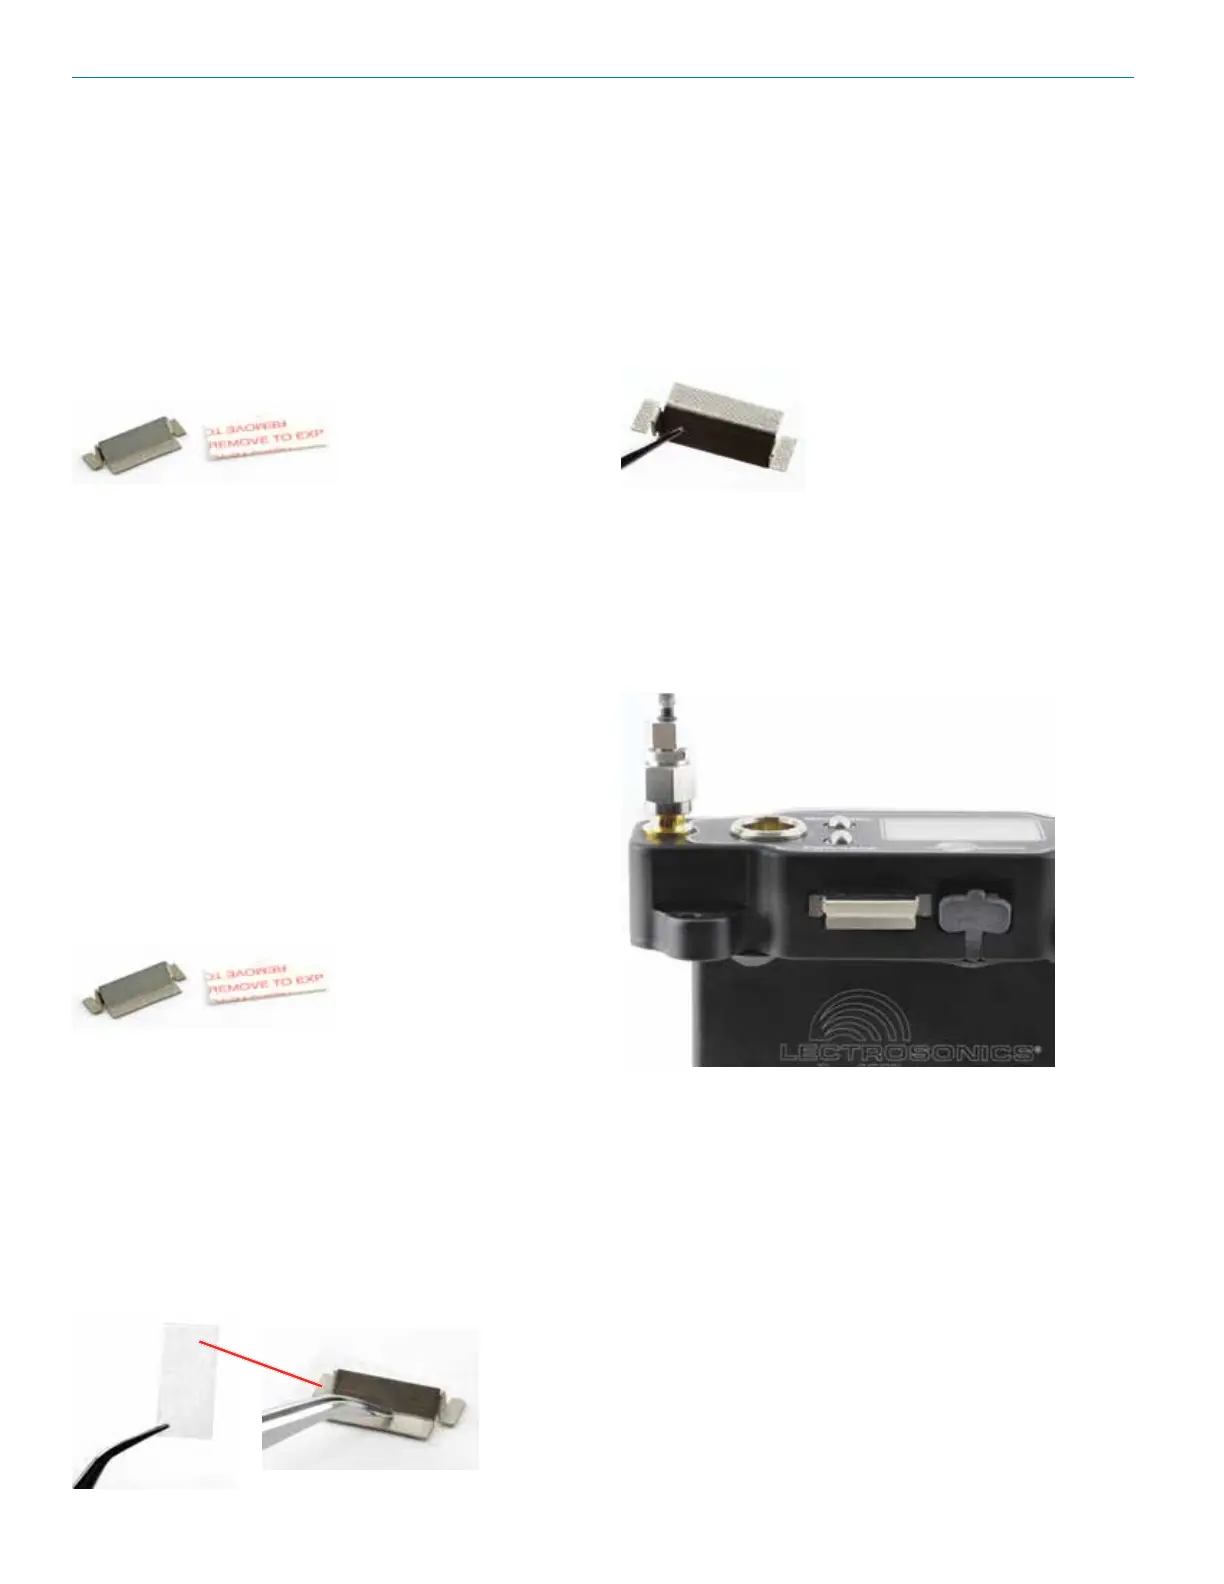
Materials Needed:
IR Reector
Adhesive strip
Alcohol pad or alcohol and a cotton swab
Tweezers (or needle nose pliers)
Instructions:
1) Holding the reector with tweezers (or pliers),
swab the reector with the alcohol pad or alcohol
on a cotton swab. Lay reector with the at side,
as shown. The at side is where adhesive will be
placed. The oil from your ngers will hamper adhe-
sion, which is why it is important not to touch the
reector.
2) Swab the area just below and directly on either
side of the IR window on the DSR with the alcohol
pad. This is where the reector will be placed.
3) Carefully remove the paper backing from the
adhesive strip. Using your tweezers/pliers, place it
sticky side up on a at surface. Pick up the reec-
tor and lay it on top of the adhesive strip. Press the
center and end tabs into the adhesive with your
tweezers.
4) Slowly and carefully remove the reector from the
adhesive strip using your tweezers. It will leave the adhe-
sive from the strip behind. Do not be concerned with the
“coverage,” as the reector only needs enough adhesive
to stick to the DSR4.
5) Lay the DSR4 on a at surface with adhesive facing
up, and, using your tweezers, align the bottom edge of
the reector with the bottom of the “IR PORT” engrav-
ing. Press rmly with ngers to adhere the reector to the
DSR4. The bond is strong but can be removed if needed.
You will need another adhesive strip to re-adhere (see
Accessory pages for re-order information).