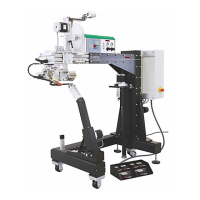
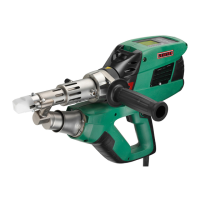
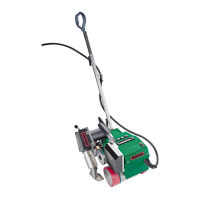
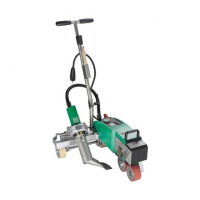
OPERATING Leister FUSION 3
5
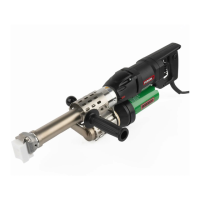
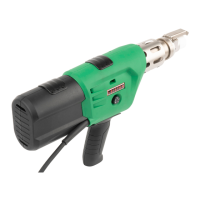
Starting the welding process
• Fit the required welding shoe (5) according to the paragraph "Change of welding
shoe”.
• Welding can begin once the operating temperature has been attained. Operate
the drive on/off switch (4) for this purpose. Operate the tool only when feeding
welding rod.
• Feed welding rod of 3 or 4 mm diameter into the welding rod opening (6) and
allow a small amount plastizised material to escape.
CAUTION! Never feed welding rod into both welding rod openings at the
same time! (see "Starting protection").
• The extrusion rate can be changed using the extrusion rate regulation potentio-
meter (7) dependent on the seam geometry and the choice of material.
• Interrupt material extrusion using the drive on/off switch (4).
• Direct the pre-heating nozzle (14) to the welding zone.
• Pre-warm the welding zone with back and forth movements.
• Position the tool on the prepared welding zone and operate the drive on/off
switch (4).
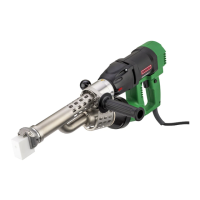
• Carry out test welding and analyse.
• Set temperature with potentiometer (2) or air slide. Adjust extrusion quantity as
required.
• In case of a prolonged welding process, the drive on/off switch (4) can be held in
the active state with the locking device (3).
• The welding rod is pulled in through the welding rod opening (6) automatically
after starting. The welding rod pull - in must not be impeded.
Switching off
• Release the locking device (3) by briefly pressing the drive on/off switch (4) and
then letting go. Remove welding material from the welding shoe in order to avoid
damage on the welding shoe when starting the next time.
• The tool must only be laid down on the tool rest (see pg. 3, "FUSION 3 / Tool rest").
Use a fireproof base. The hot air jet must not be directed towards persons
and objects.
• Adjust the air temperature potentiometer (2) to "0". Let the tool cool down for a few
minutes.
• Switch off at the hot air blower switch (1).
Checking the temperature of the extruded material and the pre-heating
temperature
• The temperatures of the extruded material and the hot air jet are to be checked
at regular intervals when carrying out welding work over an extended period.
• Fast display electronic temperature measuring devices with the appropriate
temperature probes have to be used. The highest temperature in the hot air jet
between the nozzle outlet plane and a depth of 5 mm is to be determined. The
measurement probe must be inserted in the welding shoe in the middle of the
extruded material to measure its temperature.