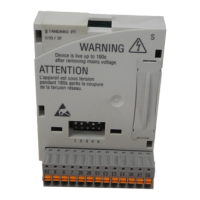
Installation
4-9
L _^ONMObk
For wiring, optical-fibre cables must be prepared:
Optical-fibre cable
preparation
The preparation of the optical-fibre cables does not require special tools.
1. Cut cable to length on a rigid surface, e.g. using a knife.
2. For optical-fibre cables with PUR sheaths (read) remove approx. 20 mm (for cables with PE sheaths, removal is not required).
With unpolished optical-fibre ends, the max. length is reduced by approx. 20 %.
Therefore, polish the cable end o f the optical fibre (grain: P1000).
Installation of
optical-fibre cables
1. Open pinch-screw joint of the plug.
2. Insert the cable end into the optical-fibre connection as far as possible.
3. Tighten the pinch-screw joint.
Installation of the
optical-fibre ring
(Fig. 4-7)
The bending radius should be at least 30 mm, otherwise the max. optical-fibre cable length will be reduced by typically
50 % per bend.
1. Connect the white optical-fibre connector (transmitter, TxD) on the host to the black optical-fibre connector (receiver, RxD) on the next
controller.
2. Connect the white optical-fibre connector on the controller to the black optical-fibre connector on the next controller.
3. Connect the white optical-fibre connector on the last controller to the black optical-fibre connector on the host.
4. If the optical-fibre cables are longer than 40 m, select the high transmission rate. Switch S1 to ON position. This provides a maximum
cable length of 66 m (with a damping of 150 dB/km).
Note!
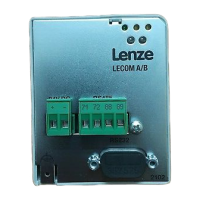
Further information on LECOM-LI can be obtained from the Operating Instructions LECOM-LI (see
chapter 8.1.4).
Buy: www.ValinOnline.com | Phone 844-385-3099 | Email: CustomerService@valin.com