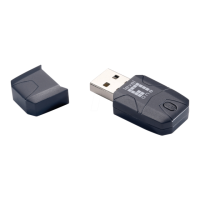
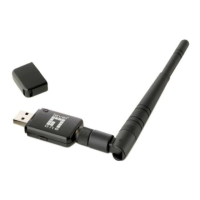
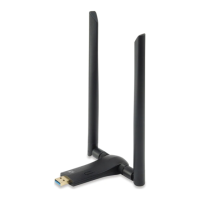
WPS
Wi-Fi Protected Setup (WPS) is based on push-button or PIN (Personal Identification Number) entry
authentication to provide strong WPA/WPA2 encryption keys to client devices. Users can push a
button on the access point and the client device to exchange the encryption key. With a PIN, users
can enter a code generated by the client device to connect to the network.
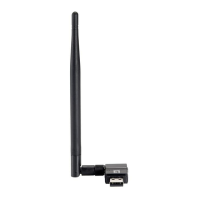
WPS Setup - PBC (Push-button Configuration)
1. Push the WPS button on your wireless access point or start WPS standby mode as instructed
by the wireless access point‘s user manual.
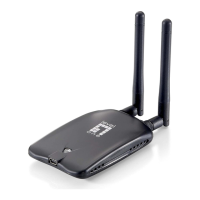
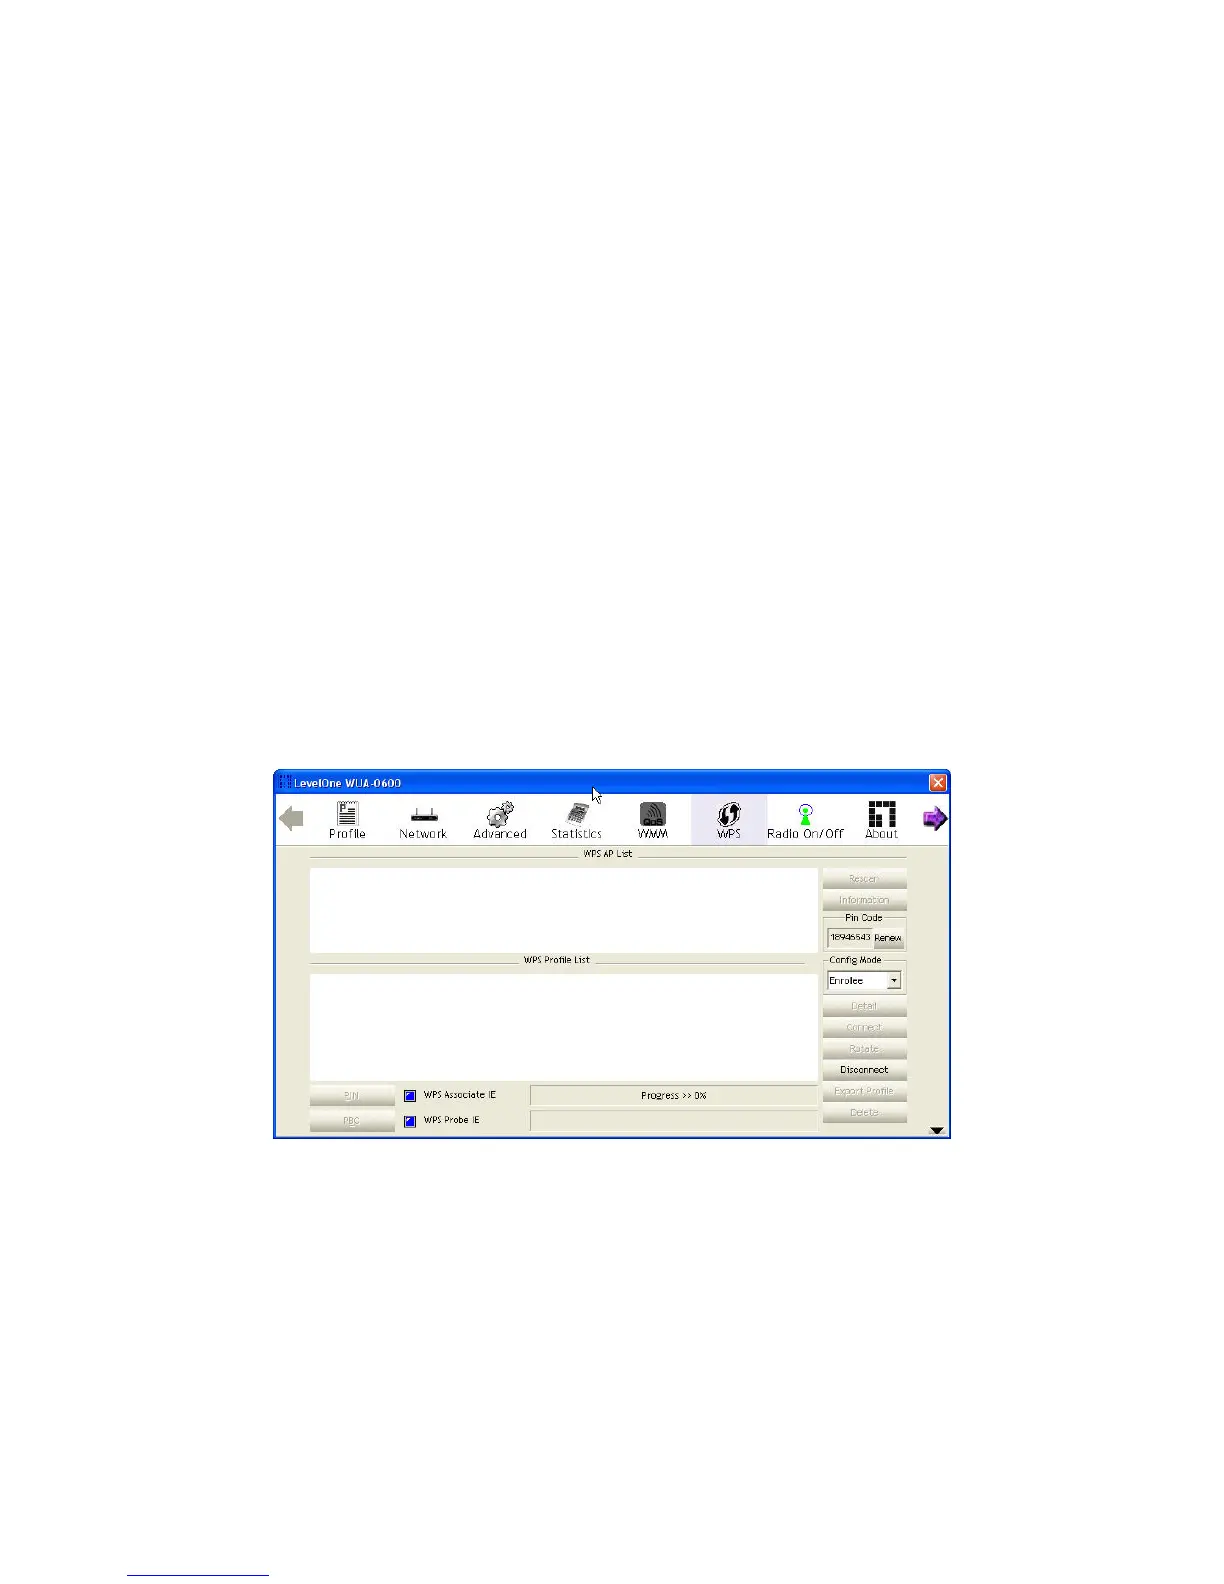
2. Before you start to establish the wireless connection using WPS, define the Wireless USB
Adapter as a WPS —“Enrollee“ or a —“Registrar“ by selecting the Config Mode options.
Enrollee: An enrollee is the device being added to the network. If the Wireless USB Adapter is set as
an enrollee, click the Rescan button on the utility WPS setup page to search for WPS-enabled access
points near you. All access points found will be displayed in the WPS AP List. Select an access point
on the list and click the Connect button to activate the connection. You can also click the Information
button to see the detailed information about the selected access point.
Registrar: A registrar is the network enrollment center. If the Wireless USB Adapter is set as a
registrar, click the Rescan button on the utility WPS setup page to search for WPS-enabled wireless
devices near you. All enrollees found will be displayed in the WPS Profile List. Select an enrollee on
the list and click the Connect button to activate the connection.
3. Press the physical button on the Wireless USB Adapter or click PBC button on this utility page
to start to establish a wireless connection (this may require several seconds to one minute to
complete)
22