10
INSTALLATION
INSTALLATION
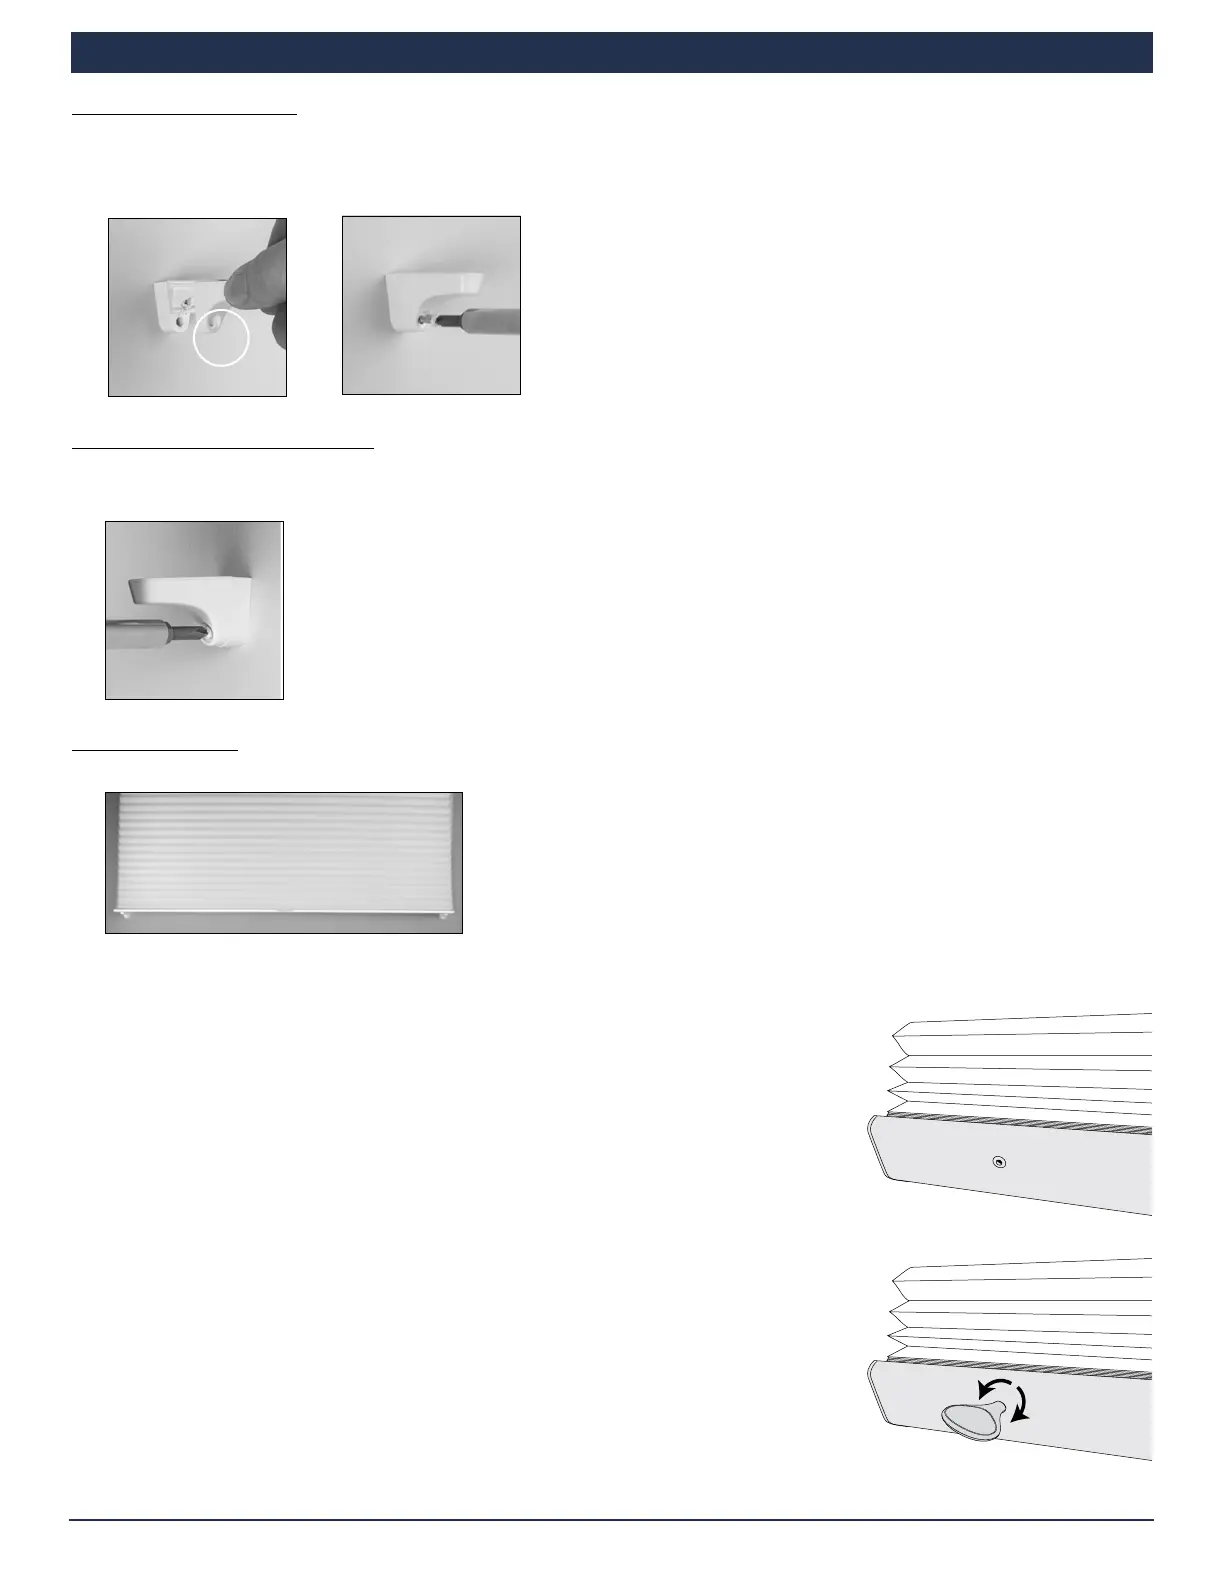
Install the Bracket Cover
■
Slide the bracket cover over the magnetic hold-down bracket.
■
Attach the cover using the screw provided.
IMPORTANT: Do not over-torque the screw.
Place and Attach Second Bracket
Repeat the process from "Check the Magnet Polarity" on page 8 to install the second magnetic hold-down bracket.
IMPORTANT: Make sure the bottom rail is level when marking the second bracket location.
Final Adjustments
Verify that the bottom rail is level.
Level the Rail(s), If Necessary
■
Lift the bottom rail to locate the pockets on the underside of the rail.
➤
With the middle rail on Top-Down/Bottom-Up shades, the pockets are on the
top side of the rail.
➤
See below for the middle rail adjustment on Day/Night shades.
■
Gently pull down on the bottom rail (or up on the middle rail) to fully insert the
rail adjust key into the pocket. The key is fully inserted when the base of the key
abuts to the pocket.
➤
Lift up the rail slightly before turning the key. Turn the key clockwise to raise
that side of the rail, or counter-clockwise to lower it.
➤
One quarter turn of the key equals approximately
1
⁄
4
".
IMPORTANT: The key must be fully inserted to avoid stripping the mechanism.
Do not pull down on the rail while turning the key.
■
If there are more than two pockets, adjust the outer pockets first. Then adjust
inner pockets as necessary, to maintain equal tension across the rail. As pocket
adjustments are made, it is recommended that the shade be raised and lowered
to check that it is level.
Pocket
Underside of Bottom Rail
(or Top Side of Middle Rail)
Raise
Key
Lower