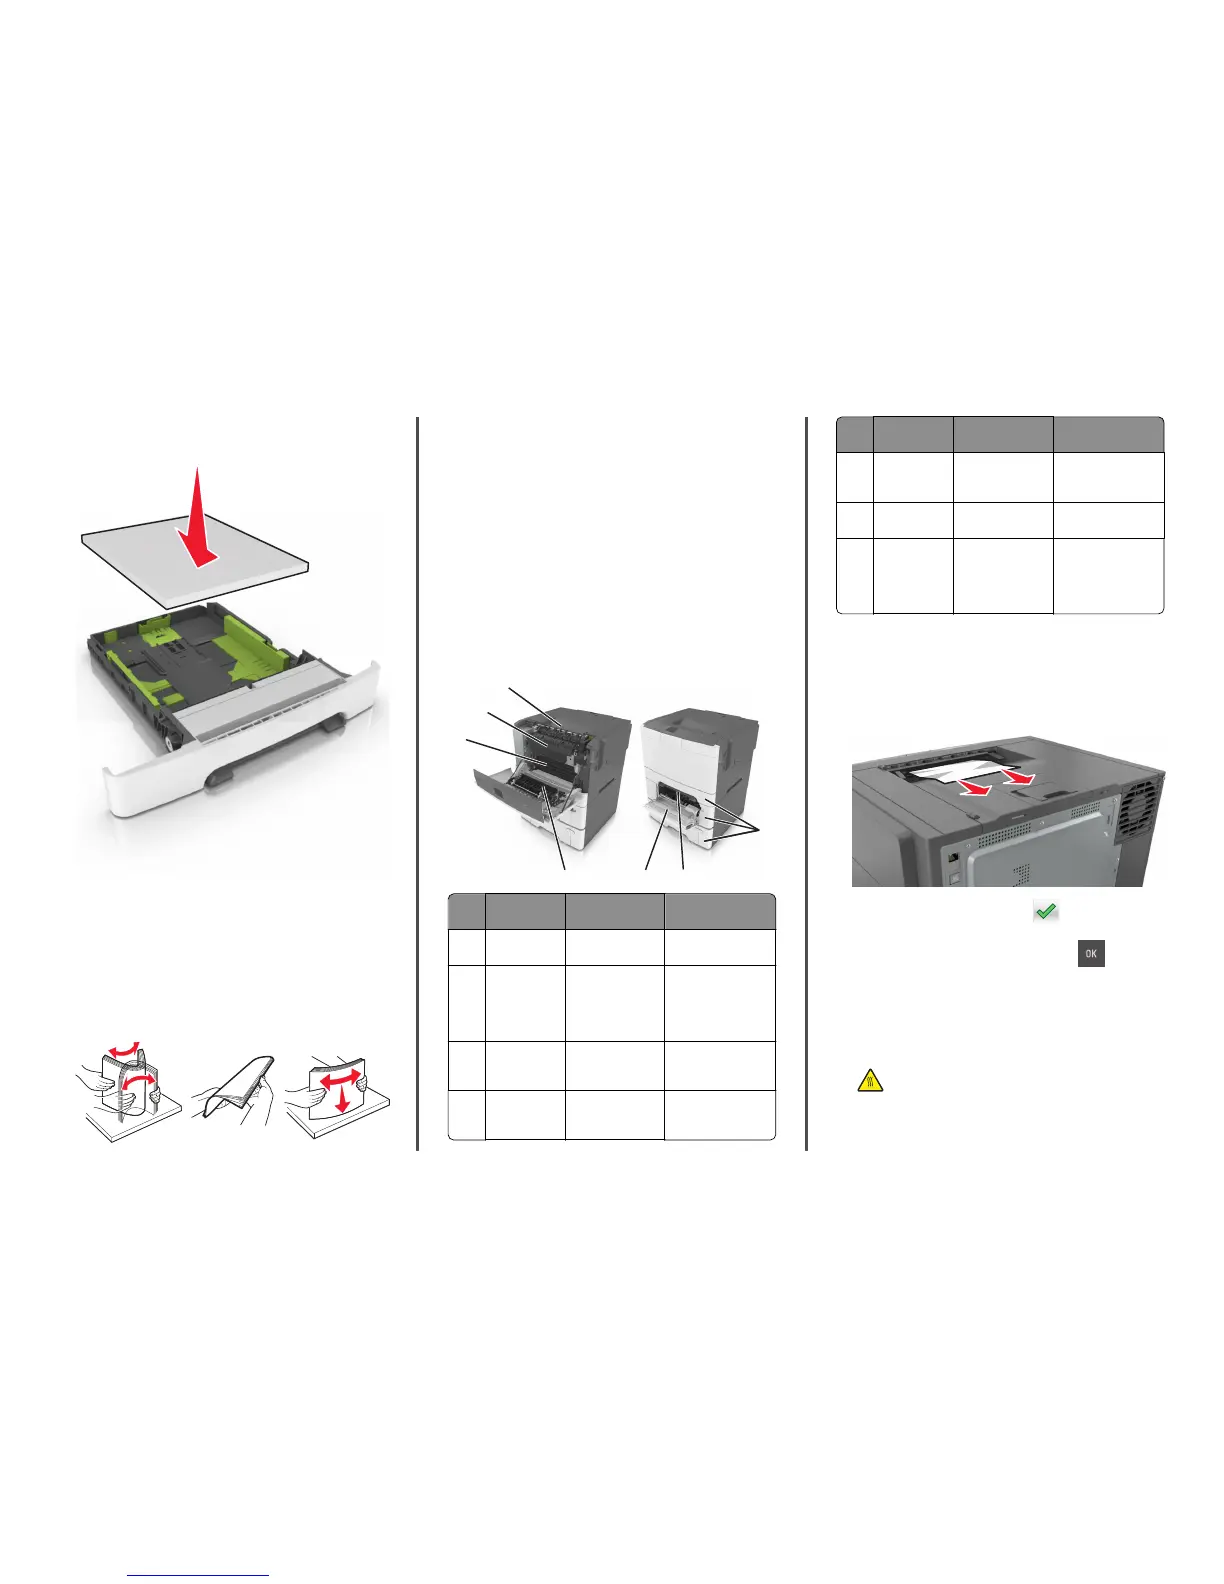
• Do not slide the paper into the tray. Load paper as shown in the
illustration.
• Make sure the guides in the tray or the multipurpose feeder are
properly positioned and are not pressing tightly against the paper
or envelopes.
• Push the tray firmly into the printer after loading paper.
Use recommended paper
• Use only recommended paper or specialty media.
• Do not load wrinkled, creased, damp, bent, or curled paper.
• Flex, fan, and straighten paper before loading it.
• Do not use paper that has been cut or trimmed by hand.
• Do not mix paper sizes, weights, or types in the same tray.
• Make sure the paper size and type are set correctly on the computer
or printer control panel.
• Store paper according to manufacturer recommendations.
Understanding jam messages and
locations
When a jam occurs, a message indicating the jam location and
information to clear the jam appears on the printer display. Open the
doors, covers, and trays indicated on the display to remove the jam.
Note: When Jam Recovery is set to On or Auto, the printer reprints
jammed pages. However, Auto does not guarantee that the page will
print.
7
6
3
2
4
1
5
Jam location Message on the
display
What to do
1 Standard bin Jam, standard
bin [203.xx]
Remove the jammed
paper.
2 Fuser Jam, fuser. Open
front door. [202.xx]
Open the front door,
pull the tab and hold
the fuser cover down,
and then remove the
jammed paper.
3 Front door Jam, front
door [20y.xx]
Open the front door,
and then remove the
jammed paper.
4 Duplex Jam, duplex area.
Open front
door. [23y.xx]
Open the front door,
and then remove the
jammed paper.
Jam location Message on the
display
What to do
5 Tray [x] Jam, tray [x] [24y.xx] Pull the indicated tray
out, and then remove
the jammed paper.
6 Manual feeder Jam, manual
feeder [251.xx]
Remove the jammed
paper.
7 Multipurpose
feeder
Jam, MP
feeder [250.xx]
Push the paper release
lever to lift the paper
rollers, and then
remove the jammed
paper.
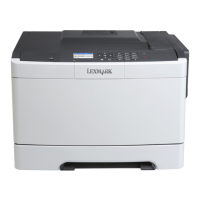
[x]‑page jam, clear standard bin.
1 Firmly grasp the jammed paper on each side, and then gently pull
it out.
Note: Make sure all paper fragments are removed.
2 From the printer control panel, touch to clear the message
and continue printing. For non‑touch‑screen printer models, select
Next > Clear the jam, press OK, and then press
to confirm.
[x]-page jam, open front door to clear
fuser.
1 Open the front door.
CAUTION—HOT SURFACE: The inside of the printer might
be hot. To reduce the risk of injury from a hot component,
allow the surface to cool before touching it.
8