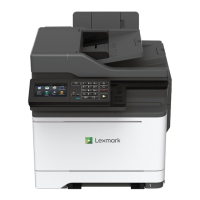
Scanning
Scanning to an FTP server
1 Load the original document into the ADF tray or on the scanner glass.
2 From the control panel, select FTP, and then enter the needed information.
For non‑touch‑screen printer models, press #, and then enter the shortcut number using the keypad.
3 If necessary, configure other FTP settings.
4 Scan the document.
Creating an FTP shortcut
Note: You may need administrative rights to create a shortcut.
1 Open a web browser, and then type the printer IP address in the address field.
Notes:
• View the printer IP address on the printer home screen. The IP address appears as four sets of
numbers separated by periods, such as 123.123.123.123.
• If you are using a proxy server, then temporarily disable it to load the web page correctly.
2 Click Shortcuts > Add Shortcut.
3 From the Shortcut Type menu, select FTP, and then
configure
the settings.
4 Apply the changes.
Scanning to a flash drive
1 Load an original document into the ADF tray or on the scanner glass.
2 Insert the
flash
drive.
Scanning 61

 Loading...