Photo 10
P
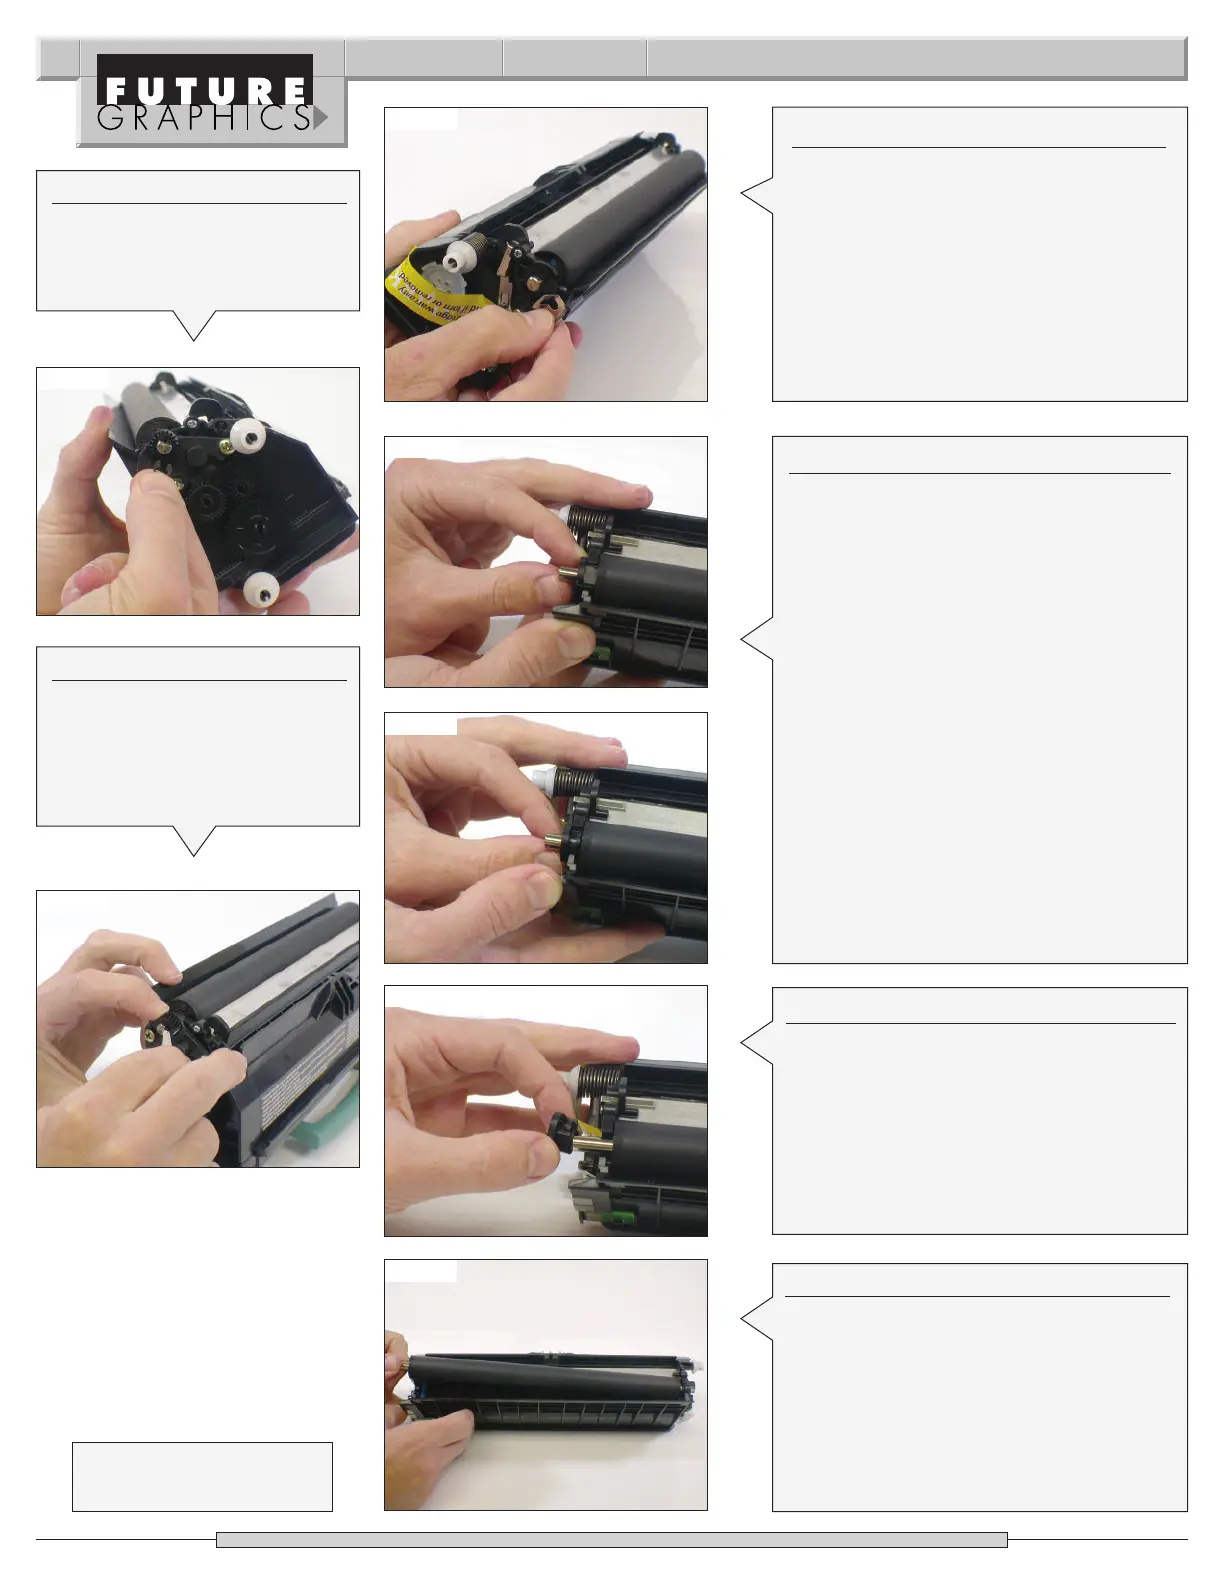
hoto 11
Photo 9
Photo 5
Photo 6
Step 7
Rotate the cartridge 180°. Remove the
developer roller contact from the side of
the cartridge. (See Photos 7)
Step 8
R
otate the developer roller contact bush-
ing fr
om its starting position
(S
ee Photo 8)
up (counter clock-wise) toward the top of
the cartridge.
(See Photo 9)
Photo 7
Photo 8
Need trust-worthy, detailed Technical
Instructions for another engine?
Visit: www.futuregraphicsllc.com
2 Lexmark E232/330/332 Technical Instructions
Step 9
Slide the contact bushing off the developer
roller axle.
(See Photo 10)
Step 10
While holding the shaft of the developer
r
oller
, lift the roller out from the hopper
and slide the de
v
elop
er r
oller axle out from
the t
oner hopp
er end pla
t
e
.
(See Photo 11)
Step 5
R
emove the “E” clip that holds
the developer roller drive gear.
(See Photo 5)
Step 6
Using a small flat-blade screw-
driver, lift up the locking clip that
holds the drive gear to the
developer roller axle. Remove
the gear.
(See Photos 6)