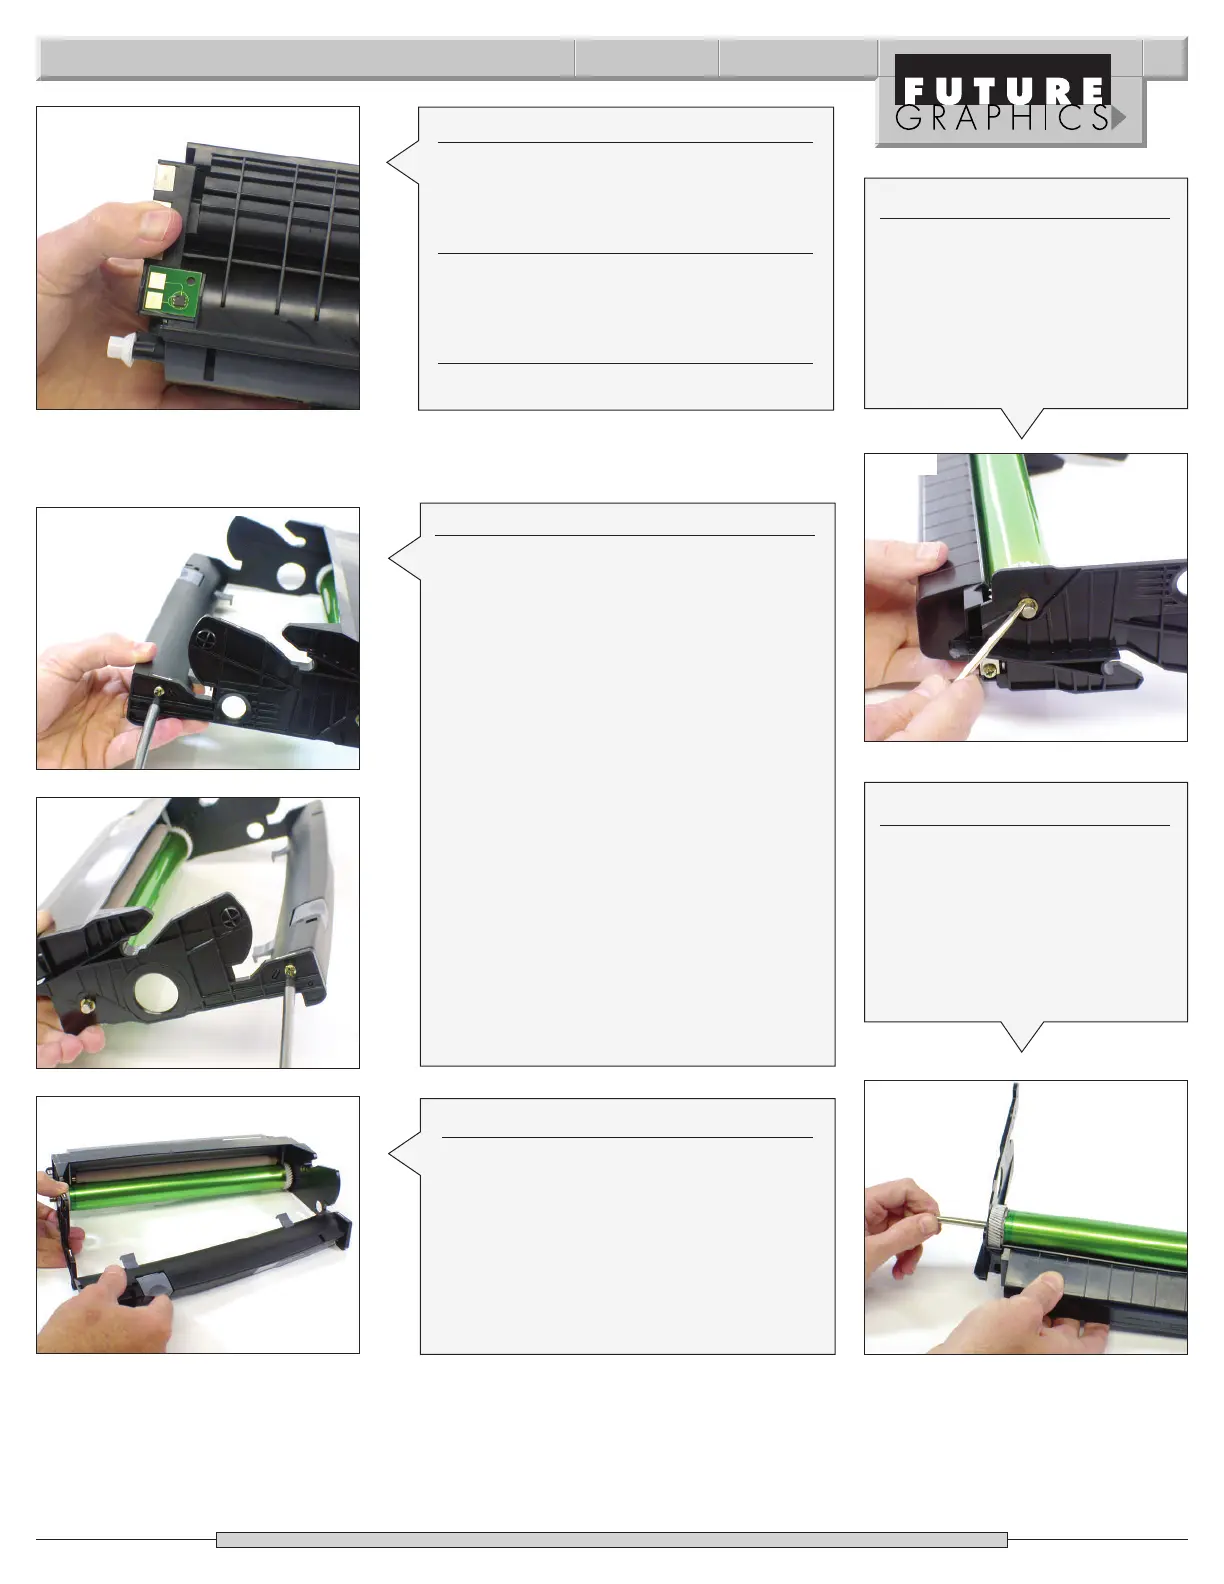
Photo 26
Photo 27
Lexmark E232/330/332 Technical Instructions 5
Step 24
F
ill the hopper with toner and install the
fill plug.
Step 25
R
eplace the chip found on the bottom of
the cartridge.
(See Photo 26)
Step 26
Test the cartridge.
Photo 28
Step 1
Step 1: Remove the two screws (one on
each end of the cartridge) that hold the
toner hopper locking mechanism.
(See Photos 27 & 28)
Step 2
Step 2: Remove the locking mechanism.
(See Photo 29)
P
hot
o 29
Photo 30
Photo 31
Step 3
Flip the waste hopper onto its
back. Remove the “E” Clip from
the drum axle on the small gear
side.
(See Photo 30)
Step 4
Slide the drum axle out of the
waste hopper from the drive
gear side.
(See Photo 31)
REMANUFACTURING THE DRUM UNIT