4-38 Lexmark™ E350d, E352dn
4512-420, -430
Printhead removal
1.
Remove the top cover. See “Top cover removal” on page 4-7 for more information.
2. Remove the right side cover. See “Right side cover removal” on page 4-5.
3. Remove the controller card cover.
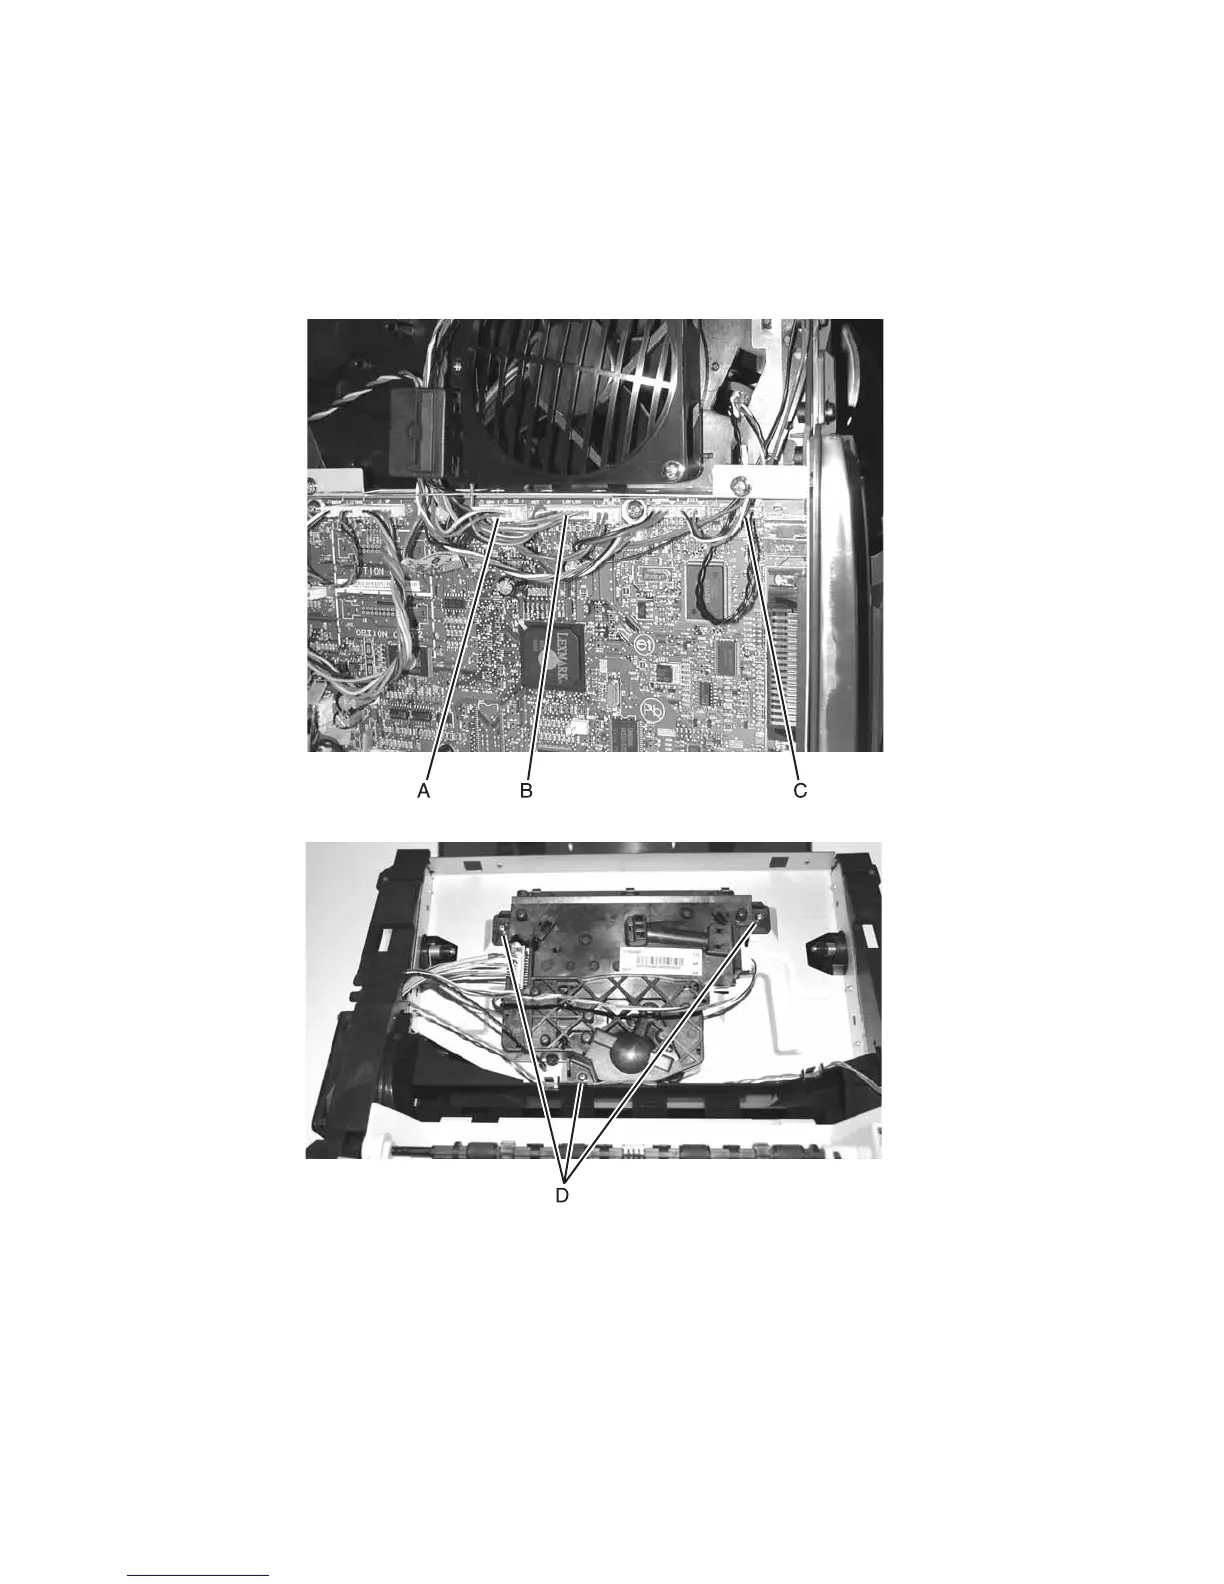
4. Disconnect the cables J5 DRV (A), J8 LXK LSU (B), and J15 (C) from the controller card.
Note: Be sure to remove the toroid before disconnecting the cables.
5. Remove three screws (D) securing the printhead.
6. Remove the printhead.
Reinstallation note:
• Install the new printhead by lining up the alignment knub with the arrow located on the printhead.
• Always run the registration test following replacement, and adjust as needed. See “Registration” on
page 3-7.
• Be sure to place the toroid back over the cables.