Repair information 4-21
4512-420, -430
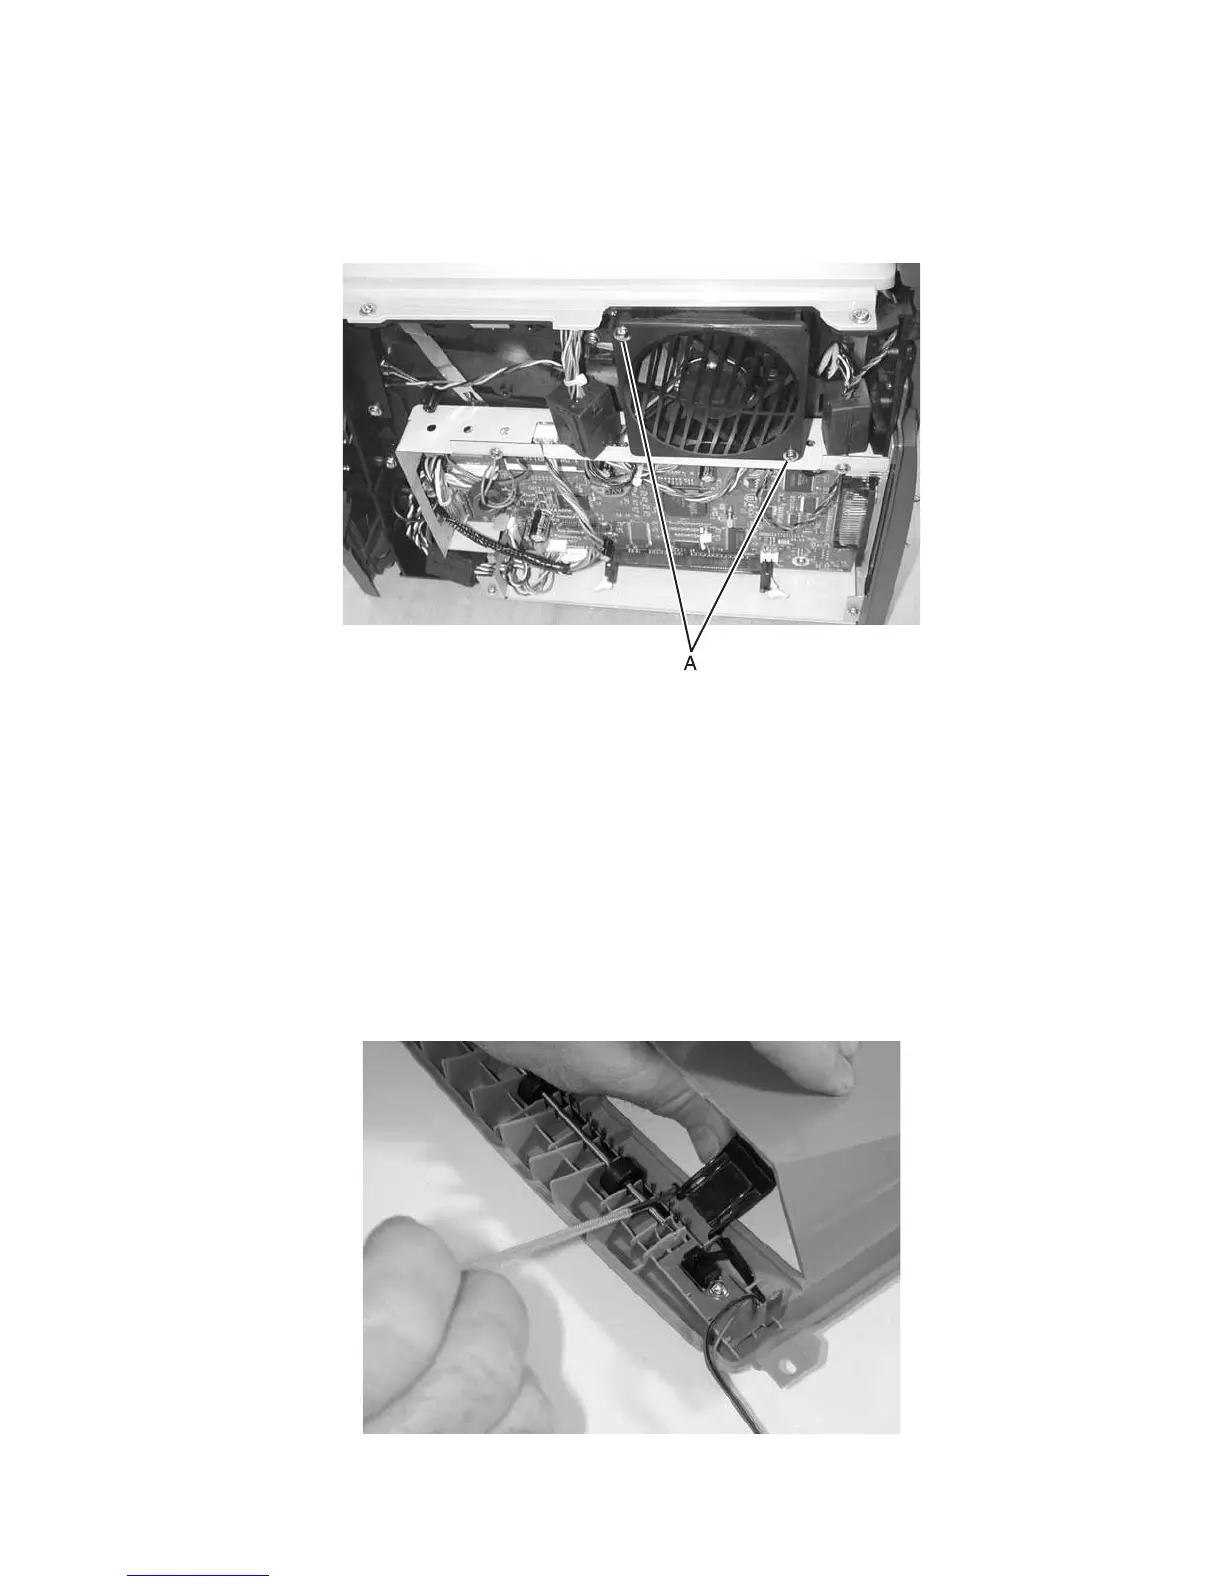
Fan removal
1.
Open the right side cover. See steps 1 and 2 of “Right side cover removal” on page 4-5.
2. Remove the controller card.
3. Remove the two screws (A) holding the fan to the side frame.
4. Unplug the cable from J4 on the controller card.
Note: Be sure to remove the toroid before disconnecting the cable. When re-installing, be sure to place the
toroid back over the cable.
5. Remove the cable from its retainer.
6. Remove the fan.
Note: The fan must be installed correctly. On one of the four sides, there are two arrows. One arrow points in
the direction of the fan rotation, and the other points in the direction of air flow. Be sure the latter is pointing out
and away from the printer.
Flag removal (top cover right and left)
1.
Remove the top cover. See “Top cover removal” on page 4-7.
2. Turn the top cover upside down.
3. While lifting the flag with your thumb to align the shaft flats with the holder, use the spring hook to slide the
flag out of place, and remove.
4. Repeat step three for the other flag.