Assigning a custom paper type name
Assign a custom paper type name to a tray when linking or
unlinking trays.
From the home screen, navigate to:
> Paper Menu > Paper Size/Type > select a custom paper
type name > select a tray > Submit
Configuring a custom name
If the printer is on a network, then you can use the Embedded Web
Server to define a name other than Custom Type [x] for each of
the custom paper types loaded into the printer.
1 Type the printer IP address in the address field of your Web
browser.
Note: If you do not know the IP address of the printer, then
you can:
• View the IP address on the printer control panel in the
TCP/IP section under the Networks/Ports menu.
• Print a network setup page or the menu settings pages and
locate the IP address in the TCP/IP section.
2 Click Settings > Paper Menu > Custom Types > select the
custom name you want to configure > select a paper or
specialty media type > Submit.
Printing
Printing a document
Printing a document
1 From the printer control panel Paper menu, set the Paper Type
and Paper Size to match the loaded paper.
2 Send the print job:
For Windows users
a With a document open, click File > Print.
b Click Properties,
Preferences, Options, or Setup.
c Adjust settings as necessary.
d Click OK
> Print.
For Macintosh users
a Customize the settings as needed in the Page Setup
dialog:
1 With a document open, choose File > Page Setup.
2 Choose a paper size or create a custom size to match
the loaded paper.
3 Click
OK.
b Customize the settings as needed in the Print dialog:
1 With a document open, choose File
> Print.
If necessary, click the disclosure triangle to see more
options.
2 From the Print dialog and pop
‑up menus, adjust the
settings as needed.
Note: To print on a specific paper type, adjust the
paper type setting to match the loaded paper, or
select the appropriate tray or feeder.
3 Click
Print
.
Printing in black and white
From the home screen, navigate to:
> Settings > Print Settings > Quality Menu > Print Mode >
Black Only > Submit
Adjusting toner darkness
1 Type the printer IP address into the address field of your Web
browser.
If you do not know the IP address of the printer, you can:
• View the IP address on the printer control panel in the
TCP/IP section under the Networks/Ports menu.
• Print a network setup page or the menu settings pages and
locate the IP address in the TCP/IP section.
2 Click Settings > Print Settings > Quality Menu > Toner
Darkness.
3 Adjust the toner darkness setting.
4 Click Submit
.
Printing from a mobile device
For the list of supported mobile devices and to download a
compatible mobile printing application, visit
http://lexmark.com/mobile.
Note: Mobile printing applications may also be available from
your mobile device manufacturer.
Printing from a flash drive
Printing from a flash drive
Notes:
• Before printing an encrypted PDF file, enter the file
password from the printer control panel.
• You cannot print files for which you do not have printing
permissions.
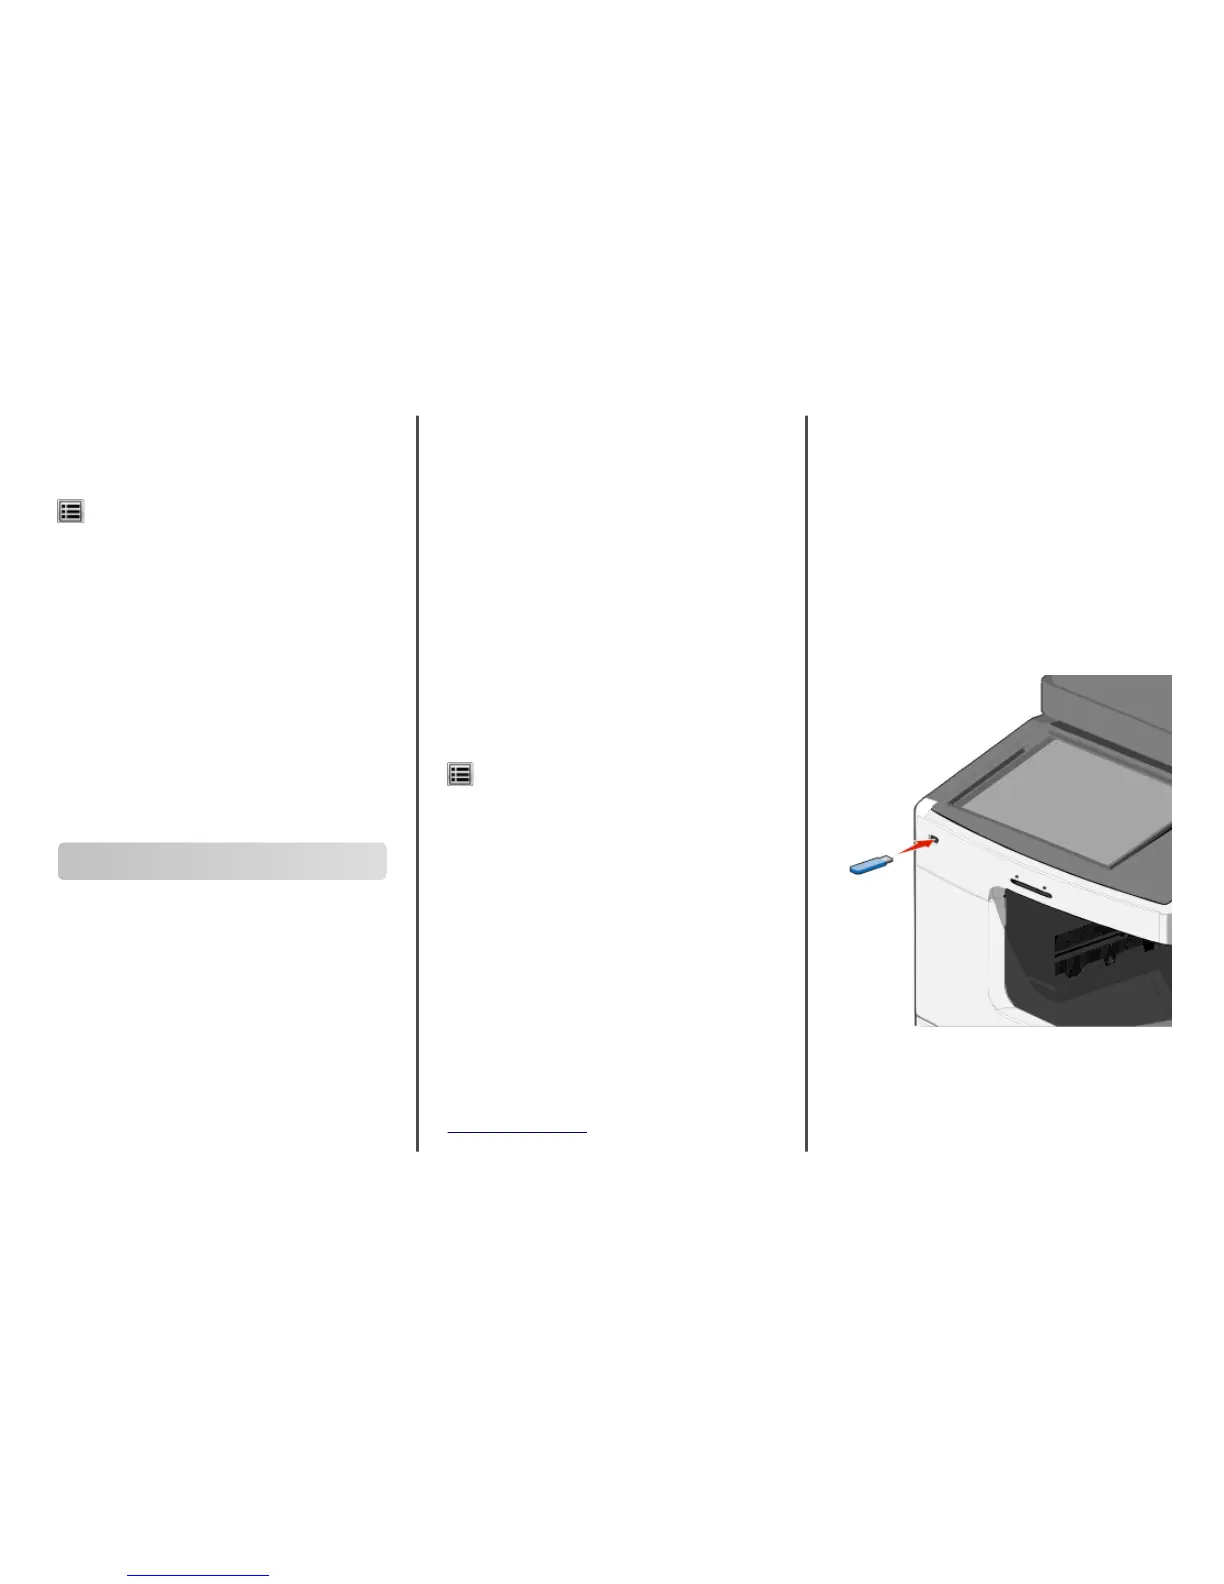
1 Insert a flash drive into the USB port.
The USB Drive home screen appears.
Notes:
• If you insert the flash drive when the printer requires
attention, such as when a jam has occurred, then the
printer ignores the flash drive.
• If you insert the flash drive while the printer is processing
other print jobs, then Busy appears. After these print
Printing
10