jobs are processed, you may need to view the held jobs
list to print documents from the flash drive.
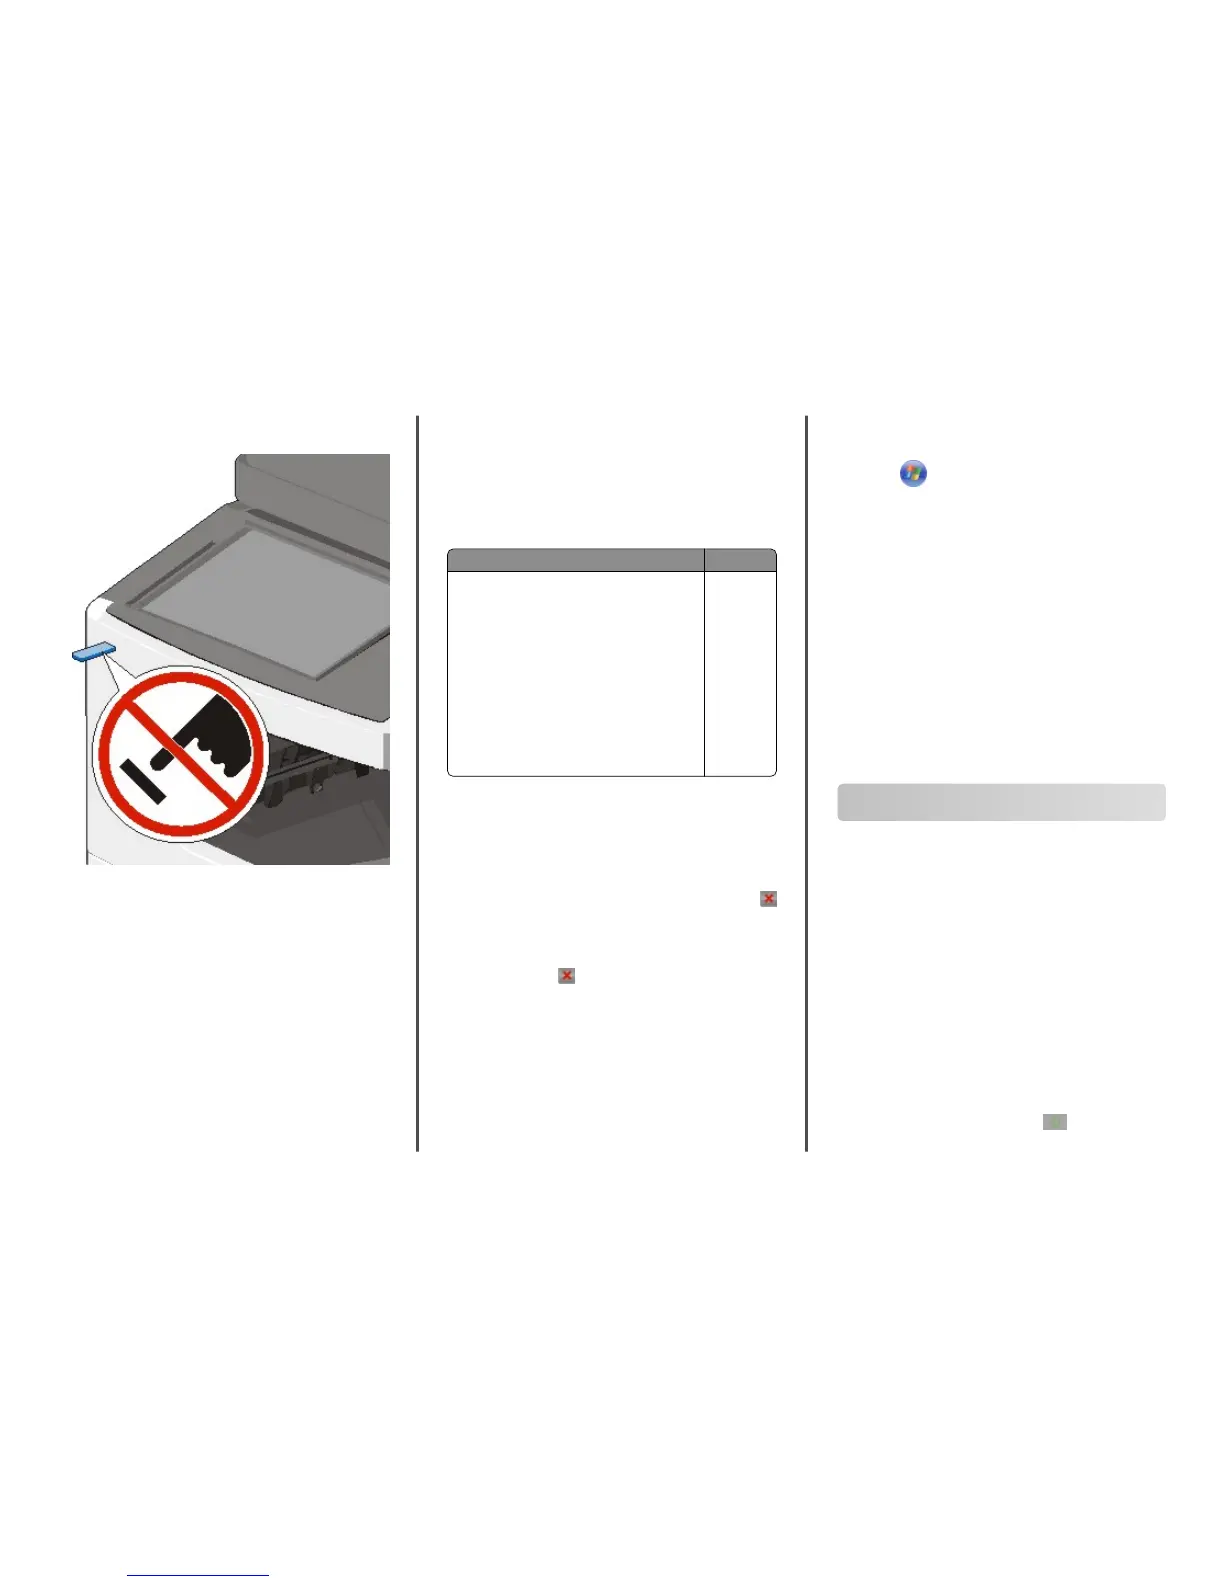
Warning—Potential Damage: Do not touch the USB cable,
any network adapter, any connector, the memory device, or
the printer in the areas shown while actively printing,
reading, or writing from the memory device. A loss of data
can occur.
2 From the printer control panel, touch Print from USB, and then
select the document you want to print.
3 Touch the arrows to increase the number of copies to print,
and then touch Print.
Notes:
• Do not remove the flash drive from the USB port until the
document has finished printing.
• If you leave the flash drive in the printer after leaving the
initial USB menu screen, then you can still print files from
the flash drive as held jobs.
Supported flash drives and file types
Notes:
• High‑speed USB flash drives must support the full‑speed
standard. Low-speed USB devices are not supported.
• USB flash drives must support the File Allocation Table
(FAT) system. Devices formatted with New Technology File
System (NTFS) or any other file system are not supported.
Recommended flash drives File type
• Lexar FireFly (512MB and 1GB)
• SanDisk Cruzer Micro (512MB and 1GB)
• Sony (512MB and 1GB)
Documents:
• .pdf
• .xps
Images:
• .dcx
• .gif
• .jpeg
or .jpg
• .bmp
• .pcx
• .tiff or .tif
• .png
Canceling a print job
Canceling a print job from the printer
control panel
1 From the printer control panel, touch Cancel Job or press
on the keypad.
2 Touch the print job you want to cancel, and then touch Delete
Selected Jobs.
Note: If you press on the keypad, then touch Resume to
return to the home screen.
Canceling a print job from the computer
For Windows users
1 Open the printers folder.
In Windows 8
From the Search charm, type run
, and then navigate to:
Apps list > Run > type control printers > OK
In Windows 7 or earlier
a Click or click Start, and then click Run.
b In the Start Search or Run dialog, type
control
printers.
c Press Enter, or click OK.
2 Double‑click the printer icon.
3 Select the print job you want to cancel.
4 Click Delete.
For Macintosh users
1 From the Apple menu, navigate to either of the following:
•
System Preferences > Print & Scan > select your printer >
Open Print Queue
• System Preferences > Print & Fax > select your printer >
Open Print Queue
2 From the printer window, select the print job you want to
cancel, and then delete it.
Copying
Making copies
Making a quick copy
1 Load an original document faceup, short edge first into the
ADF or facedown on the scanner glass.
Note: Do not load postcards, photos, small items,
transparencies, photo paper, or thin media (such as
magazine clippings) into the ADF. Place these items on the
scanner glass.
2 Adjust the paper guides when loading a document into the
ADF.
Note: Make sure the size of the original document and the
copy paper size are the same. Failure to set the proper size
may result to a cropped image.
3 From the printer control panel, press to start copying.
Copying
11