Do you have a question about the LG GH24 and is the answer not in the manual?
Disconnect the power cord, remove the cover, and slide the drive into the drive bay.
Connect the power cable, ensuring correct orientation to avoid damage.
Connect the data cable to the drive and motherboard, ensuring correct orientation.
Replace the computer cover, reconnect the power cord, and restart.
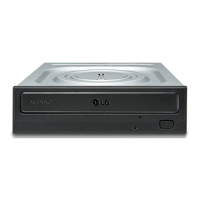
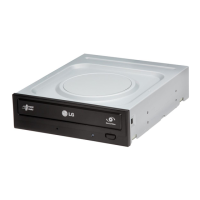
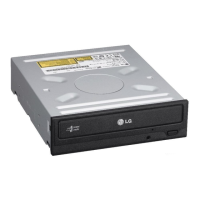
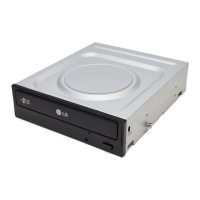
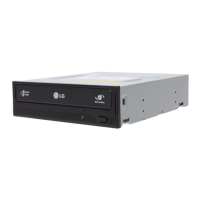
Overview of the Super Multi DVD Writer's key capabilities and functionalities.
Details the necessary hardware and software for operating the DVD writer.
Technical details including supported discs, speeds, and environmental conditions.
Precautions regarding laser exposure and risk of electric shock.
Guidance on avoiding moisture, extreme temperatures, and handling discs safely.
| Internal | Yes |
|---|---|
| Certification | CE |
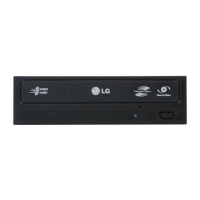
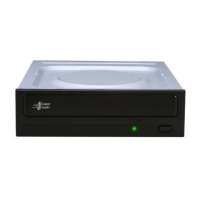
| Product color | Black |
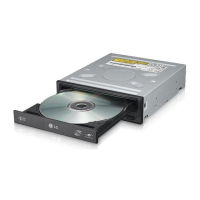
| Disc loading type | Tray |
| Windows operating systems supported | Windows 7 Enterprise, Windows 7 Enterprise x64, Windows 7 Home Basic, Windows 7 Home Basic x64, Windows 7 Home Premium, Windows 7 Home Premium x64, Windows 7 Professional, Windows 7 Professional x64, Windows 7 Starter, Windows 7 Starter x64, Windows 7 Ultimate, Windows 7 Ultimate x64, Windows 7 x64, Windows Vista, Windows Vista Business, Windows Vista Business x64, Windows Vista Enterprise, Windows Vista Enterprise x64, Windows Vista Home Basic, Windows Vista Home Basic x64, Windows Vista Home Premium, Windows Vista Home Premium x64, Windows Vista Ultimate, Windows Vista Ultimate x64, Windows Vista x64, Windows XP, Windows XP Home, Windows XP Home x64, Windows XP Professional, Windows XP Professional x64 |
| Purpose | Desktop |
| Interface | Serial ATA |
| Optical drive type | DVD Super Multi DL |
| Disc types supported | DVD+R, DVD+R DL, DVD+RW, DVD-R, DVD-R DL, DVD-RAM, DVD-ROM, DVD-RW |
| CD write speed | - x |
| DVD+R write speed | 24 x |
| DVD-RW write speed | 6 x |
| DVD-R Double Layer write speed | 8 x |
| Bundled software | Power2Go |
| Quantity per pack | 1 pc(s) |
| DVD+R read speed | 16 x |
| Depth | 165 mm |
|---|---|
| Width | 146 mm |
| Height | 41.3 mm |
| Weight | 700 g |