- 44 -
2. Replacement Procedure for INV PCB
1. Disassemble panel assembly by unscrewing screws. (Figure 1.)
2.
Replace PCB assembly. (Figure 2.)
When assemble PCB assembly with control case, make sure that PCB case is inserted surely in the slit of control case.
3. Assemble panel assembly and main PCB.
< Figure 2. >
< Figure 3. > < Figure 4. >
< Figure 1. >
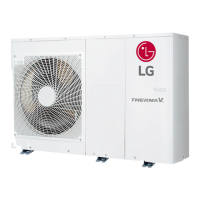
AHBW056A0/AHBW076A0/AHBW096A0
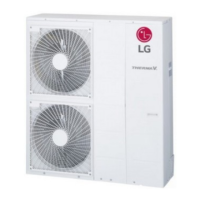
AHBW126A0/AHBW146A0/AHBW166A0
CAUTION
Be sure that PCB assembly is firmly assembled with control case.
Confirm that there is no gap between PCB case and control case.
If any gap is present, it will cause product malfunction.
 Loading...