14 | EN Copyright © Liberty Pumps, Inc. 2021
All rights reserved. 4414000E
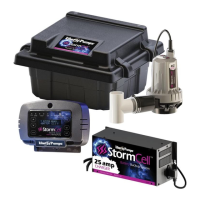
10A Charger LEDs
10A Charger Buttons
10A Charger Connection
Do not allow any person who is unqualified to have contact
with this pump system. Any person who is unaware of the
dangers of this pump system, or has not read this manual, can
easily be injured by the pump system.
Never allow the battery DC terminals to touch each other. This
can cause severe burns and start a fire. For added safety,
protect the battery in provided battery box.
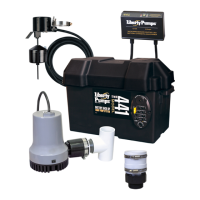
Charger and Battery Connection
1. Securely install charger unit in clean, dry location on wall or
other fixture separate from battery.
2. Connect charger cord (blue/red) to the pump.
Label LED Indications
AC Power Green AC power is applied.
Battery Full Green
Battery is fully charged and
operational.
Charging Yellow Battery charging is in process.
Low Battery Red
Indicates low battery charge, may be
steady or flashing, for specific
information, see Charger Conditions
and LEDs on page 18.
Pump Run Blue
Indicates pump running status, may
be steady or flashing, for specific
information, see Charger Conditions
and LEDs on page 18.
Alarm
Silenced
Yellow
Indicates an alarm condition is
present and the audible alarm (horn)
has been silenced.
Alarm Red
Alarm condition has occurred, see
Charger Conditions and LEDs on
page 18 for specifics.
Button Function
Silence
This button is underneath the Silence label on
the charger. Firmly pressing this button will
silence the current alarm condition. This silence
feature is only active for 24 hours. If the
condition causing the alarm has not been
addressed in this period of time, the horn will
resume.
Note: there are different categories of Alarms
and pressing the Silence once will not
completely disable the audible alarm for 24
hours. For example, when the alarm silenced
for a pump run, it will still activate if a low
battery condition arises, and these conditions if
silenced will be superseded by a bad battery
condition.
Alarm Reset
This button is underneath the Alarm Reset
label on the charger. Firmly pressing this
button will remove the alarm conditions
instantaneously, and it will not change the state
that the charger is in, charging or maintenance
mode. It is possible for the reset to be
depressed and there to still exist the conditions
for an alarm, low voltage, pump running, etc.
Reset
This button is inside the charger. It can be
accessed via a small hole below the Alarm
Reset button. Insert a non-conductive item
(toothpick, insulated screwdriver, etc.) through
the hole and press the button for 1 second.
This will reboot the charger firmware as if it was
just installed. This can also be performed
without pressing the button, by disconnecting
the power from the charger (both the wall
power and the battery) allowing a minute for
the charger to dissipate any stored energy, and
then reconnecting the power sources. Follow
the power connection instructions outlined in
Charger and Battery Connection.
RISK OF SERIOUS INJURY OR DEATH
BATTERY HAZARDS
Button Function
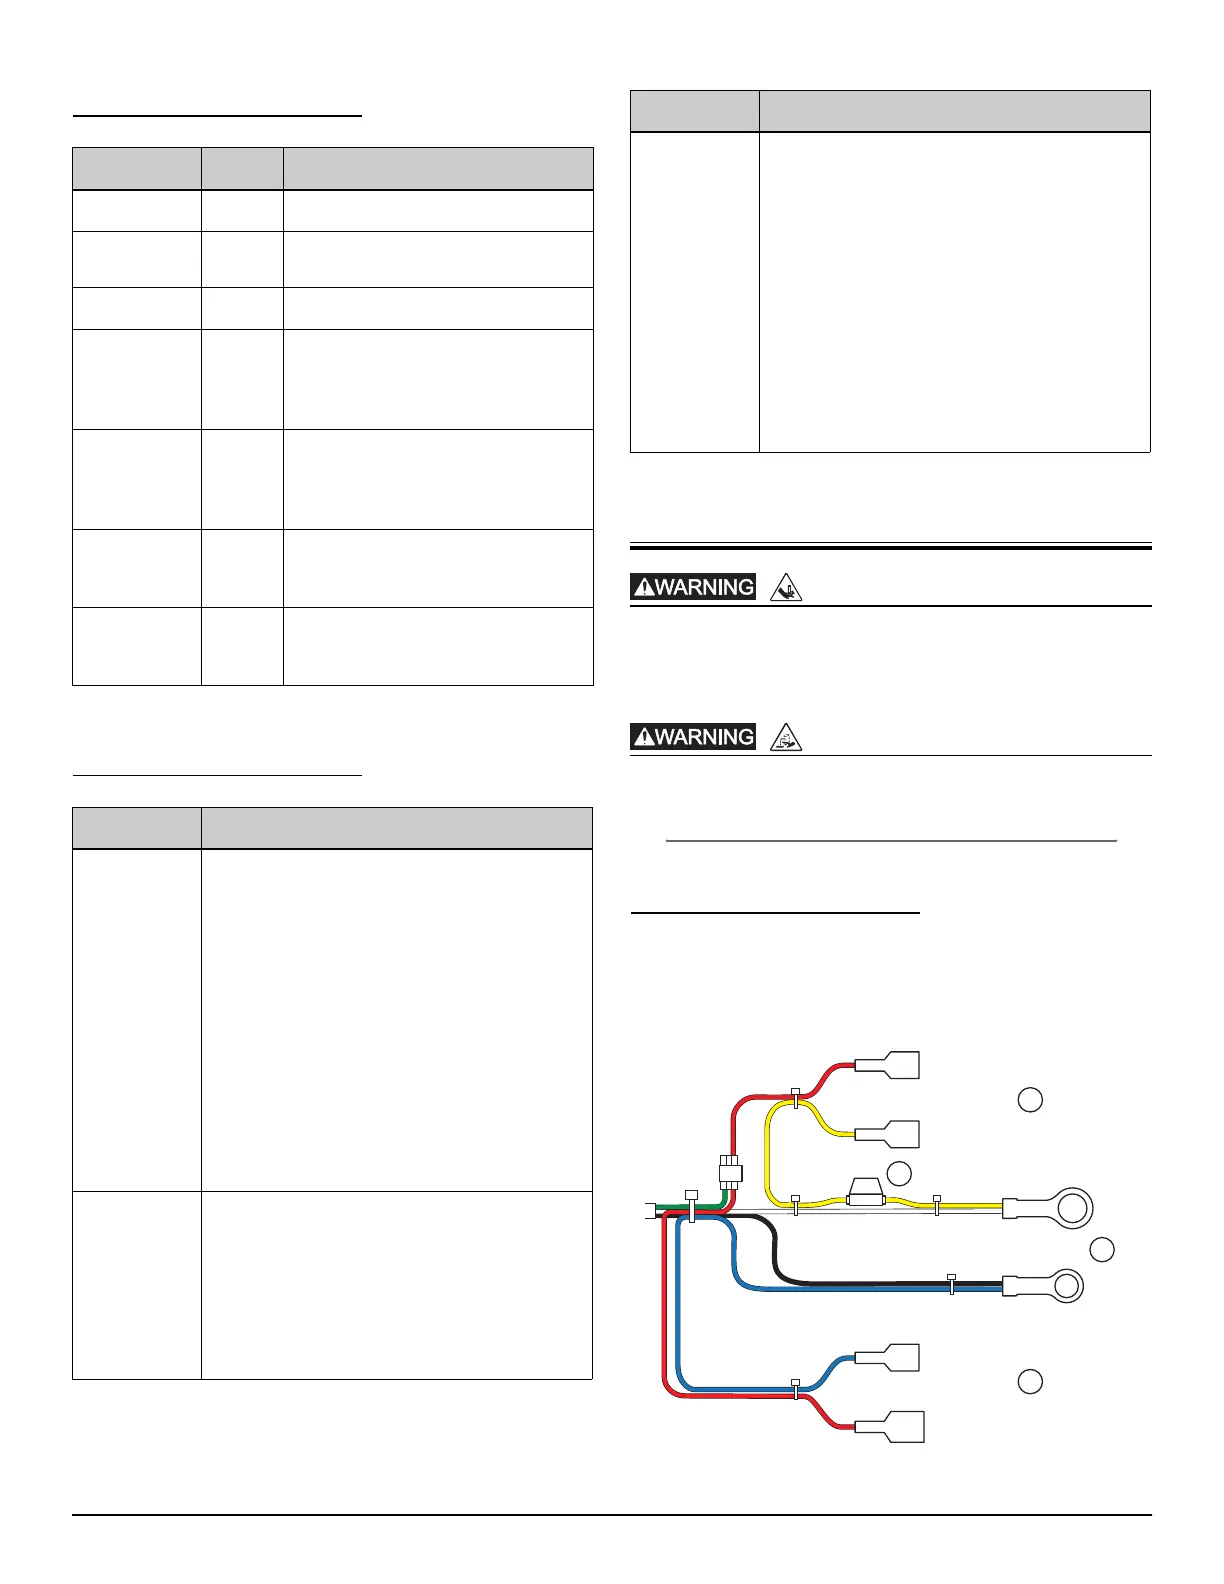
FUSE
Negative
Pump Connection
Positive
Positive
Battery Connection
Negative
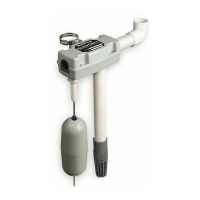
Float Switch Connection
3
5
2
7
red
red
white
yellow
blue
blue
black

 Loading...