Lighthouse ApexRemote Operating Manual
7-2 248083447-1 Rev 1
are typical for most installations.
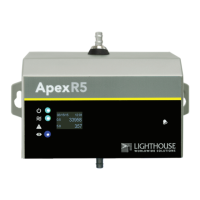
Figure 7-1 Required Tools and Hardware
WARNING: Make
sure target location is
electrically safe for
drilling. Wear safety
goggles while drilling.
1. Find a point convenient to necessary connections, such as network,
vacuum and AC power, and where the instrument can be easily
accessed by operators or technical support personnel. The power
input connection must allow safe and easy manual disconnect of
power if needed.
2. If the optional SmartBracket was not ordered, the body of the
ApexRemote can be used as a template to mark the two mounting
holes. Make sure the instrument is level then use a pencil to mark
the center of the mounting holes. The distance between the holes
should be 5.75". Proceed to step 4.
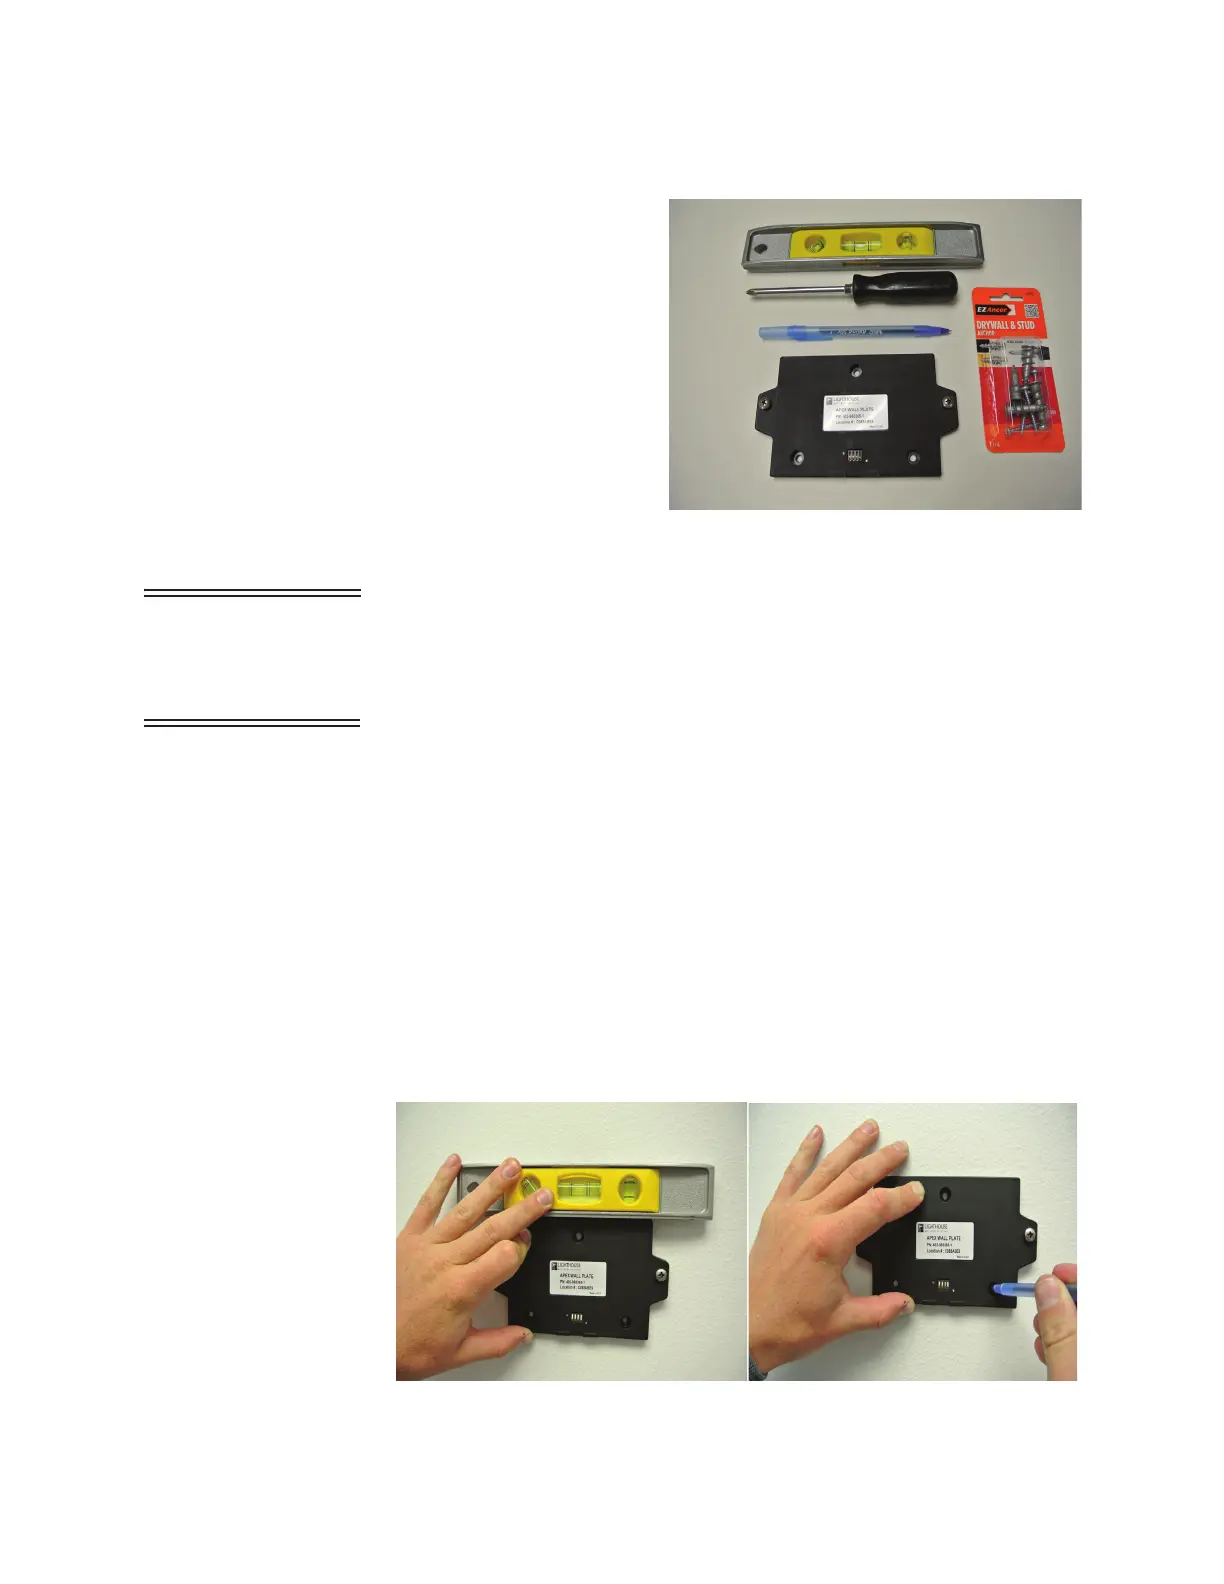
3. If the SmartBracket was ordered, use the SmartBracket as a
template. Make sure it is level then use a pen or pencil to mark the
center of the mounting holes. The SmartBracket has 3/16" holes
and has been designed to accept 3/16-24, #8 or #10 flat head
screws. See Figure 7-2.
Figure 7-2 Mark Location of Mounting Holes
- Optional SmartBracket
- Self Drilling Drywall
& Stud Anchors
- Phillips Screwdriver
- Pen or Pencil
Not shown:
- Drill Motor
- 3 Inch drill bit
 Loading...