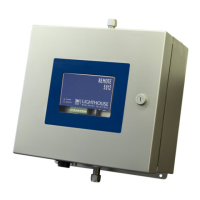
Lighthouse REMOTE-4PN Series Operating Manual
3-4 248083317-1 Rev 4
4. Loosen the RJ45 Housing Clamping Nut to allow the CAT5e cable
to pass through the housing.
5. Insert the stripped end of the cable through the large Lock Ring and
RJ45 Housing as illustrated in Figure 3-2. Make sure the ring is
oriented as shown. If it is reversed, the cable will have to be cut,
the RJ45 connector discarded and a new connector installed.
Figure 3-2 Housing with Cable Inserted
6. Separate the pairs of wires down to about 1-inch from where the
insulation starts. There will be an orange, a green, a blue and a
brown pair of wires. Each pair will have a solid color wire and a
wire striped with the color of that pair. Do not get them confused -
the orange and brown pair may look alike in plenum cable and
"swapping" these two pairs will cause failure of the instrument.
7. Carefully untwist each pair about 1/2-inch and straighten the wire.
The individual wires will be inserted into the Wire Loom shown in
Figure 3-1 and Figure 3-3.
Figure 3-3 Close-up of Wire Loom
Note the shape of the Loom - inserting the wire into the larger opening
is the correct method as shown in Figure 3-3.
Note the twisted portion
Note straightened portion