22 23
OVERVIEWINSTALLATION
PLANNING
SPEAKER LOCATION &
INSTALLATION
SET UP &
INTEGRATION
INSTALLING OPTIONAL
EQUIPMENT
TROUBLESHOOTING
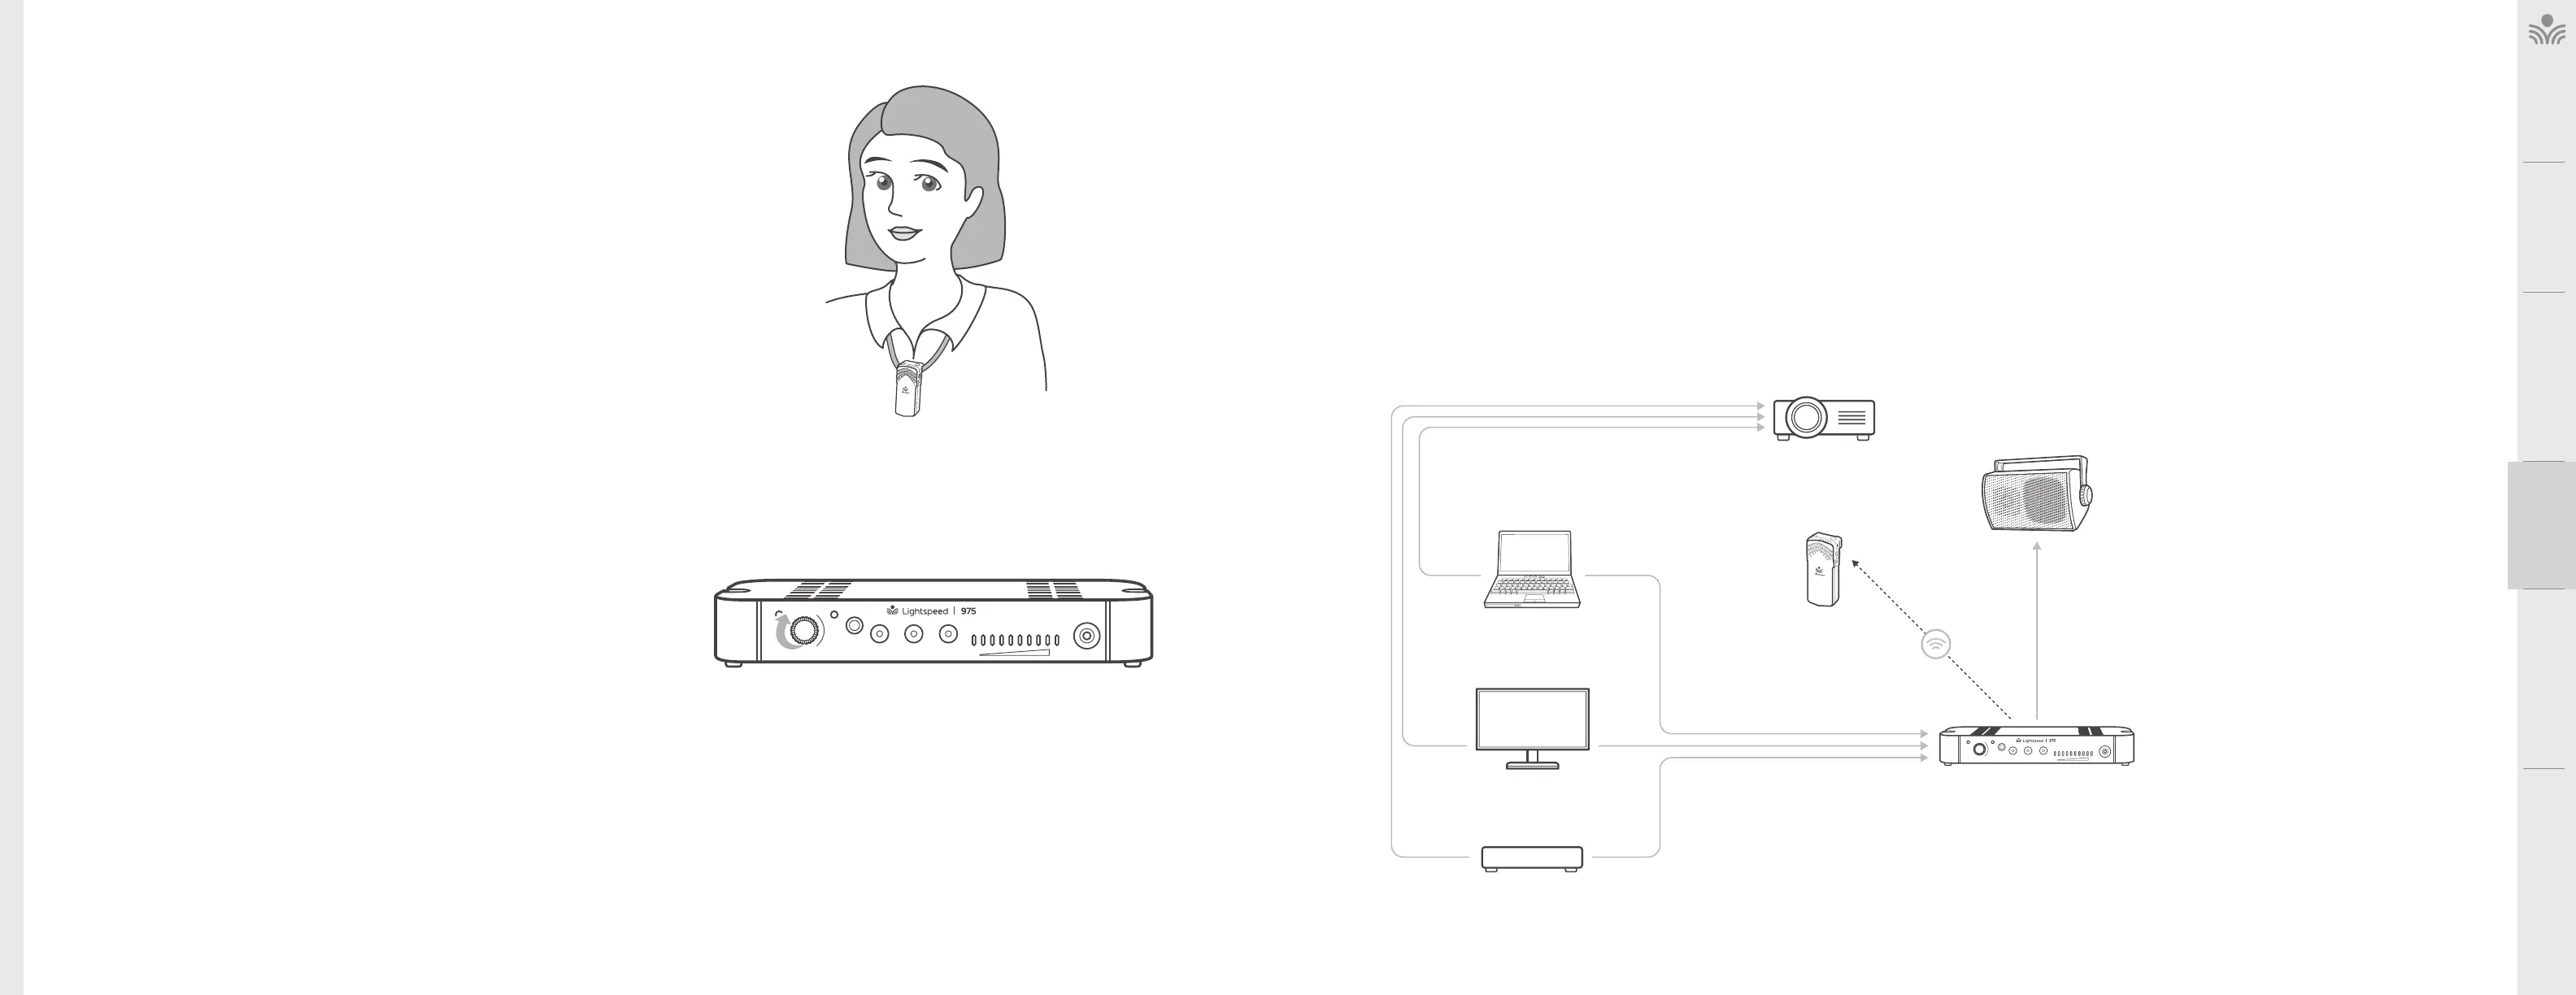
Operating the Microphone
Once the microphone is charged, follow these steps to set it up for use.
1. Remove the microphone from the cradle charger. The Flexmike is worn by
connecting the magnetic clasps behind your neck. Adjust the lanyard so the top of
the Flexmike is at the collarbone.
2. The microphone will automatically power on and mute when it is removed from the
charger. This will automatically power on the 975 as well.
3. The microphone volume is set at the factory to the mid point.
4. While speaking in a normal voice, fine-tune the microphone volume by adjusting
the up or down buttons on the microphone.
• Your voice should be clearly heard by another person on the other side of the
room.
• You should barely be able to hear your own voice.
• There should not be any audio “feedback” or squealing outside of 2-3 feet (if
there is, turn the volume down slightly).
5. Once initial volume level is set, walk around the room and listen for overall audio
quality.
6. If further fine-tuning is required, you may need to adjust the Tone Control on the
front of the 975.
REMEMBER: This equipment is designed to supplement and distribute
the user’s voice so they are able to speak in a conversational tone. Having
the volume set too high will result in feedback and listener fatigue.
Audio
Input
Audio
Output
Audio
Output
Tone
Level
Push
StatusPower
The next step in setting up your system is to connect it to the other multimedia devices in your classroom. You
may have a computer, displays a visual projection system or other devices. Below are instructions on how to
integrate displays, DVD or computer directly into the amplifier.
1. Ensure the amplifier power is switched o and the AUDIO IN volume control is turned all the way down.
2. Connect the appropriate RCA or 3.5mm audio cable (not included) from the audio source into one of the
input jacks on the rear panel of the amplifier.
3. With both the amplifier and the audio source power on, adjust the corresponding volume control on the
amplifier until the desired level is achieved.
Audio Integration
Audio
Input
Audio
Output
Audio
Output
Tone
Level
Push
StatusPower
DVD
Video Out Audio Out
Video Out
Video In
Access
Transmission
Audio Out
VGA Out Audio Out
Audio In
INTERACTIVE
DISPLAY
TEACHER’S
MICROPHONE
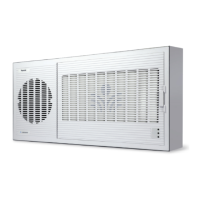
PROJECTOR
SPEAKER(S)
LAPTOP