20 21
OVERVIEWINSTALLATION
PLANNING
SPEAKER LOCATION &
INSTALLATION
SET UP &
INTEGRATION
INSTALLING OPTIONAL
EQUIPMENT
TROUBLESHOOTING
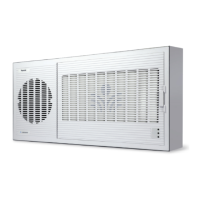
Connecting Speaker Wires
CONNECTING SPEAKER WIRES TO BACK OF THE
Input
Priority
Power
24VDC / 2.5A
Speaker Outputs
12
Audio Inputs
Class 2 Wiring
Optical
Adjust
Page
First
Relay
Input
Contact
Closure
SET UP & INTEGRATION
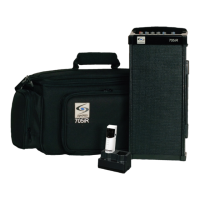
Charging the Microphones
BEFORE USE, THE MICROPHONES SHOULD BE CHARGED
Before use, the microphones should be charged. It will take 5-6 hours to obtain a full
charge. A fully charged microphone will last for up to 8 hours of use. If microphones are
used daily, they should be charged each night.
Replacement Lithium Ion battery pack may only be purchased through Lightspeed
Technologies (part #L3.7V).
ATTACH LANYARD
Hang the Flexmike on the lanyard opposite
the magnetic clasp.
CONNECT CRADLE CHARGER
Plug power cord into the cradle charger and
then plug the AC end into an electrical outlet.
CHARGE MICROPHONE
Place the microphone into the cradle charger.
The LED battery status light will glow red
indicating charging has started.
The battery status light will glow green to
indicate that charging is complete and a full
charge has been reached.
PLEASE NOTE: The components are paired, together at the factory. Please keep
all components together as a system. Moving them from one system, or room,
to another will result in the need to re-pair.
1. Unplug the euro-block SPEAKER OUTPUT connector from the amplifier.
2. Insert the two wires into the connector, paying close attention to polarity (+ - + -).
3. Insert the red (+) wire and black (-) wire from speakers #1 and #2 into the right side
of the connector (SPEAKER OUTPUT 2).
4. Repeat with the 2nd wire from speakers #3 and #4 into the middle of the connector
(SPEAKER OUTPUT 1), paying attention to polarity.
5. Plug the euro-block connector back into the amplifier.
NOTE: Wiring should follow the class 2 wiring methods as outlined in the National
Electric Code.