32 33
OVERVIEWINSTALLATION
PLANNING
SPEAKER LOCATION &
INSTALLATION
SET UP &
INTEGRATION
INSTALLING OPTIONAL
EQUIPMENT
TROUBLESHOOTING
. VOLUME ADJUSTMENT FOR THE MEDIA CONNECTOR
The Media Connector can be used as the primary volume control for the audio sources
to be connected.
1. Connect the audio source(s) to the Media Connector using the 3.5mm cables
provided..
2. Use the Media Connector Audio In volume control to increase or decrease the
sound level.
Audio
Input
Audio
Output
Tone
Level
Push
StatusPower
Media
Connector
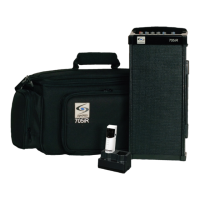
NOTE ON PAIRING: The 975 and Media Connector are paired together at the Lightspeed factory as required for proper operation. If paired components are separated and
swapped during the installation process, they must be re-paired. Please refer to the registration instructions at www.lightspeed-tek.com/accessregistration.
NORMALIZING AUDIO SOURCE VOLUME LEVELS
NOTE: When Media Connector is powered on and paired to 975, it locks out Master
Volume and Tone controls on the 975.
Use the Media Connector as the master audio volume control for the classroom.
When two or more audio sources are connected, you will need to normalize volume
settings by setting all connected audio sources to the same sound level while leaving
the Media Connector Audio In volume control set to its center setting. The Media
Connector is an audio mixer using a master volume control to adjust the volume of all
audio sources at once. Use the following procedure to set audio source volumes:
1. Connect the multimedia audio sources to the Media Connector using the 3.5mm
cables provided.
2. Set the AUDIO IN volume control on the Media Connector to its center position.
3. Turn on an audio source that does not have an accessible audio level control.
(DVD, mobile device or computer).
4. Adjust the Media Connector Audio In volume control so the audio level playing
through the speaker is appropriate for the classroom.
5. Turn o the first audio source.
6. Turn on the second audio source. Use its volume control to balance the audio
output to the same audio level played through the speaker as the first source.
7. Repeat steps 5 and 6 for the remaining audio sources.
8. Now, the Media Connector’s Audio In volume can be used to increase or
decrease the volume level for all audio sources as desired.
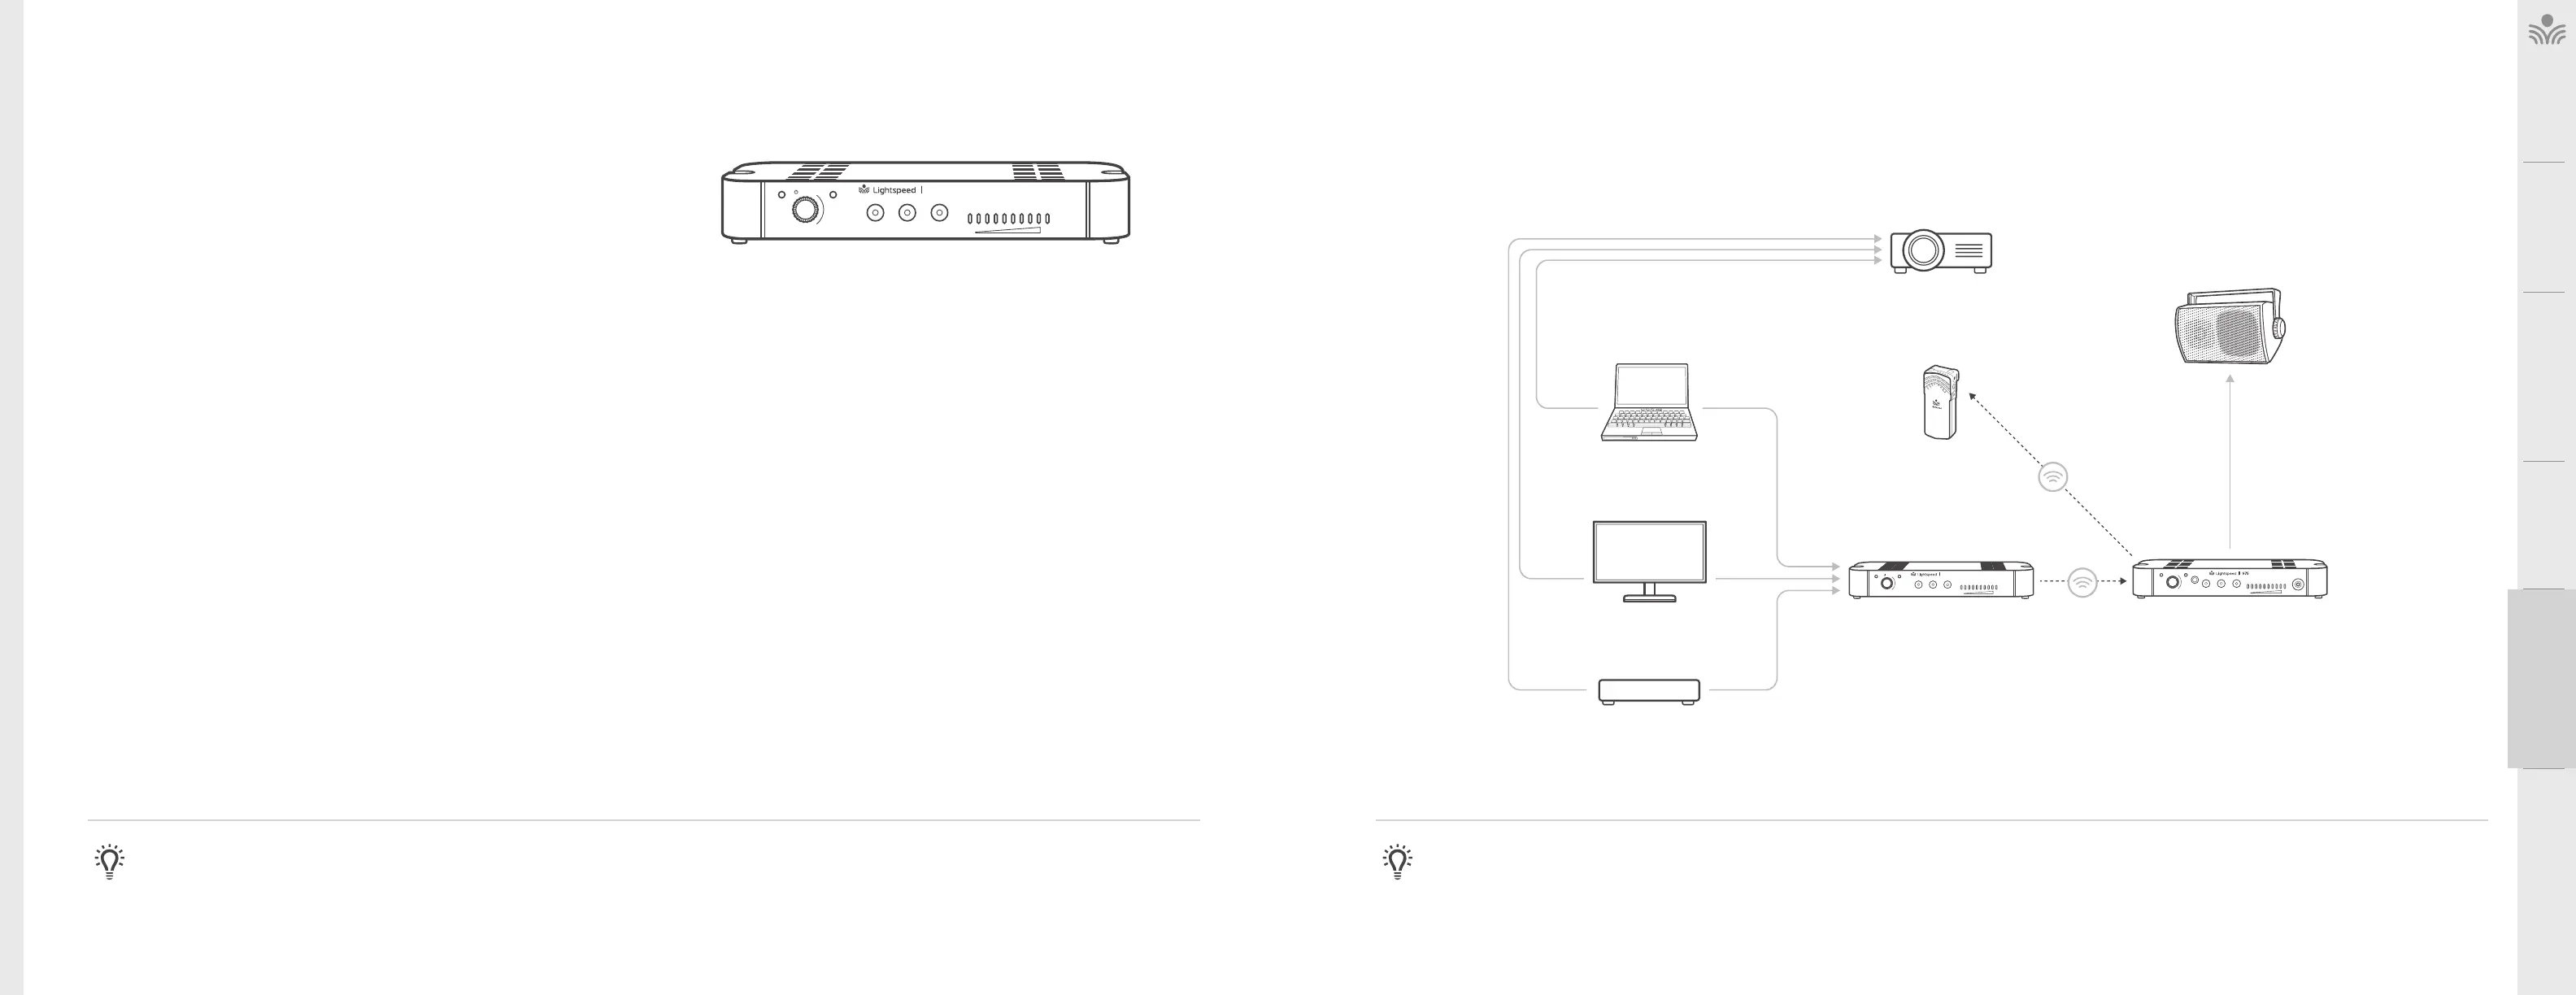
. OPTIONAL MEDIA CONNECTOR AUDIO INTEGRATION
The Media Connector is designed to integrate with the 975 and multiple audio sources,
allowing other instructional technologies to be clearly heard throughout the classroom.
NOTE ON INTEGRATION: If the Media Connector is not included in installation, a 3.5mm audio cable may be connected from the audio source to the audio input on the back of
the 975. Take precautions as necessary to prevent and guard against electromagnetic and electrostatic noise interference. Long cable runs, unshielded and / or poorly shielded
cable, multiple ground paths and improper grounding may all contribute to the production of a low frequency hum. In most cases a ground loop isolator (not provided) placed in
line will attenuate or possibly eliminate the hum.
Audio
Input
Audio
Output
Tone
Level
Push
StatusPower
Media
Connector
Audio
Input
Audio
Output
Audio
Output
Tone
Level
Push
StatusPower
DVD
Video Out Audio Out
Video Out
Video In
Access Transmission
Access
Transmission
Audio Out
VGA Out Audio Out
Audio In
INTERACTIVE
DISPLAY
MEDIA CONNECTOR
TEACHER’S
MICROPHONE
PROJECTOR
SPEAKER(S)
LAPTOP