CHAPTER 6 TRANSMISSION ATV SERVICE MANUAL 09.0
CHAPTER 6 TRANSMISSION PAGE. 6-
12
along with sprocket and chain.
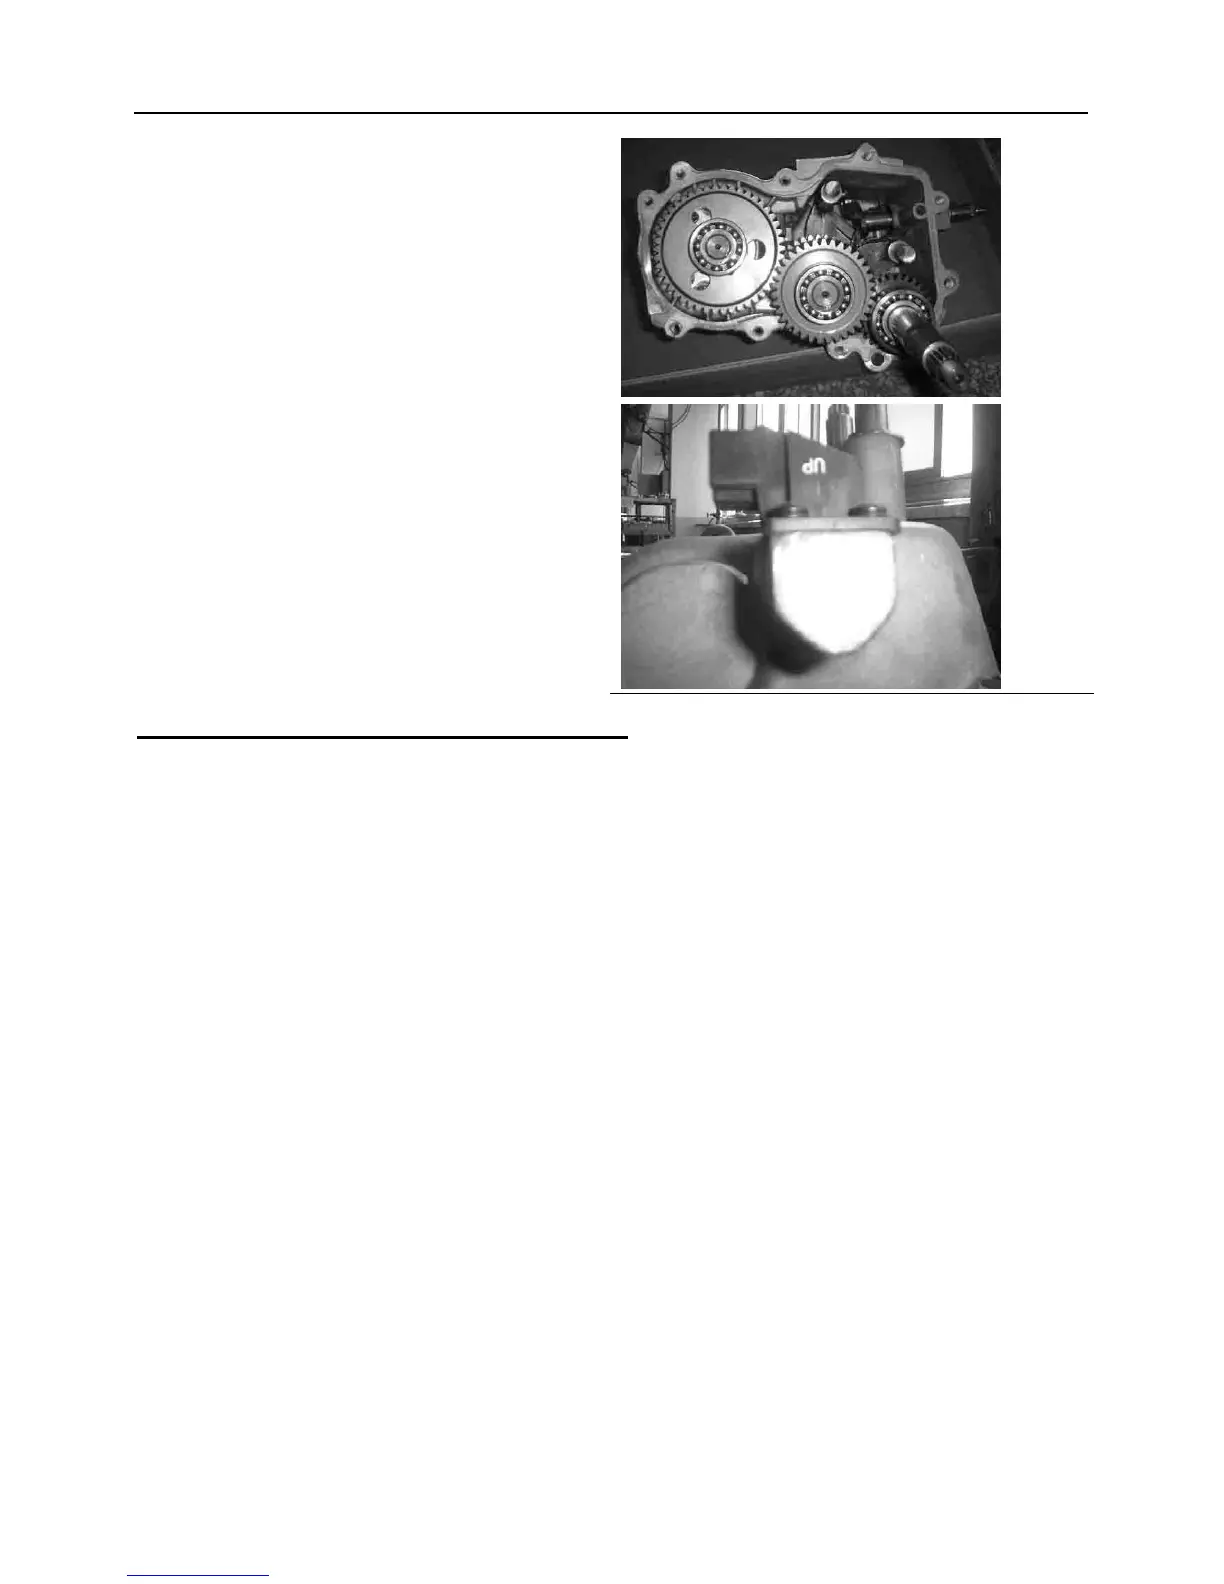
13.Prior to reinstalling the cover make sure
the mating cover surfaces are clean and
dry, and shafts are fully seated in
transmission case. Apply silicon to
mating surfaces.
14. Reinstall main cover and torque bolts in a
cross pattern in 3 step to 14 ft.lbs. (20Nm).
15. Install new input shaft seal.
16. Install drain plug with a new sealing
washer. Torque drain plug to 14 ft.lb. (19Nm).
17. Install transmission and add 80W/90 oil in
the recommended amount. Refer to
Maintenance Chapter.
18. Install gear indicator switches. Apply
Loctite
TM
242 (blue) to threads of switch
screws and torque to 13-16 in. lbs. (1.5-1.9
Nm).
6.10 TROUBLE SHOOTING CHECKLIST
Check the following items when shifting difficulty is encountered
zIdle speed adjustment
zTransmission oil type/quality
zDriven clutch (CVT) deflection
zLoose fasteners on rod ends
zLoose fasteners on gear shift box
zWorn rod ends, clevis pins, or pivot arm bushings
zLinkage rod adjustment and rod end positioning
zShift selector rail travel
z *Worn, broken or damaged internal transmission components
Check the following items when transmission locked
z Gear shifter malfunction (Selector lever end come out from slides notches), engage the
Hi and Lo Gear at the same time.
*NOTE : To determine if shifting difficulty or problem is caused by an internal transmission
problem , isolate the transmission by disconnecting linkage rods from transmission bell cranks .
Manually select each gear range at the transmission bell crank, and test ride vehicle. If it
functions properly, the problem is outside the transmission.
If transmission problem remains, disassemble transmission and inspect all gear dogs for wear
(rounding), damage. Inspect all bearings, circlips, thrust washers and shafts for wear.
 Loading...