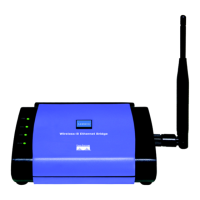
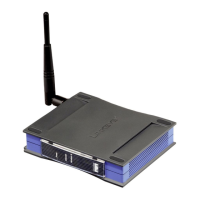
Wireless-G Ethernet Bridge
3. Make sure the Bridge is correctly connected to your wired network (see
Figure 5-2). Then click the Next button.
4. The screen shown in Figure 5-3 displays a list of Wireless-G Ethernet
Bridges on your network, along with the status information for each Bridge.
(If you have only one Bridge on your network, it will be the only one dis-
played.) Select the Bridge you are currently installing by clicking its name
in the Selection box. Write down the IP address of the Wireless-G Ethernet
Bridge, so you can use it to access the Web-based Utility later. Then click
the Ye s button.
9
Instant Wireless
®
Series
8
Figure 5-2
Figure 5-3
Chapter 5: Setting Up the
Wireless-G Ethernet Bridge
Now that you’ve connected the Wireless-G Ethernet Bridge to your wired net-
work, you are ready to set it up. The Setup Wizard will guide you through all
the steps necessary.
1. Insert the Setup CD-ROM into your PC’s CD-ROM drive. The Setup
Utility should run automatically, and the screen in Figure 5-1 should appear.
If it does not, click the Start button and choose Run. In the field that
appears, enter D:\setup.exe (if “D” is the letter of your CD-ROM drive).
• Setup - Click the Setup button to proceed with the Setup Wizard.
• User Guide - Click the User Guide button to open the PDF file of this User
Guide.
• LINKSYS Web - Click the LINKSYS Web button to access the Linksys
website using an active Internet connection.
• Exit - Click the Exit button to exit the Setup Wizard.
2. Click the Setup button to begin the setup process.
Figure 5-1
 Loading...

