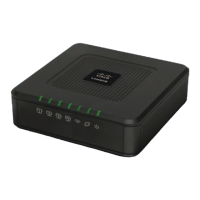
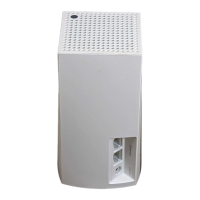
Wireless-G Ethernet Bridge
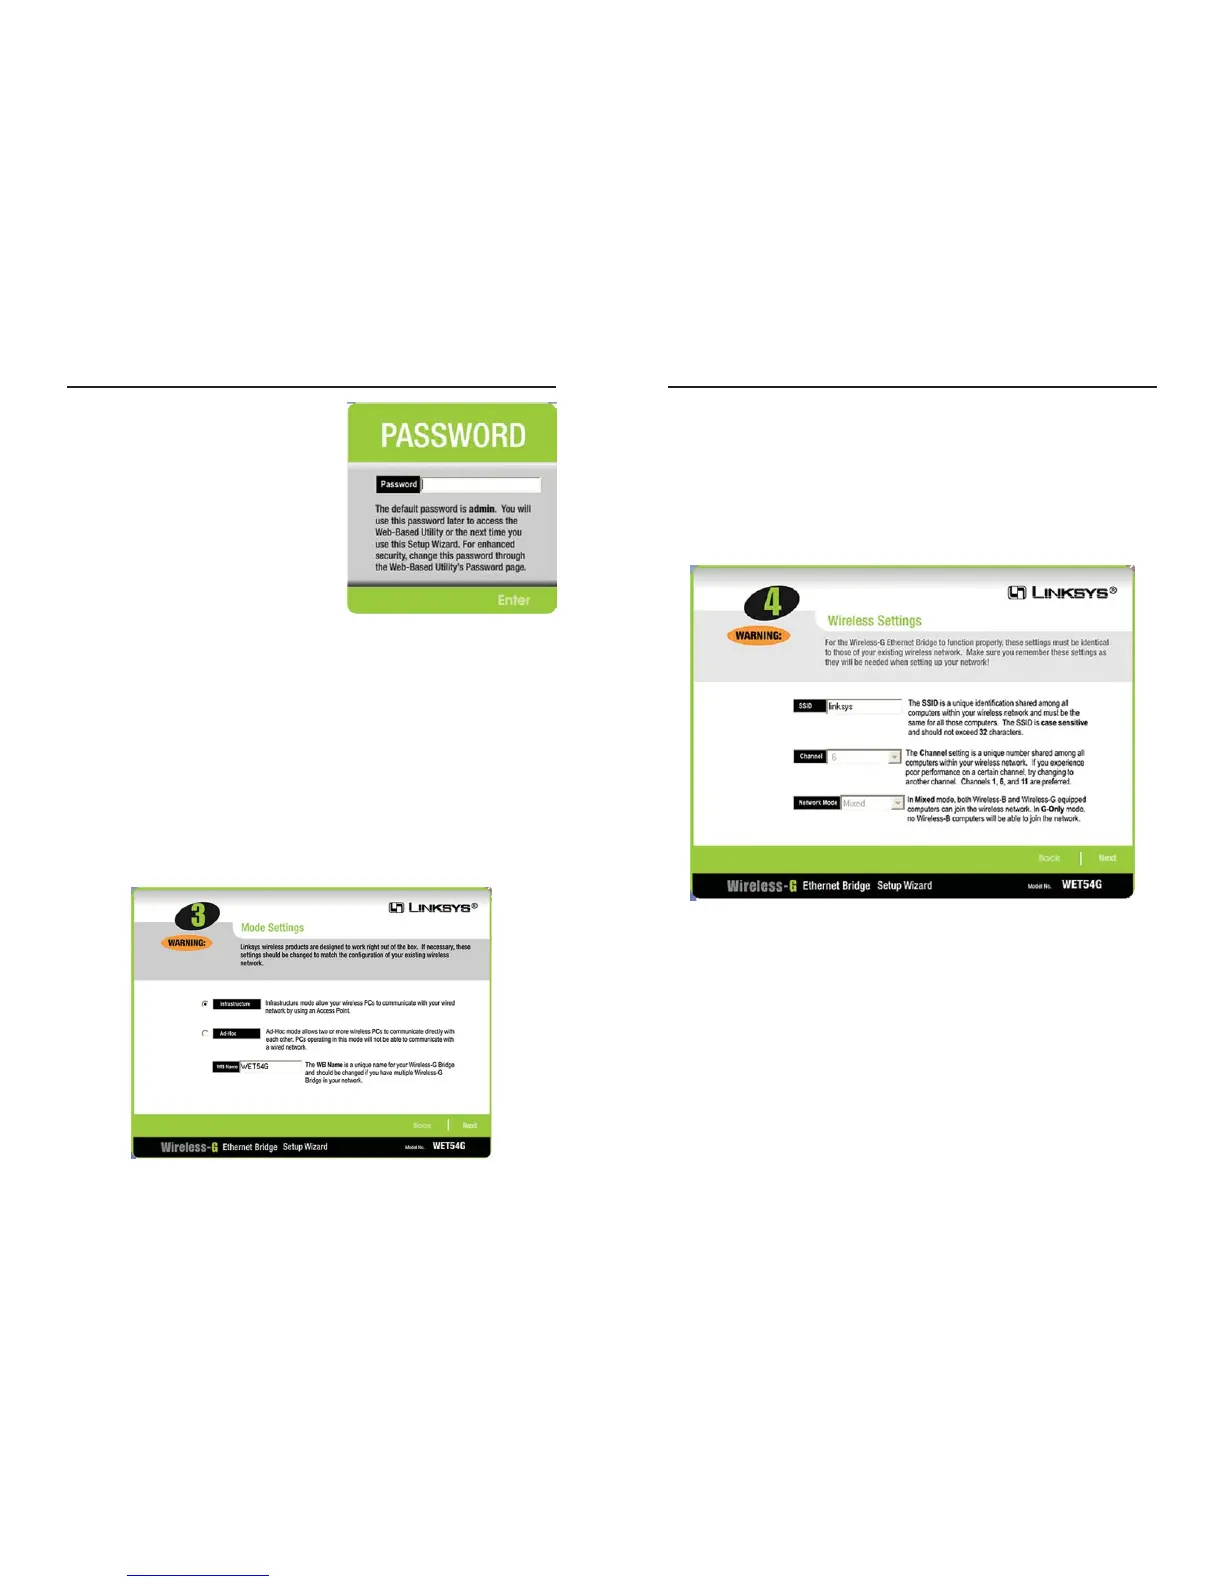
7. The Wireless Settings screen will now appear. Enter your wireless network’s
SSID. If you chose Ad-Hoc mode, select the channel at which the network
broadcasts its wireless signal.
If you have Wireless-G (draft 802.11g) and Wireless-B (802.11b) devices in
your network, then keep the default Network Mode setting, Mixed. If you
have only Wireless-G devices, select G-Only. Then click the Next button to
continue or the Back button to return to the previous screen.
• SSID - The SSID is the unique name shared among all devices in a wire-
less network. The SSID must be identical for all devices in the wireless net-
work. It is case-sensitive and must not exceed 32 alphanumeric characters,
which can be any keyboard character.
• Channel - From the drop-down menu, select the appropriate channel to
match your network settings (available for Ad-Hoc mode only). All devices
in your wireless network must use the same channel in order to function
correctly.
• Network Mode - Keep the default setting, Mixed, if you have Wireless-G
and Wireless-B devices in your network. Select G-Only if you have only
Wireless-G devices in your network.
11
Instant Wireless
®
Series
5. For security purposes, you will be asked
for your password in order to access the
Bridge. In lowercase letters, enter
admin in the Password field (later you
can change the password through the
Web-based Utility). Then click the
Enter button.
6. The screen shown in Figure 5-5 shows a choice of two wireless modes.
Click the Infrastructure radio button if you want your wireless computers
to network with computers on your wired network using a wireless access
point. Click the Ad-Hoc radio button if you want multiple wireless com-
puters to network directly with each other. Do not use the Ad-Hoc mode if
you want to network your wireless computers with computers on your wired
network.
In the WB Name field, enter a unique name for the Bridge. Memorable
names are helpful, especially if you are using multiple bridges on the same
network. Click the Next button to continue or the Back button to return to
the previous screen.
10
Figure 5-6
Figure 5-4
Figure 5-5
 Loading...