19
I
f you have installed the electrocoupler
upgrade kit on your F3-A powered unit
only or on both F3-A units, and choose to
run your non-powered A unit facing for-
ward, you will need to program a 1 engine
consist so you can take advantage of the
remote coupler feature. You must first
assign your non-powered F3-A unit a differ-
ent I.D.# from your powered F3-A unit.
Follow directions as shown on page 18.
Place the non-powered F3-A in the lead fac-
ing forward, connected to the powered F3-A
unit facing rearward, and follow these sim-
ple steps shown below. After you have pro-
grammed your F3-A set like this, it will
answer to a TR (train# you selected) com-
mand and when you press R the electrocou-
pler on your powered F3-A will open. If you
have installed an electrocoupler on your
non-powered F3-A unit and have pro-
grammed your F3-A set like this ,it will
open when you press F. Also, when you pro-
gram you F3-A set like this you will have
directional lighting.
I
f you choose to run your powered F3-A
unit facing forward, and have installed
electrocouplers on either unit, or both, no
re-programming is necessary.
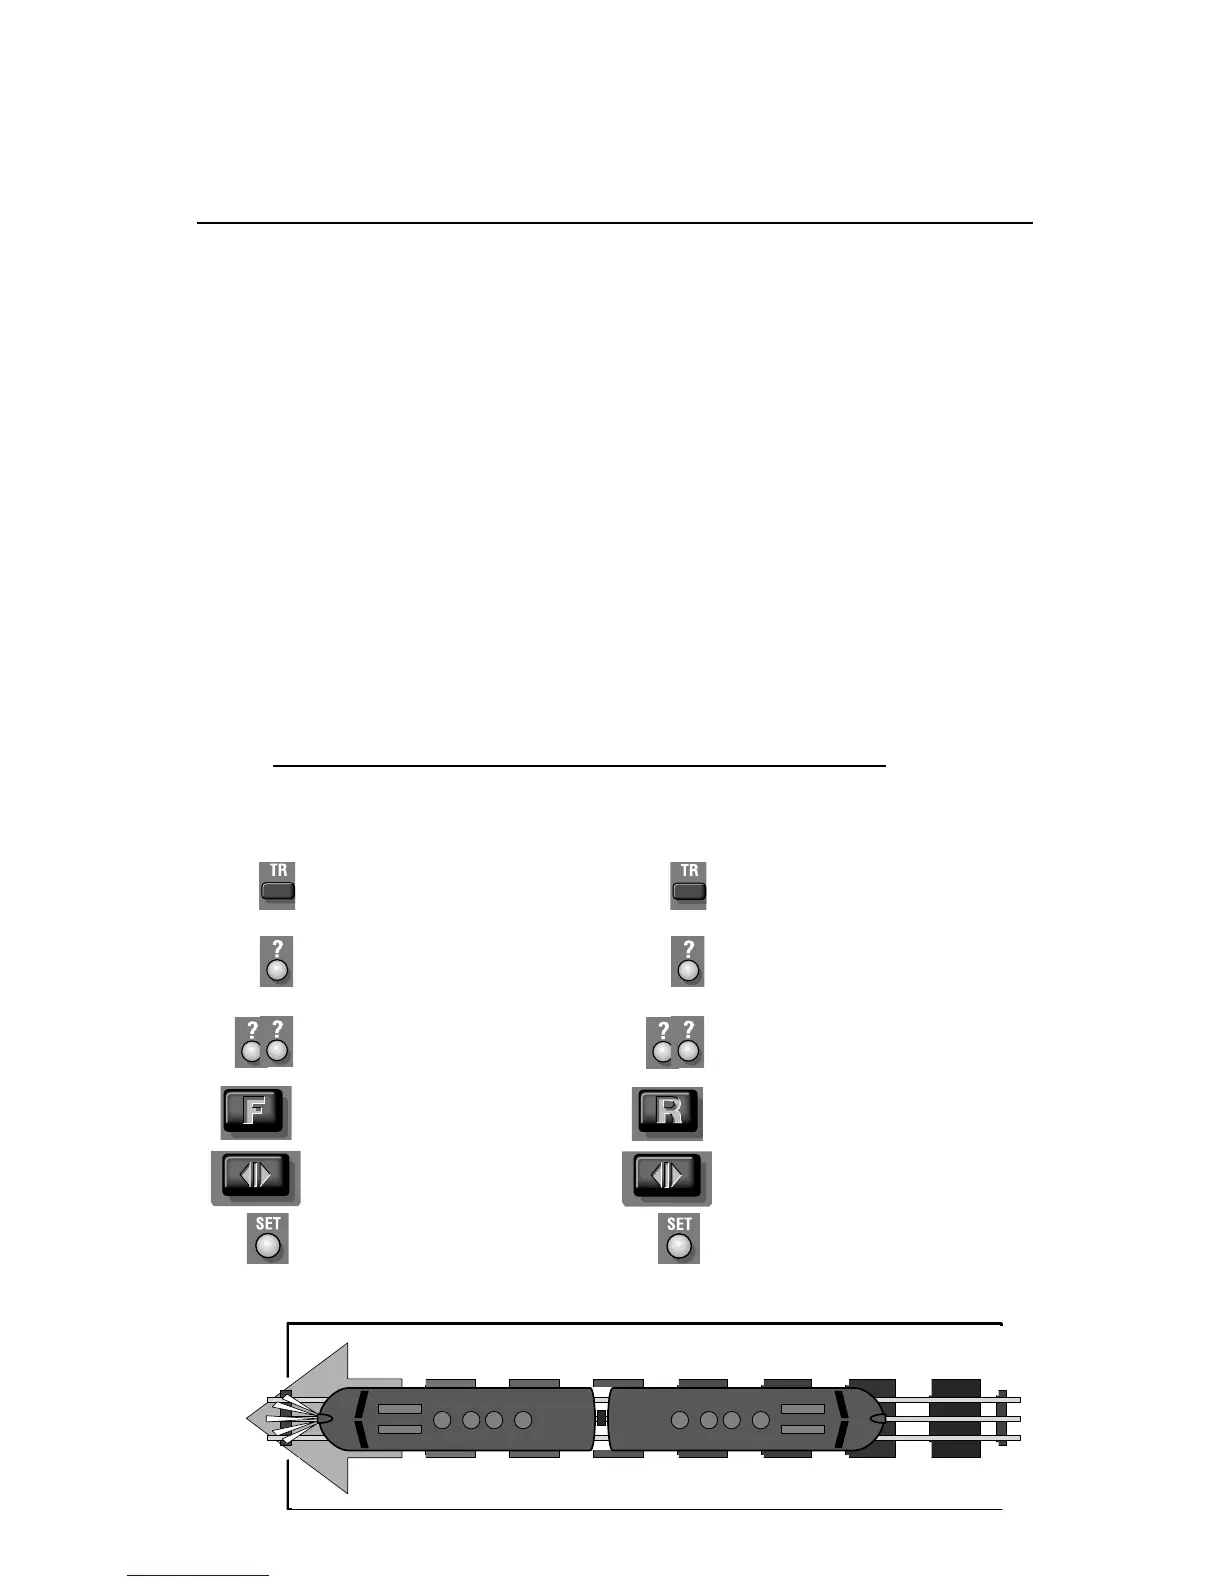
TrainMaster Command operations
Programming your F3A set to use your Electrocouplers
Leave powered A unit program
switch set to run
Hear the horn/whistle blow
Press TR
Press SET
Press ? (the train num-
ber you select 1-9)
Press R
Press DIR
Press ?? (the engine
number you assigned it
1-99)
Leave Non-powered A unit
program switch set to run
Hear the horn/whistle blow
Press TR
Press SET
Press ? (the train num-
ber you select 1-9)
Press F
Press DIR
Press ?? (the engine
number you assigned it
1-99)
Powered F3-A unit
Non-powered F3-A unit