Rev: 03.26.20 Page 3 CCD-0001371
Installation
NOTE: All screws supporting the awning assembly MUST have a backer within the structure of the wall
of the unit. Refer to unit manufacturer for proper location.
NOTE: The slide-out of the unit that the Solera Slide Topper is being installed on should not be opened
more than 8".
Installing the Awning Rail (If Necessary)
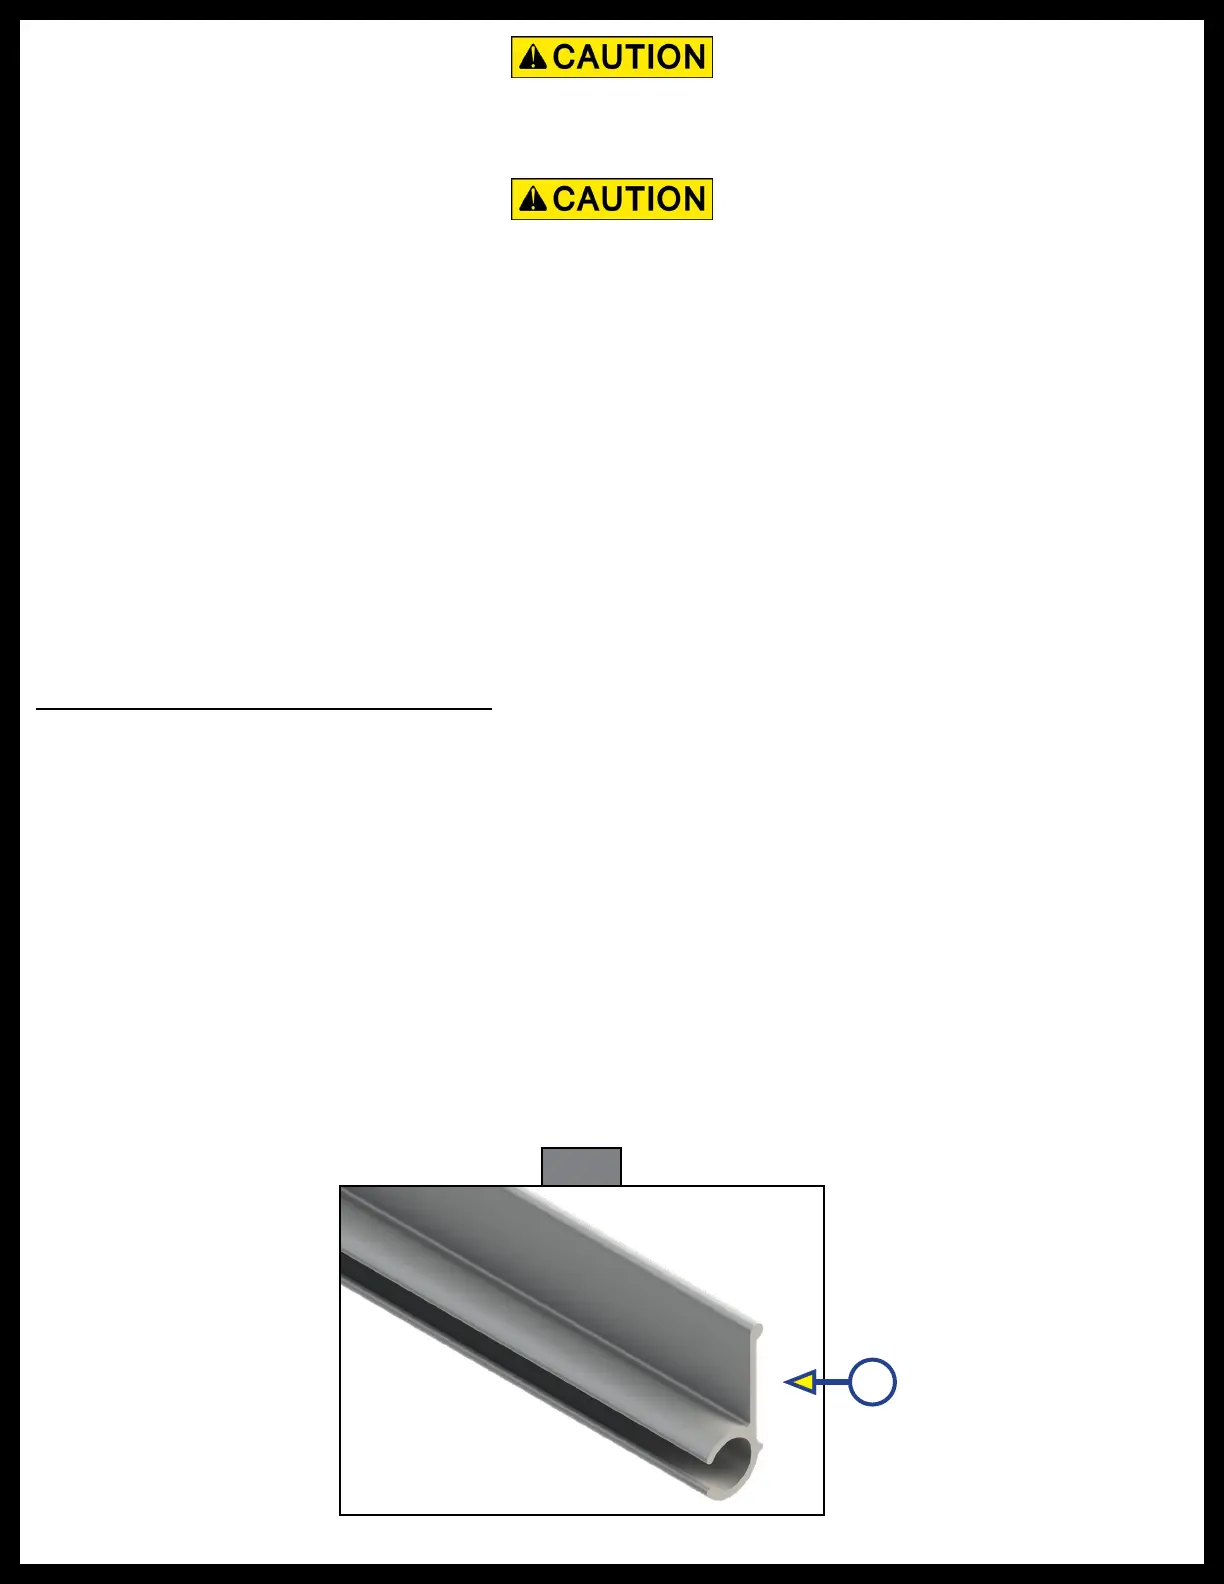
NOTE: Awning rail not included.
NOTE: Check the roof line to see if there is an awning rail pre-installed. If there is not, proceed to step one
of this section. If there is, proceed to the next section of this manual.
1. Position the awning rail along the line where the roof and wall meet or a minimum of 3" to 6"
maximum, above the upper edge of the slide room the awning will cover. The awning rail must be
level and parallel with the floor line of the unit.
NOTE: If mounting the Solera Slide Topper access plate on the T-molding, see "Installing Solera Slide
Topper Access Plate" section (Fig.6), the awning rail must be a minimum of 4
½
" above the upper
edge of the slide room the awning will cover.
2. After determining the awning rail's proper location, mark its position with a non-permanent
method of marking.
3. Apply sealant to the back of the awning rail (Fig.1A).Align the awning rail on the wall and secure with
#8 - 18 X 1”screws, using all fastener holes.
Resources Required
• 1-2 people, depending on task
• Cordless or electric drill or screw gun
• Appropriate drive bits
• Screwdriver
• (2) #6 x
½
" hex head screws
•
⁄
” Hex key wrench
• Tape measure
• Silicone sealant or butyl tape
• Silicone lubricant
Always wear eye protection when performing service, maintenance or installation procedures.
Other safety equipment to consider would be hearing protection, gloves and possibly a full face
shield, depending on the nature of the task.
Moving parts can pinch, crush or cut. Keep clear and use caution.
A
Fig. 1