Rev: 03.26.20 Page 4 CCD-0001371
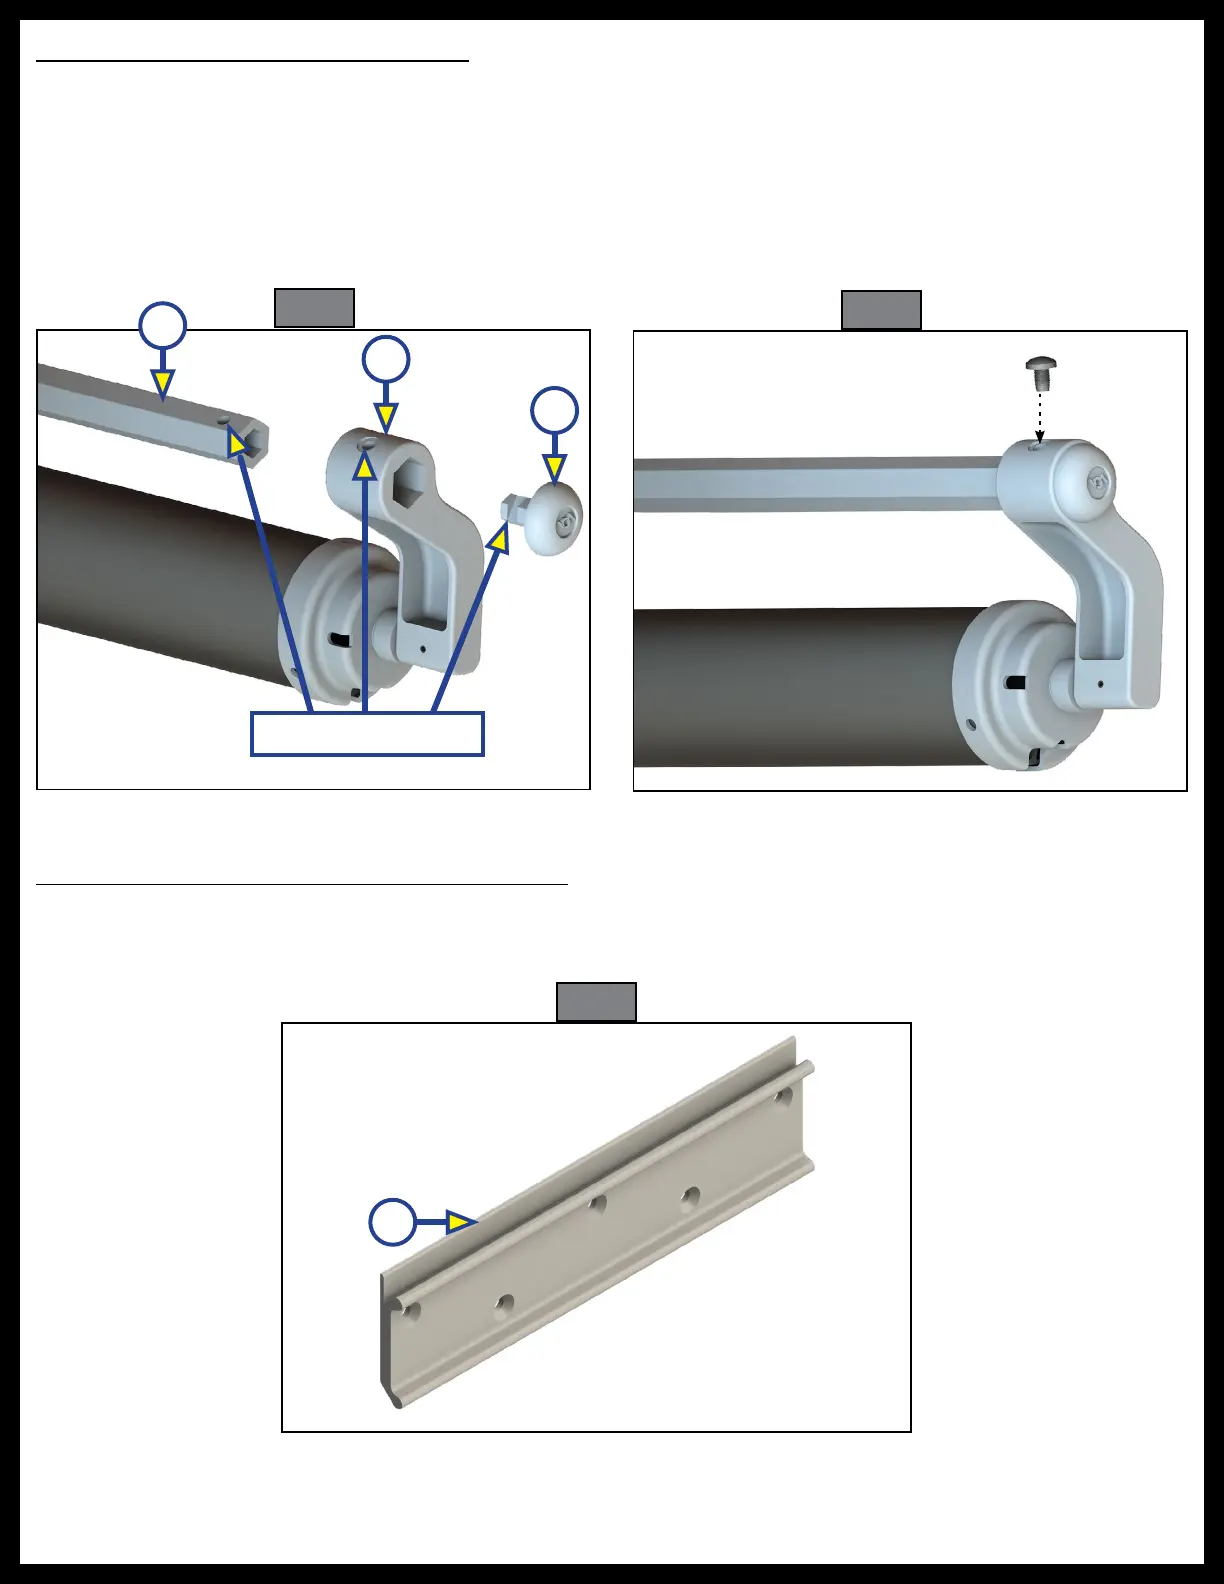
Installing the Solera Slide Topper Access Plate
The access plate (Fig. 4) can be mounted with the flat edge (Fig. 4A) at the top or bottom, depending on
which option allows for a more square installation on the unit.
Assemble the Extension Rod and Cap
1. Slide the extension rod (Fig. 2A) into the spring head assembly torsion arm (Fig. 2B), aligning the
fastener locations (Fig. 2).
2. Slide the spring head assembly torsion arm end cap (Fig. 2C) into the extension rod (Fig. 2A), aligning
all three fastener locations (Fig. 2). Fasten using the provided 1/4” - 20 x 5/8” slotted pan head,
self-tapping screw (Fig. 3).
3. Repeat steps 1 and 2 for the opposite end.
A
Fastener Locations
A
B
C
Fig. 2
Fig. 3
Fig. 4