Rev: 03.26.20 Page 8 CCD-0001371
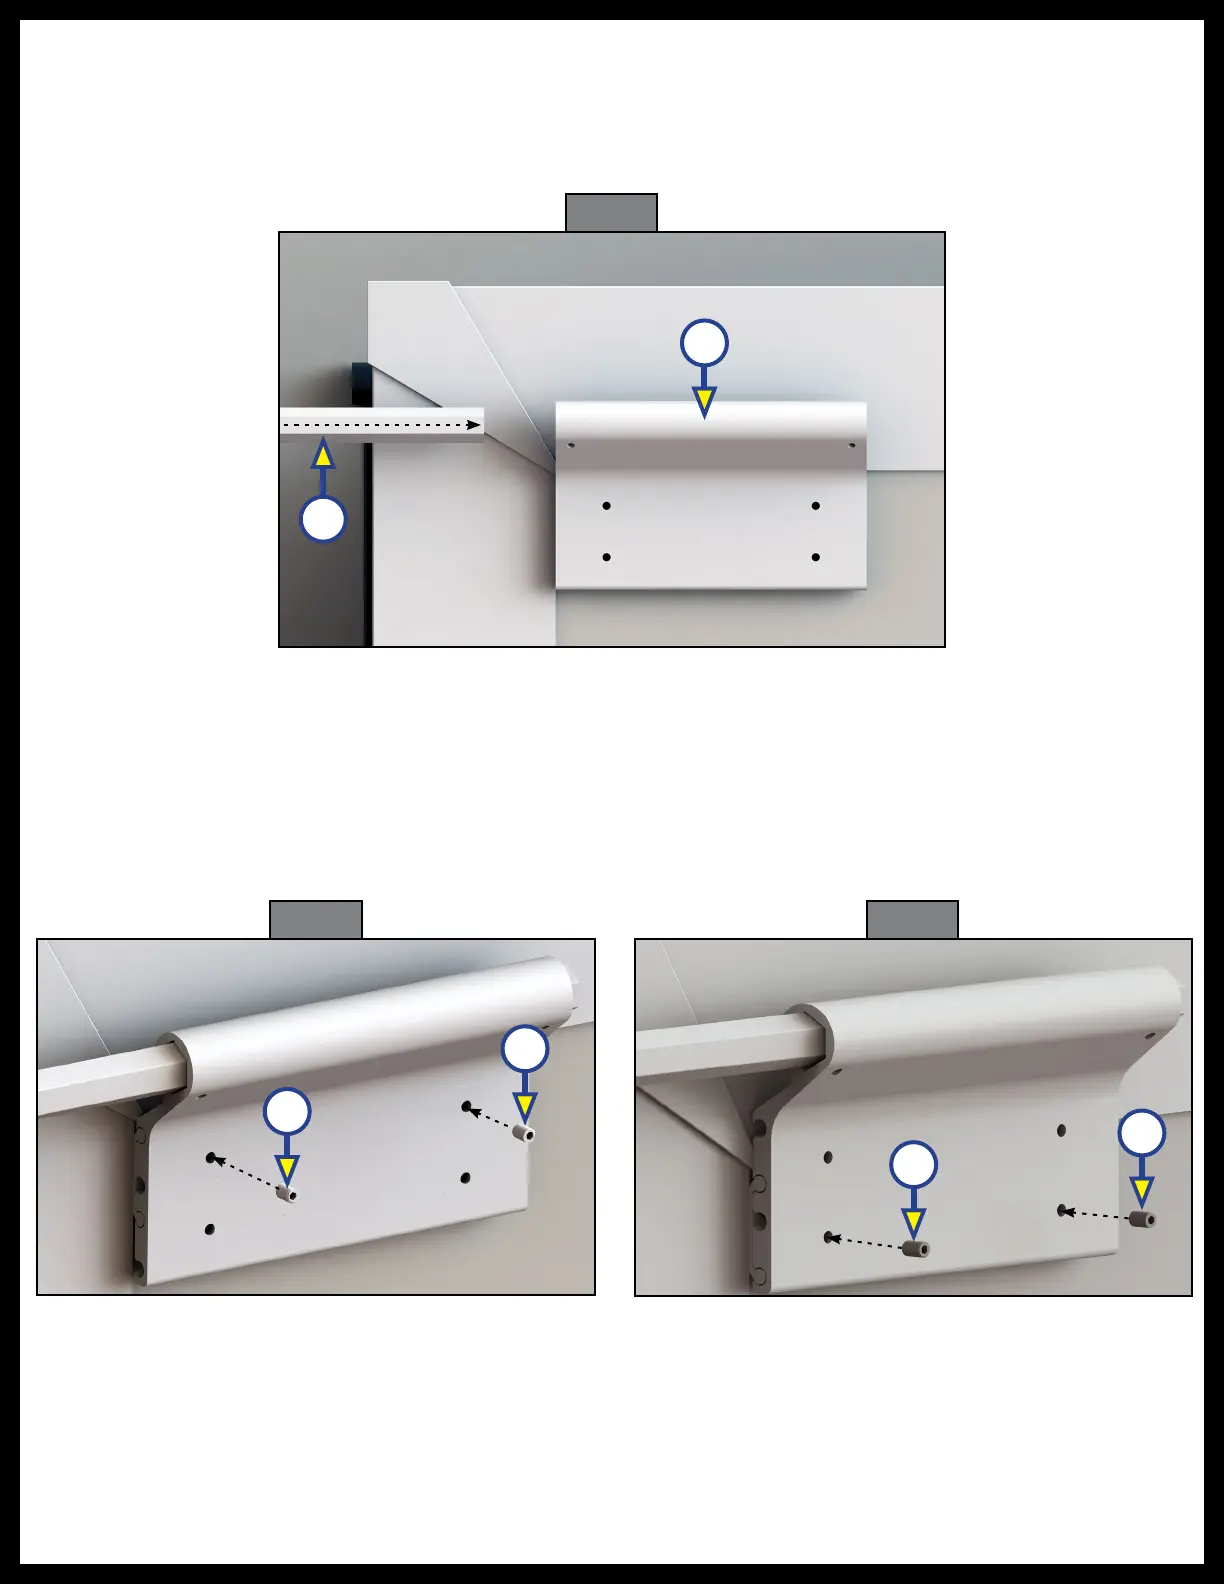
6. Feed one of the extension rods (Fig. 12A) into an access bracket (Fig. 12B). By pulling the extension
rod all the way into the access bracket, the opposite end extension rod can now slide into the access
bracket at the opposite end.
NOTE: If needed, the access brackets can slide left or right to assist in getting both extension rods into the
access brackets.
7. Position the extension rod so that the roll tube will not be touching the slide room.
NOTE: Make sure the access bracket (Fig. 9A) is flush with the access plate (Fig. 9B) attached above
or below the T-molding of the slide-out.
8. Install the two provided 1/4” - 20 x 1/2” set screws in the top two holes of the access bracket (Fig. 13A)
if using the lower position (Fig. 8). Install two set screws in the lower two holes of the access bracket
(Fig. 14A) if using the higher position (Fig. 9).
9. Center the Solera® Slide Topper over the slide room using a tape measure.
A
B
Fig. 12
Fig. 13 Fig. 14
A
A
A
A