Page 6 / 11
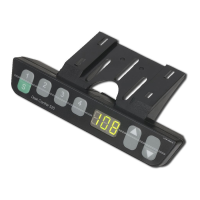
2.6 Handswitch Plug
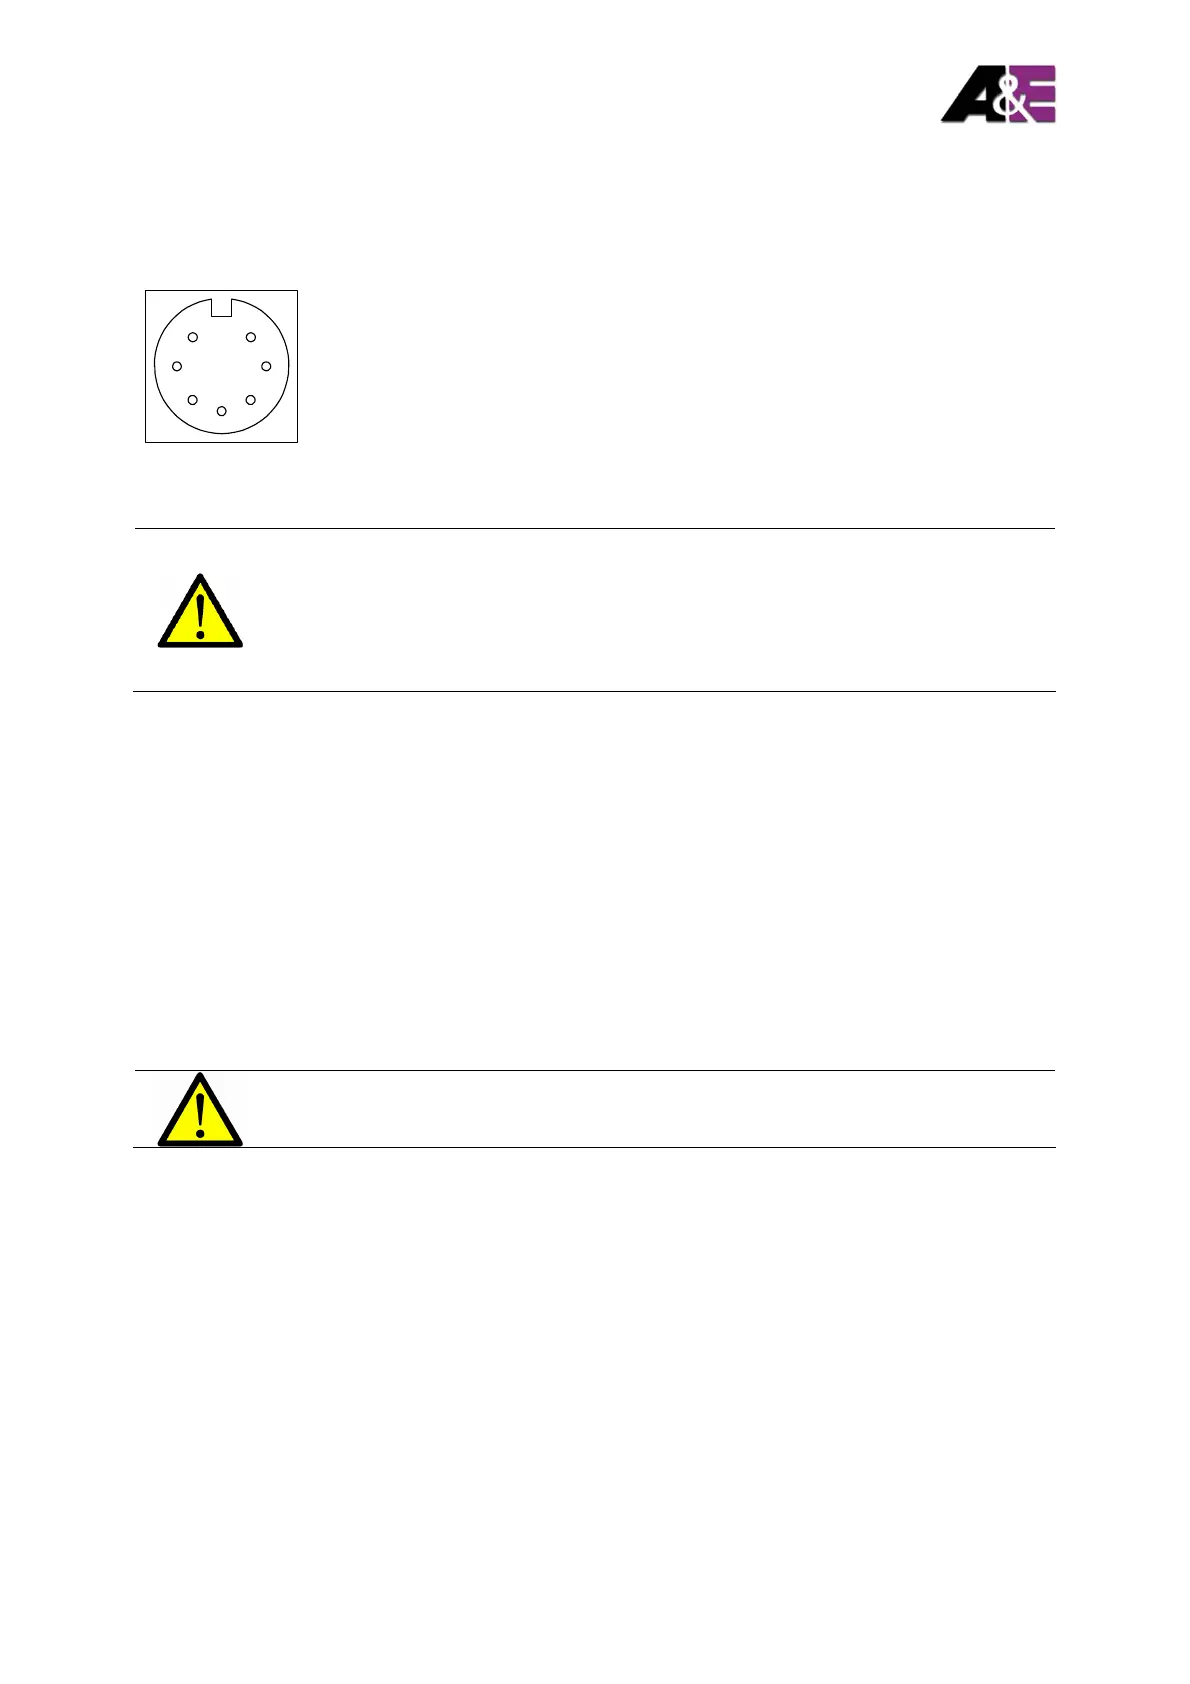
Pin assignment
Handswitch connector
3
2
1
5
4
7 6
(pin alignment according to DIN 45329)
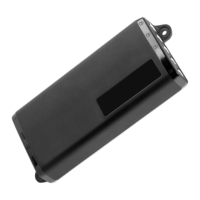
Caution: The HSU handswitch is only suitable for LOGICDATA motor
controls. To prevent damage of the unit, take care not to interchange
handswitch and motor sockets.
Colour code: Handswitch: blue
Motor: black
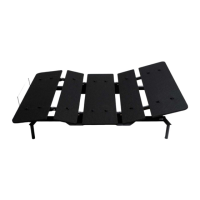
3. Mounting Instructions
Mount the HSU cable-handswitch underside your desktop in an appropriate position.
Following tools are required for installation:
• 1 screw driver
Please take note, that the handswitch is equipped with a shift mechanism. Therefore
always mount the handswitch in a drawn in position.
1. Unpack the handswitch.
Note: Dispose of the packaging material ecologically sound (separate
plastic foil and cardboard)!
2. Place the handswitch on the underside of your desktop on the position of choice.
Note that the handswitch should be reached comfortably. Its front side should not
protrude over the table’s edge.
3. Fix the mounting plate with the 6 enclosed screws.
1 HS1 5 HS4
2
HS3 6 +5V
3 n.c. 7 SER_OUT
4 HS2 Shield GND
n.c. not connected