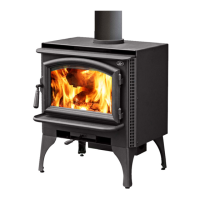
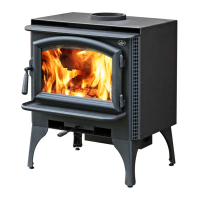
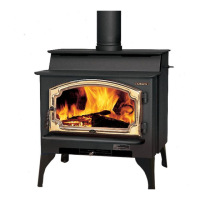
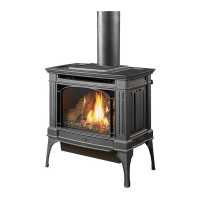
Stove Installation (for qualified installers only) 7
© Travis Industries 4/20/2020 - 1510 Answer
SAFETY NOTICE:
Please read this entire manual before you install and use your new room heater. Failure to
follow instructions may result in property damage, bodily injury, or even death. Contact local
building or fire officials about restrictions and installation inspection requirements in your area.
Planning The Installation
We suggest that you have an authorized Travis Industries dealer install your stove. If you install the
stove yourself, your authorized dealer should review your installation plans.
Check with local building officials for any permits required for installation of this stove and notify your
insurance company before proceeding with installation.
The location of your wood heater in your home will decide how affectively the heat produced will spread
throughout your house. Attention to the home design with consideration of natural convection and air
circulation should be taken into account when choosing the placement of your heater within the home.
Preparation for Installation
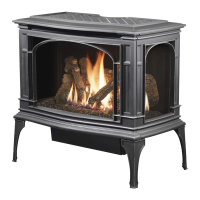
Check for damage to the exterior of the stove (dents should be reported, scratches can be fixed by
applying touch-up paint).
Check the interior of the firebox (replace cracked firebrick and make sure baffle is in place).
The stove can be lightened by removing the firebricks and baffle (pg 38) - replace before operation.
Additional Accessories Needed for Installation
Legs (for stoves) or Panels (for inserts)
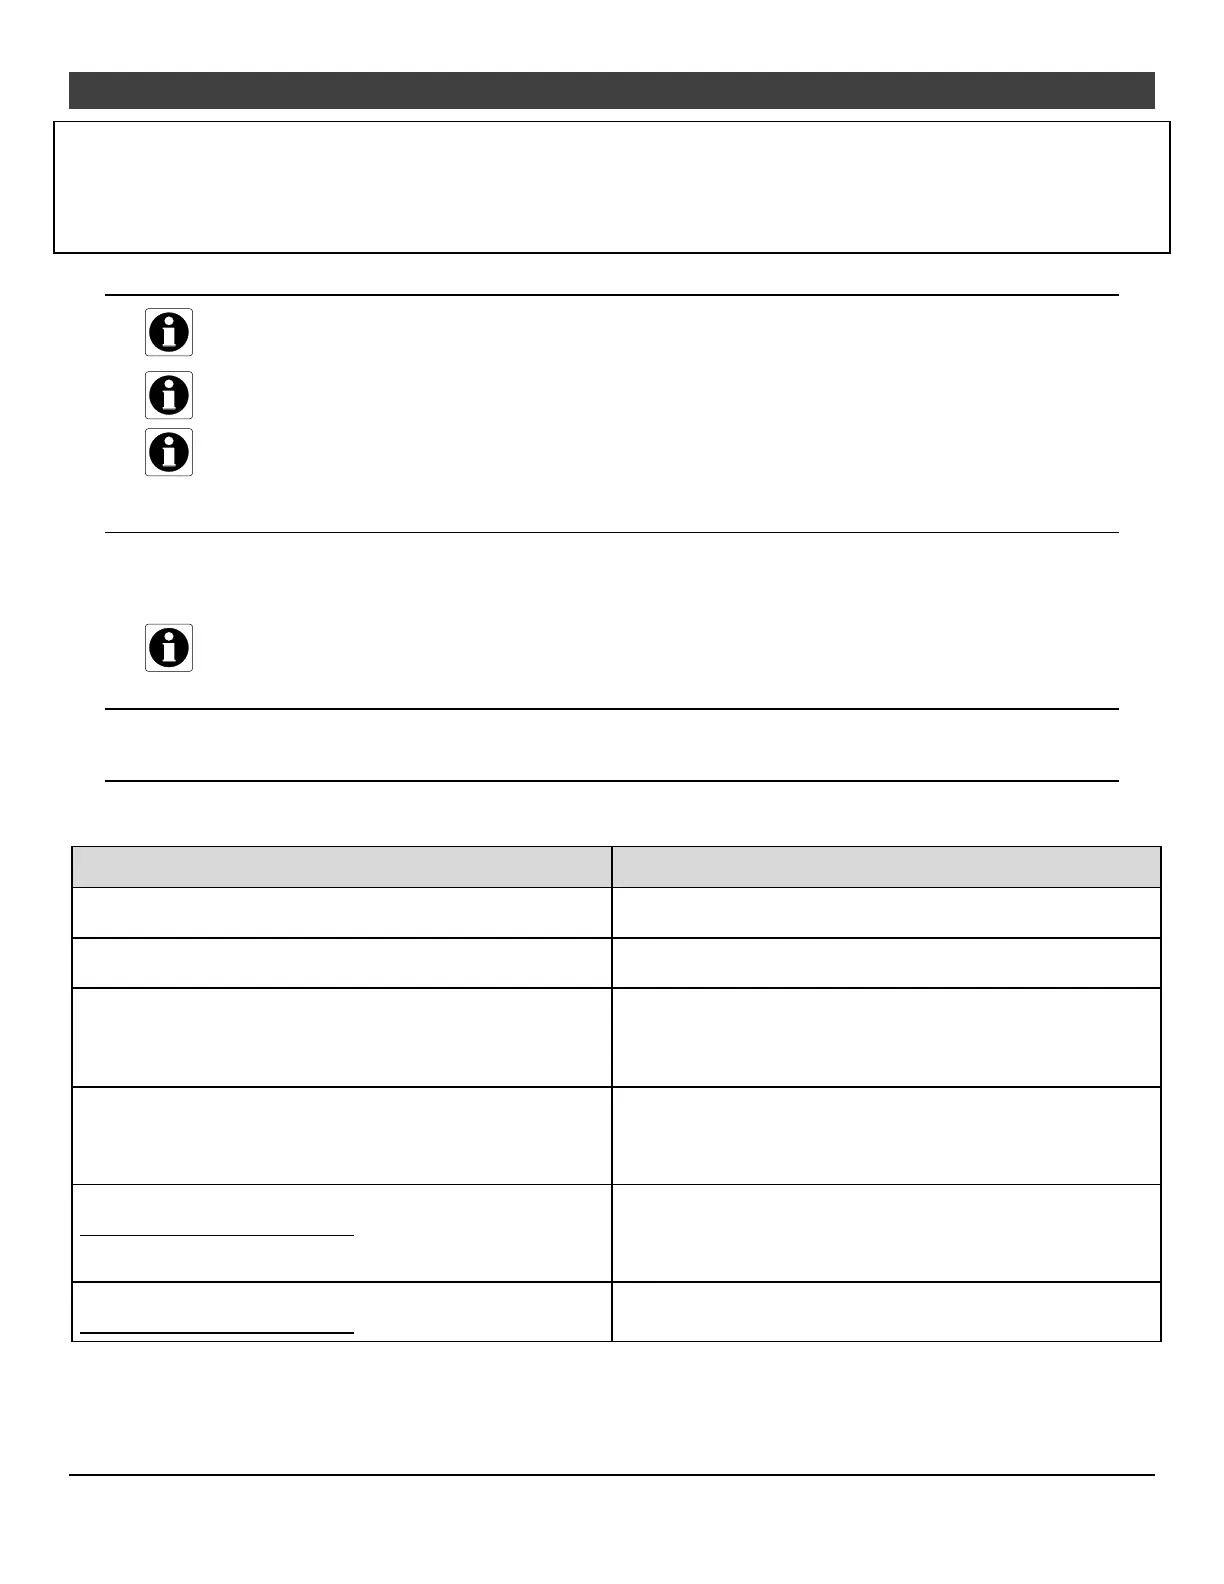
Stove Installation Considerations
The table below details the six most common types of installations and the considerations for each type.
Alternative methods of installation are available if they comply with local building codes.
Installation Type Considerations
Standard Ceiling with a Factory Built Chimney (Page 16)
Requires ceiling and roof penetration
Provides best draft
Cathedral Ceiling with a Factory Built Chimney (Page 16)
Cathedral style chimney support required
Provides best draft
Exterior Factory Built Chimney (Page 17)
Uses two elbows to route chimney outside
Exterior chimney is hidden from the room
Elbows reduce draft
Optional exterior chase reduces cold air blockage
Hearth Stove Positive Connection (Page 18)
Utilizes existing masonry or zero clearance (metal)
chimney
Provides good draft due to full reline
Easier to clean than direct or horizontal hearth stove
Hearth Stove Direct Connection (Page 18)
NOT APPROVED IN CANADA
Utilizes existing masonry or zero clearance (metal)
chimney
Requires construction of a "block-off plate"
Draft reduced due to elbows & chimney cross section
Interior Masonry Chimney (Page 19)
NOT APPROVED IN CANADA
Utilizes existing masonry chimney (not approved for
zero clearance (metal) fireplaces)
 Loading...