5
Installing the Camera
ENGLISH
4.2 Mounting Positions
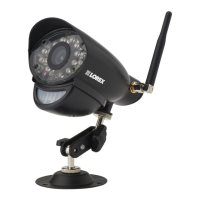
You may mount your cameras on a wall, ceiling, or counter. See the images below for
recommended configurations of the camera stand and antenna.
Wall Ceiling
Counter
NOTE: For ceiling installation, position the antenna as high as the ceiling allows. See the
"Ceiling" mounting position in the figure above.
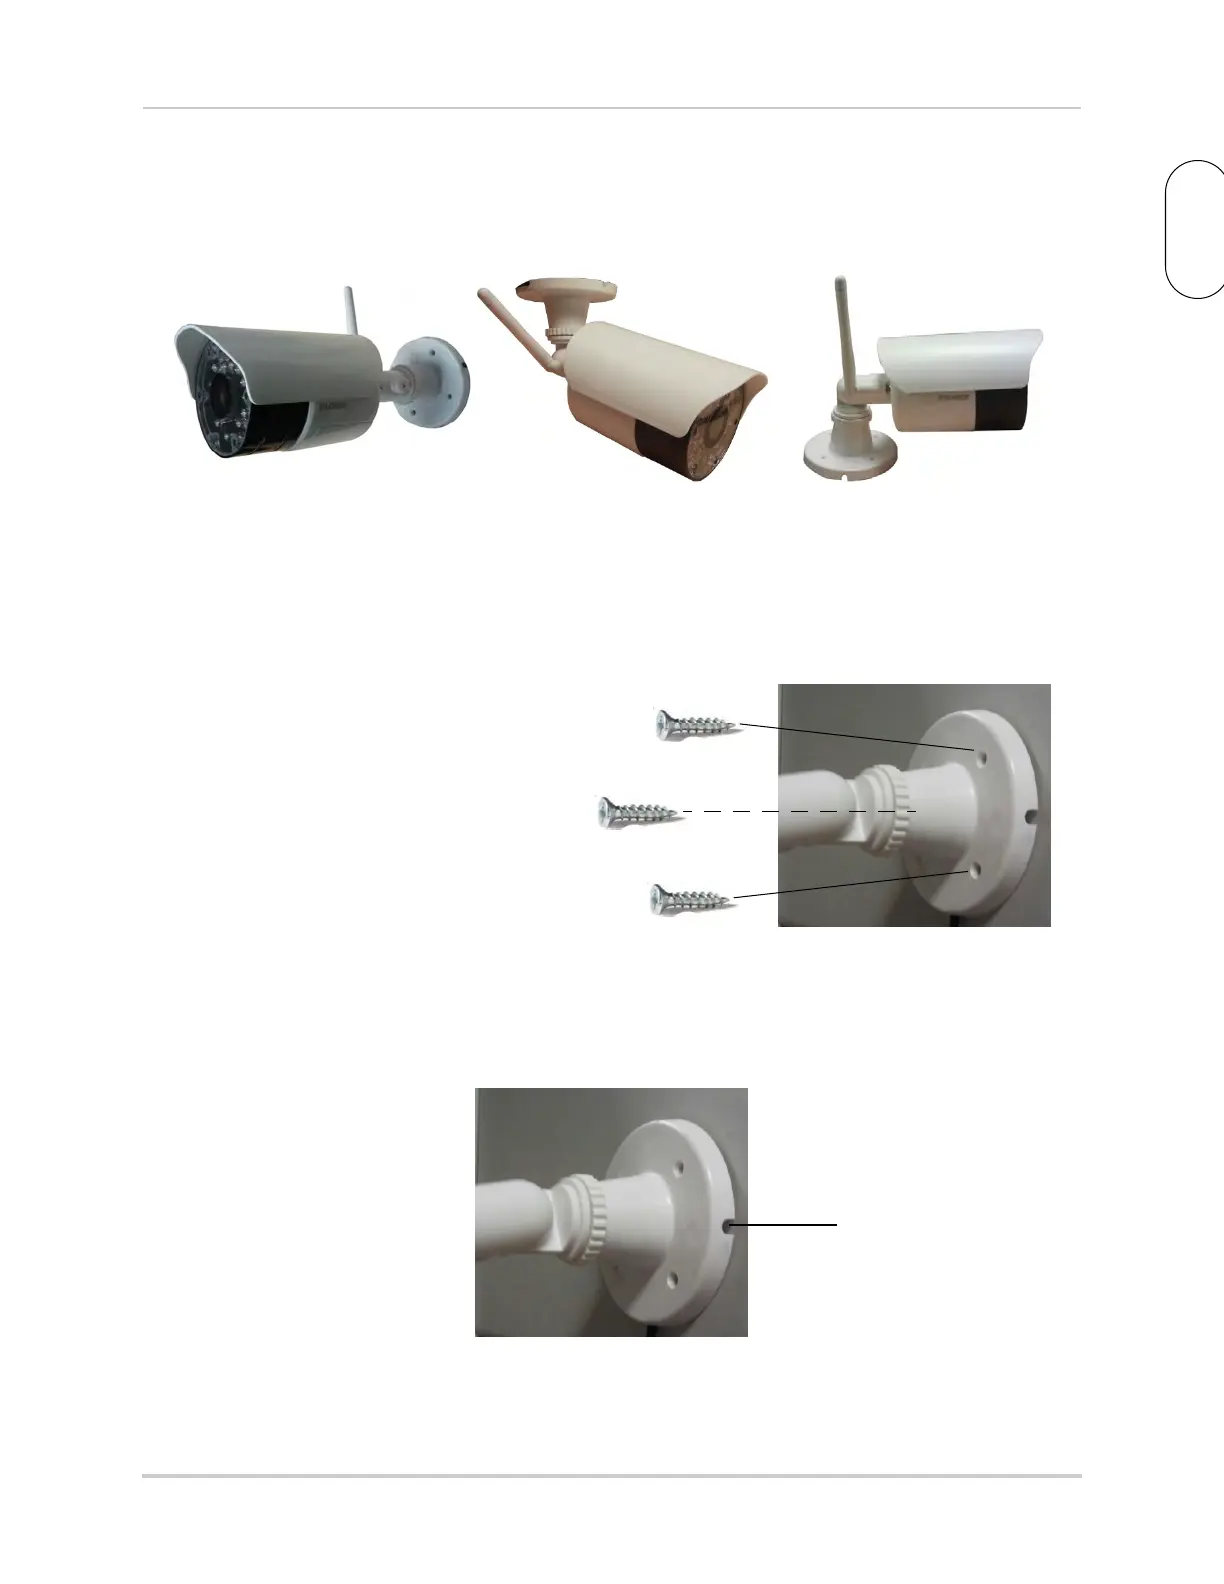
4.3 To Install the Cameras
1 Use the included mounting screws to mount the cameras to the mounting surface:
• Mark the positions of the screw holes
on the mounting surfac
e.
• Drill holes and insert the drywall plugs
(included) as needed.
• Firmly attach the cameras to the
mounting surface using the included
screws.
NOTE: If y
ou run the power cable through the mounting surface, connect power before
att
aching the camera to the wall.
NOTE: If you run the power cable along the mounting surface, the cable must go through
the c
able notch on the camera base. This will keep the camera base flush to the
mounting surface
Cable Notch