47
anti-clockwise and lift the click-stop lever (16).
2. Rotate the mitre table (21) with the operating hand-
le (4) to the 0° position using the mitre angle indicator
(18) and mitre angle gauge (20).
3. Retighten the mitre table locking knob to lock the
angle setting.
4. Lower the cutter head so the exposed blade is in the
blade channel (12) of the throat plate (13) and lock in
this position with the latching pin (46).
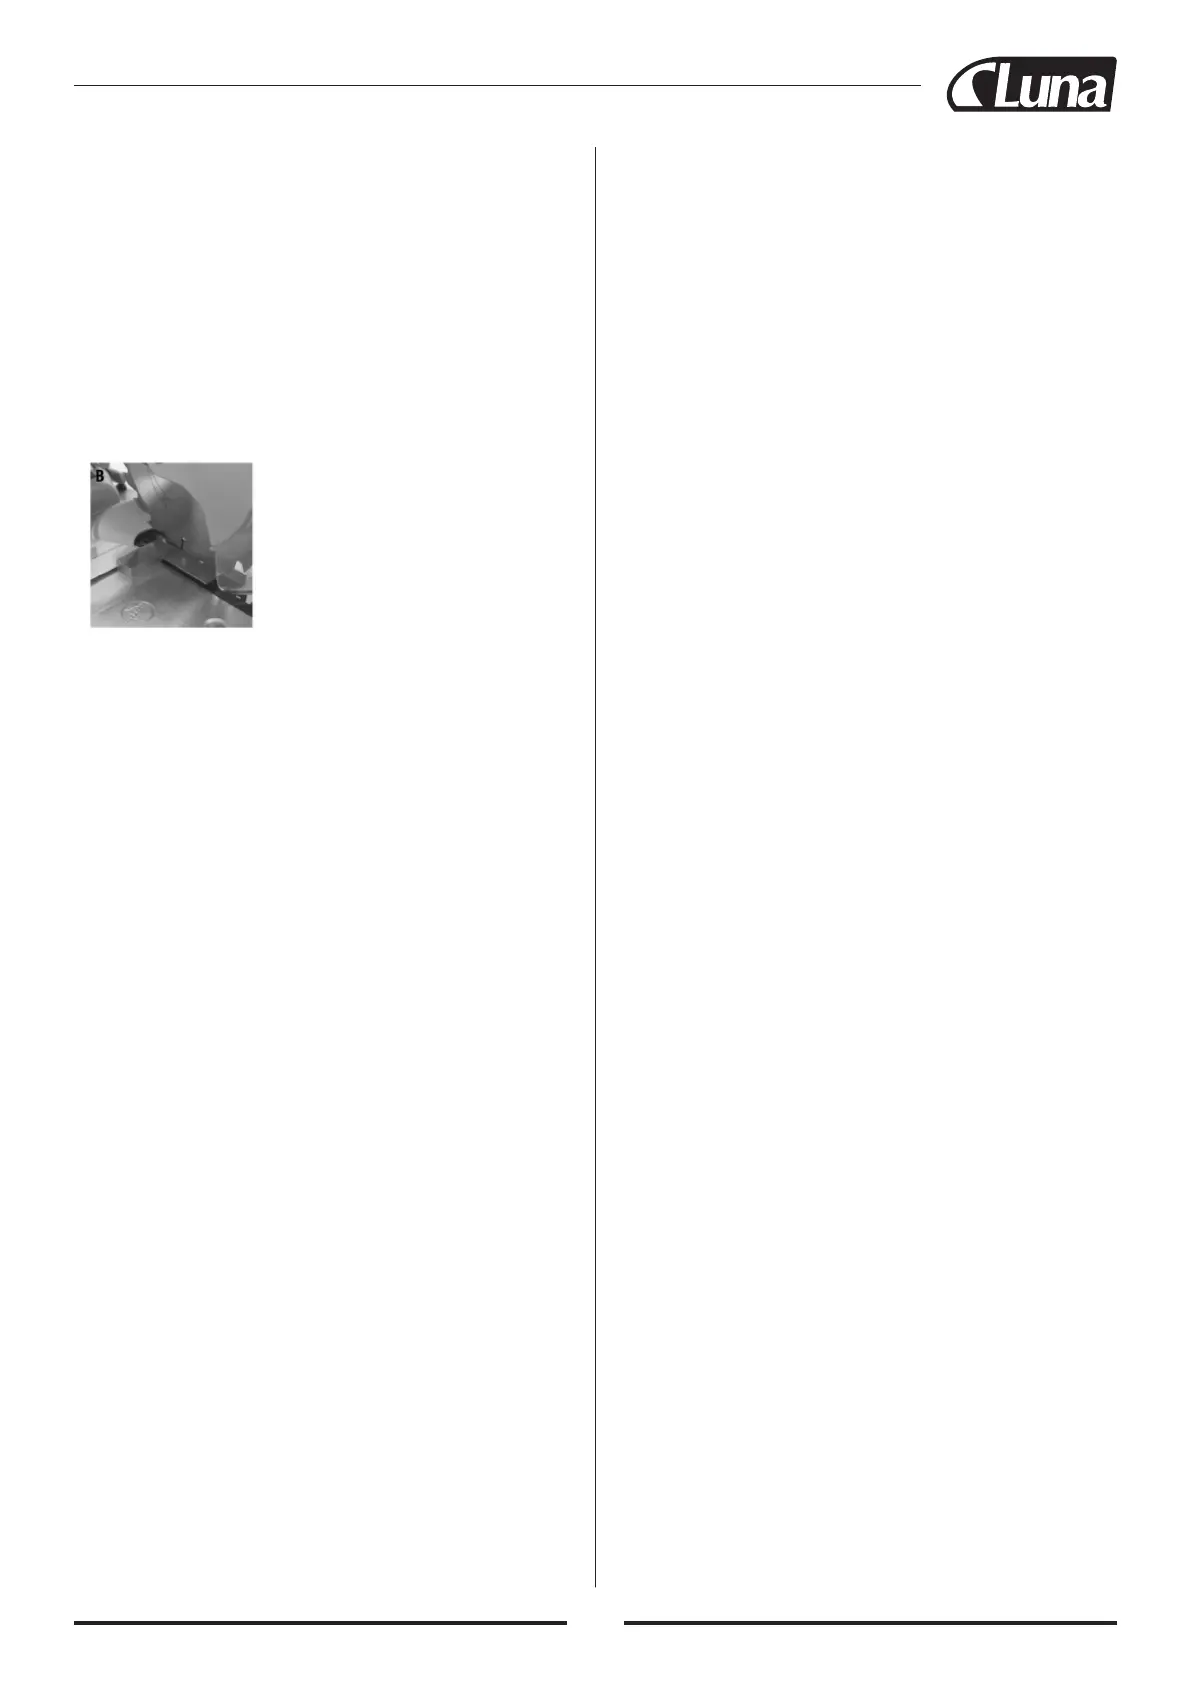
5. Use a set square to check the 90° angle between the
fence (22) and the saw blade (10) - see fig B.
Fig. B
6. Adjust the position of the Fence by loosening the
4 fence bolts (38) with the fence hex key (71) so the
fence is at exactly 90° using the set square.
7. Retighten the 4 fence bolts.
8. Release the latching pin and allow the cutter head to
return to its top position.
13.3 Replacing the throat plate
IMPORTANT: If the throat plate (13) is damaged or
heavily worn, it must be replaced to ensure safe opera-
tion of the tool. To replace the Throat Plate:
1. If necessary to remove the throat plate unscrew and
remove the 4 fence bolts (38) with the fence hex key
(71) and remove the fence (22).
2. Unscrew the throat plate screws (14) securing the
throat plate and remove the throat plate.
3. Clean the blade channel (12) and fit the new throat
plate. Refit and tighten the throat plate screws.
4. If previously removed refit the fence back to the
correct position and refit the fence bolts (38). Ensure
the fence is at the correct angle with a set square be-
fore tightening the fence bolts following ‘mitre angle
90° adjustment’.
13.4 General inspection
• Regularly check that all the fixing screws are tight.
• Inspect the supply cord of the tool, prior to each
use, for damage or wear. Repairs should be carried
out by an authorized GMC service center. This ad-
vice also applies to extension cords used with this
tool.
13.5 Cleaning
• Keep your tool clean at all times. Dirt and dust will
cause internal parts to wear quickly, and shorten
the machine’s service life. Clean the body of your
machine with a soft brush, or dry cloth. If available,
use clean, dry, compressed air to blow through the
ventilation holes.
• Clean the tool casing with a soft damp cloth using a
mild detergent. Do not use alcohol, petrol or strong
cleaning agents.
• Never use caustic agents to clean plastic parts.
13.6 Lubrication
• Slightly lubricate all moving parts at regular inter-
vals with a suitable spray lubricant.
13.7 Brushes
• Over time the carbon brushes inside the motor may
become worn.
• Excessively worn brushes may cause loss of power,
intermittent failure, or visible sparking.
• To replace the brushes, remove the brush access
covers (6) from both sides of the machine. Remove
the worn brushes and replaced with new. Replace
brush access covers. Alternatively, have the machi-
ne serviced at an authorized service center.
NOTE: Always replace carbon brushes in pairs.
13.8 Storage
• The cutter head can be lowered and secured by the
latching pin (36) to make the saw a smaller size for
storage. Store this tool carefully in a secure, dry
place out of the reach of children.
13.9 Disposal
Always adhere to national regulations when disposing
of power tools that are no longer functional and are
not viable for repair.
• Do not dispose of power tools, or other waste
electrical and electronic equipment (weee), with
household waste.
• Contact your local waste disposal authority for in-
formation on the correct way to dispose of power
tools.
 Loading...