I - Sheet Number I-20262 Rev.B
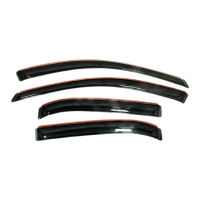
Every 3 months or 5000 miles check for loose hardware and tighten as necessary.
Tous les 3 mois ou 5000 miles vérifier pour le matériel en vrac et serrer si nécessaire.
Cada 3 meses o 5000 millas comprobar si hay herrajes sueltos y apriete según sea necesario.
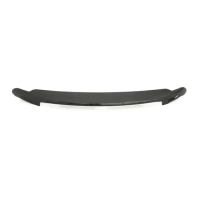
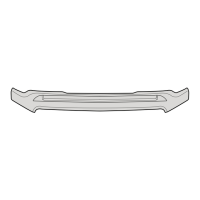
Wash only with mild soap and dry with a clean cloth.
Lavez seulement avec un savon doux et sec avec un chiffon propre.
Solo lavar con jabón suave y secar con un paño limpio.
•
•
The material that your product is made from can be recycled. Please also consider recycling the packaging that your product came in.
Le matériau à partir duquel votre produit est fabriqué est recyclable. Pensez également à recycler l'emballage
dans lequel votre produit a été livré.
El material del que está hecho el producto puede reciclarse. Considere también reciclar el embalaje en el que viene el producto.
Recycle
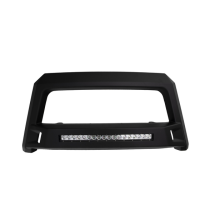
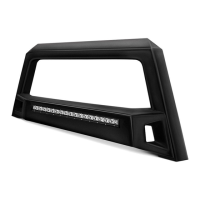
Care and Cleaning
Congratulations!
You have purchased one of the many quality Lund® branded products offered by Lund International. We take the utmost
pride in our products and want you to enjoy years of satisfaction from your investment. We have made every effort to ensure that your
product is top quality in terms of fit, durability, finish and ease of installation.
Usted ha adquirido uno de los tantos productos de calidad de marca Lund® que ofrece Lund International. Nos enorgullecen mucho nuestros
productos y deseamos que disfrute años de satisfacción por su inversión. Nos hemos esforzado mucho para asegurarnos de que su producto sea
de gran calidad en cuanto a ajuste, durabilidad, acabado y facilidad de instalación.
Vous venez d'acheter un des nombreux produits de qualité de la marque Lund® fabriqués par Lund International.
Nous sommes extrêmement fiers de la qualité de nos produits et nous espérons que vous profiterez de cet investissement de longues années
durant. Nous nous efforçons d'offrir la meilleure qualité en termes d'ajustement, de finition, de durabilité et de facilité d'installation.
For proper installation and best possible fit, please read all instructions BEFORE you begin.
For technical assistance or to obtain missing parts, please call Customer Relations at 1-800-328-2438.
Pour obtenir une installation correcte et le meilleur ajustement possible, lire toutes les instructions AVANT de commencer.
Pour toute assistance technique ou obtention de pièces manquantes, appeler le service des relations avec la clientèle au 1-800-328-2438.
Para una instalación adecuada y el mejor ajuste posible, lea todas las instrucciones ANTES de comenzar.
Si desea recibir asistencia técnica u obtener piezas faltantes, llame al Servicio al cliente al 1-800-328-2438.
Lund International
800-328-2438 • Visit us at lundinternational.com
© 2018 Lund, Inc. All rights reserved.
Lund
®
and the Lund
®
logo are trademarks of Lund, Inc.
™