Page 3Need help? Call the Lutron Technical Support Center, 24/7 at 800.523.9466
Page 18
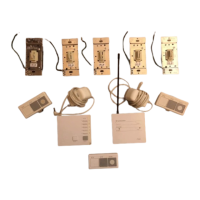
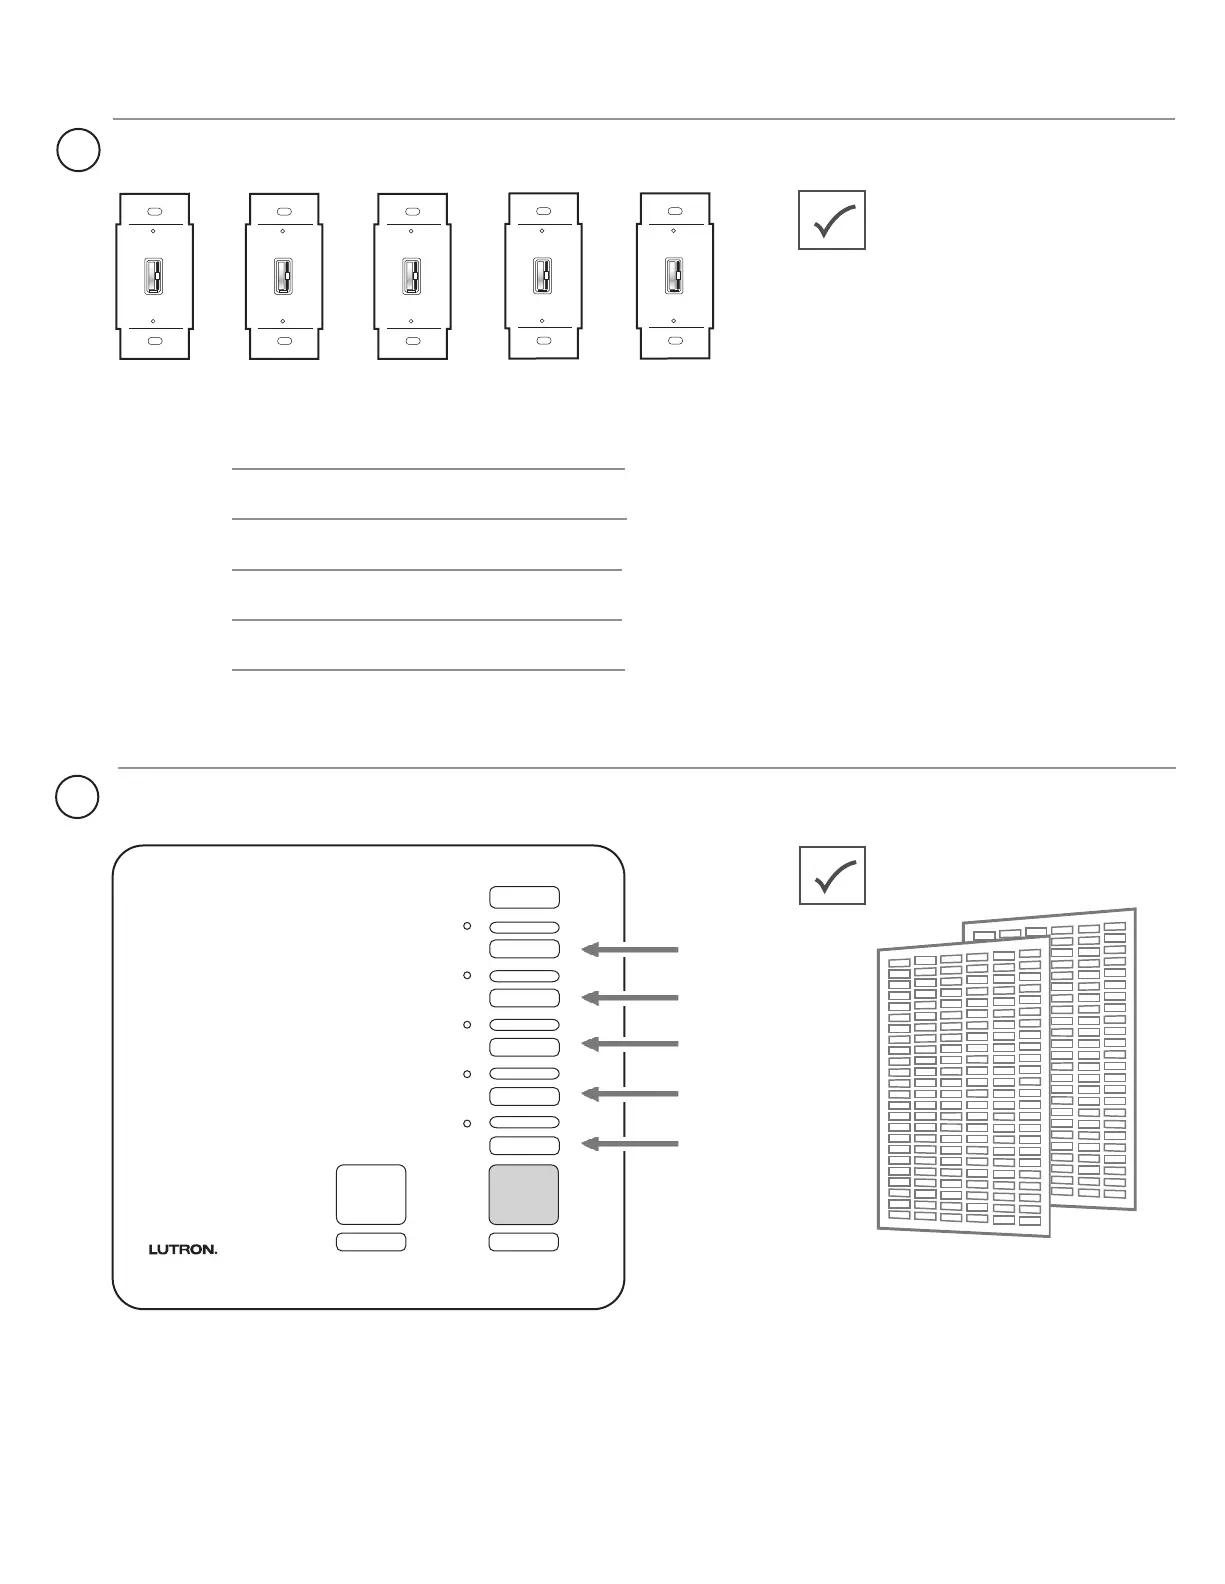
Selecting Your Dimmer Location
Decide which lights you want to control with dimmers
1
123
45
Helpful Hint: Dimmer 1
should control your most
used light. Dimmer 2 should
control your second most
used light. Repeat for
dimmers 3, 4, and 5.
Suggested Locations:
Dimmer 1:
Front Entry
Dimmer 2: Garage Exterior
Dimmer 3: Hall/Foyer
Dimmer 4: Kitchen
Dimmer 5: Family Room
Choose Your Locations:
Dimmer 1:
Dimmer 2:
Dimmer 3:
Dimmer 4:
Dimmer 5:
Label your master control with your light locations
2
Helpful Hint: Use the
included labels.
All On All Off
Rooms
Fr Entry
Grge Ext
Foyer
Kitchen
Family
(Suggested locations shown)
1
2
3
4
5
Personalize your system
Need help? Call the Lutron Technical Support Center, 24/7 at 800.523.9466
Hot
120V
60Hz
Dimmer
Ground Ground
Neutral
Light
3-way
Switch
General Information
Hot
120V
60Hz
Dimmer
Ground
Neutral
Light
Single-pole circuit Three-way circuit
Wire Preparation:
Trim or strip wallbox wires to the
length indicated by the strip gauge
on the back of the dimmer.
Push-in: Use #14 AWG solid
copper wire only. Insert wires fully.
For aluminum wire, consult an
electrician. DO NOT use stranded
or twisted wire.
Screw Terminals: Tighten securely.
Screw terminals are for use with
solid copper wire only.
For aluminum wire, consult an
electrician. DO NOT use stranded
or twisted wire.
Service Switch: Pull service switch out
to open position to replace light bulbs.
Push service switch in after new bulb
is installed.
service switch
open
service switch
closed
1. Caution: To avoid overheating and possible
damage to other equipment, do not use
dimmers to control receptacles, fluorescent
lighting fixtures, motor-operated or
transformer-supplied appliances.
2.
Caution: Use dimmers with 120V incandescent
lighting fixtures only. Do not use with low-voltage
transformers.
3. Install in accordance with all national and local
electrical codes.
4. When there is no ground wire or way to connect
the wallbox, to ground within the wallbox the
NEC
®
2002, Article 404-9 allows a dimmer without
a grounding connection to be installed as a
replacement, (as long as a plastic, noncom-
bustible wallplate is used). For this type of instal-
lation, cap or remove the green ground wire on
the dimmer, and use an appropriate wallplate
(such as Lutron’s Fassada
®
series wallplates).
5. Do not paint dimmers or wallplates.
6.
Cleaning Instructions: Clean with a soft, damp
cloth only. Do not use any chemical cleaners.
7. The total wattage of all light bulbs controlled by
each dimmer must be between 50 and 600 watts.
8. Dimmers work with most incandescent light
bulbs. Dimmers may not work with dioded
light bulbs (Sylvania Designer 16
TM or
Philips PAR-16
TM).
9. Operate system in temperatures between
0°C (32°F) and 40°C (104°F).
10. Dimmer may feel warm to the touch during
normal operation.
11. Recommended wallbox depth is 2 1/2” minimum.
13. When combining dimmers in the same
wallbox, the dimmer’s load capacity
must be reduced.
Follow the load capacities in table below
for multi-ganged dimmers.
14.
15.
12.
Four-way circuit
Hot
120V
60Hz
Dimmer 3-way
Switch
Ground Ground Ground
Neutral
Light
4-way
Switch
Derating Chart
Model
AR-6D
Not
Ganged
End
of Gang
Middle
of Gang
600 W 500 W 400 W
middle of gang
end of gang