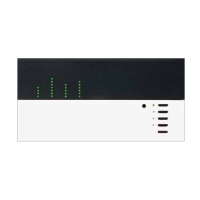
Step by Step Instructions for GRAFIK Eye Dimming Panel
3
STEP 2: Mount Panels (continued)
For More Information . . .
Look inside a GP3 and 4 ..................................32
Look inside a GP8 through 24..........................33
?
Caution! This equipment is air cooled - vents must not
be blocked or you will void the warranty.
Note: GP8 through 24 must have its top cover punched for Feed
and Load Circuit wiring.
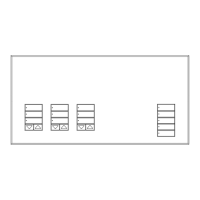
Mount Panels
Top View
Front View
Right SideLeft Side
Bottom View
Keyhole accepts a maximum of 5/16" (8 mm)
mounting bolt (1/4" (m8) recommended).
Class 2/PELV entry knockout is 7/8" dia
. (22 mm)
Suggested feed
wiring entry
Removable top cover is shipped in the same
box as the panel.
Required control
wiring entry
GP8, 12, 16, 20, or 24
Suggested load
wiring entry

 Loading...