11
LUVION Premium Baby products
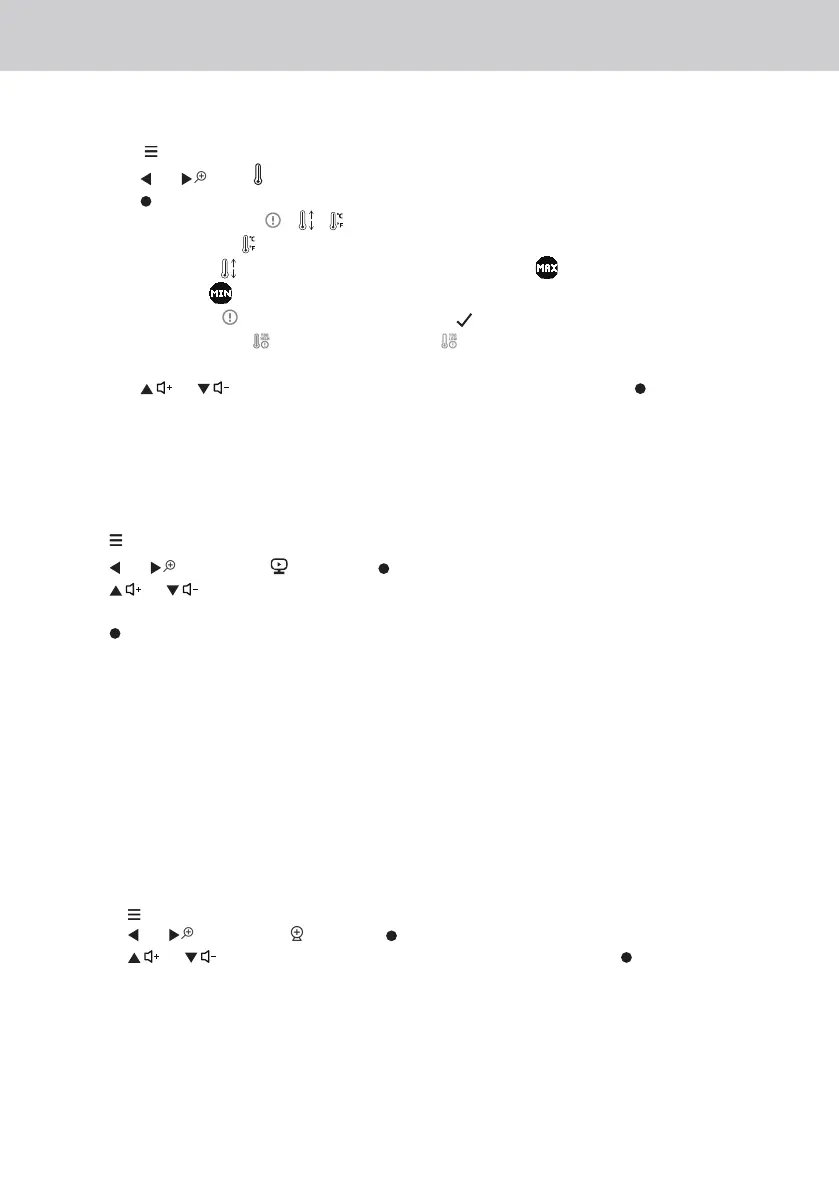
3.10 Temperature Setting
1. Press the button and the menu bar will pop up.
2. Press the or until is highlighted.
3. Press the button to show the temperature options.
The temperature setting
/ / will pop up.
Temperature Format
to select either °C Centigrage or °F Fahrenheit .
Temperature Limit to define the High temperature limit (25-39°C/77-102°F) and Low
temperature limit (10-24°C/50-76°F).
Temperature Alert
Turn the temperature alert (On) , the Parent Unit will beep and dis-
play Temperature High
or Temperature Low when the temperature at the Baby Unit is
detected above or below the maximum or minimum temperature limits you set.
4. Press the or to select your setting and confirm by pressing the button.
3.11 Set the screen off time of the Parent Unit
You can set the screen off time of the Parent Unit after being in idle mode for a particular time
interval.
1. Press when the Parent Unit is in camera viewing mode.
2. Press or to scroll to and press button.
3. Press or to select 60m, 30m, 5m or OFF for the parent unit video to turn off after 5
mins, 30 mins or 60 mins if no buttons have been pressed.
4. Press button to confirm your selection.
5. The audio will remain on, and you can press any button to turn the video screen back on.
Note:
If there are multiple cameras in scan mode, the audio will switch about every 30 seconds.
3.12 Pair and replace extra new Baby Unit
The Baby Units and Parent Unit provided are already paired. You can add or replace a Baby Unit
in your video and audio monitoring system. You can pair a maximum of four Baby Units to your
Parent Unit. Each new Baby Unit must be paired to the Parent Unit before use.
To pair and replace a Baby Unit:
1. 1. Press when the Parent Unit is in camera viewing mode.
2. 2. Press or to scroll to and press button.
3. 3. Press or to choose a desired Baby Unit number, then press button. The pairing
mode starts.
4. Turn on the new Baby Unit, and then immediately press and hold Pair button until the Power/
Link indicator turns on.
Note:
If you choose an occupied Baby Unit slot, the new Baby Unit will replace the existing Baby Unit.