34
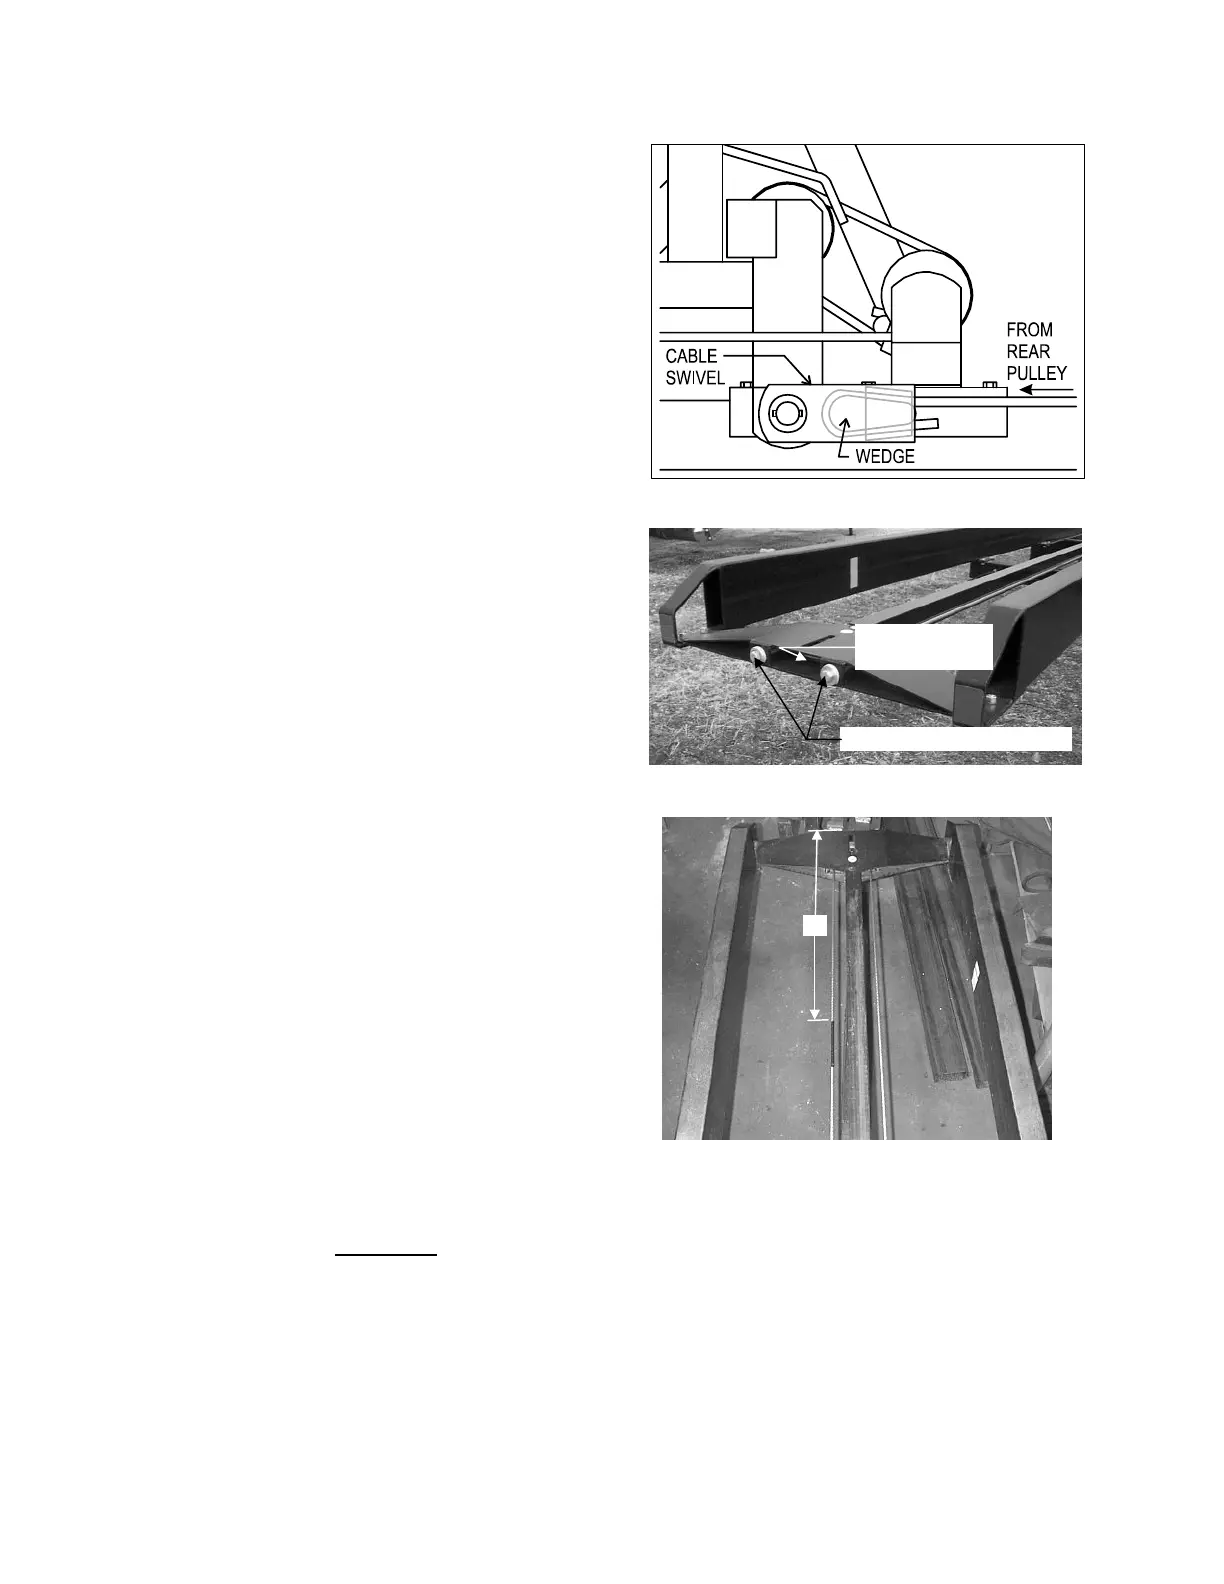
7. Form loose end of CABLE in U-shape and
insert cable end through holder in CABLE
SWIVEL. Secure with WEDGE. NOTE:
The free end of the CABLE must be at the
bottom of the CABLE SWIVEL with
WEDGE and HOLDER to the inside.
8. Using CABLE INSTALLATION TOOL pull
on CABLE until CABLE SWIVEL slips
onto pin on CABLE TIGHTENER
BRACKET. Secure CABLE SWIVEL with
flatwasher and cotter pin. Remove
CABLE INSTALLATION TOOL and place
it back in its storage position.
9. Check that rear PULLEY clears GUIDE
RAIL and adjust tension until CABLE just
clears CROSS MEMBERS.
10. Reinstall DRUM GUARD.
11. Move the PUSHER to its maximum
forward position. Apply a highly visible
paint to a 7” (18 cm) section of CABLE
36” (91 cm) from the rear of the PULLEY
BRACKET. This rear limit cable marker
alerts the operator to the position of the
PUSHER (the marker is visible on the
CABLE DRUM when the PUSHER has
reached its rear limit).
CABLE tension is CRITICAL
. A loose CABLE will not track true and may destruct.
On a new CABLE, check tension after each load for the first six loads. With the machine
unloaded and bale pusher at the forward position adjust cable tension until LOWER CABLE
just clears the CROSSMEMBERS. After initial break-in check CABLE tension frequently
.
CABLE SWIVEL
CABLE TENSION ADJUSTMENT
TENSION ADJUSTING BOLTS
PULLEY HOLDER
W/ PULLEY
36”
REAR LIMIT CABLE MARKER