Owner’s Manual
5
Owner’s Manual
Hookup Diagrams
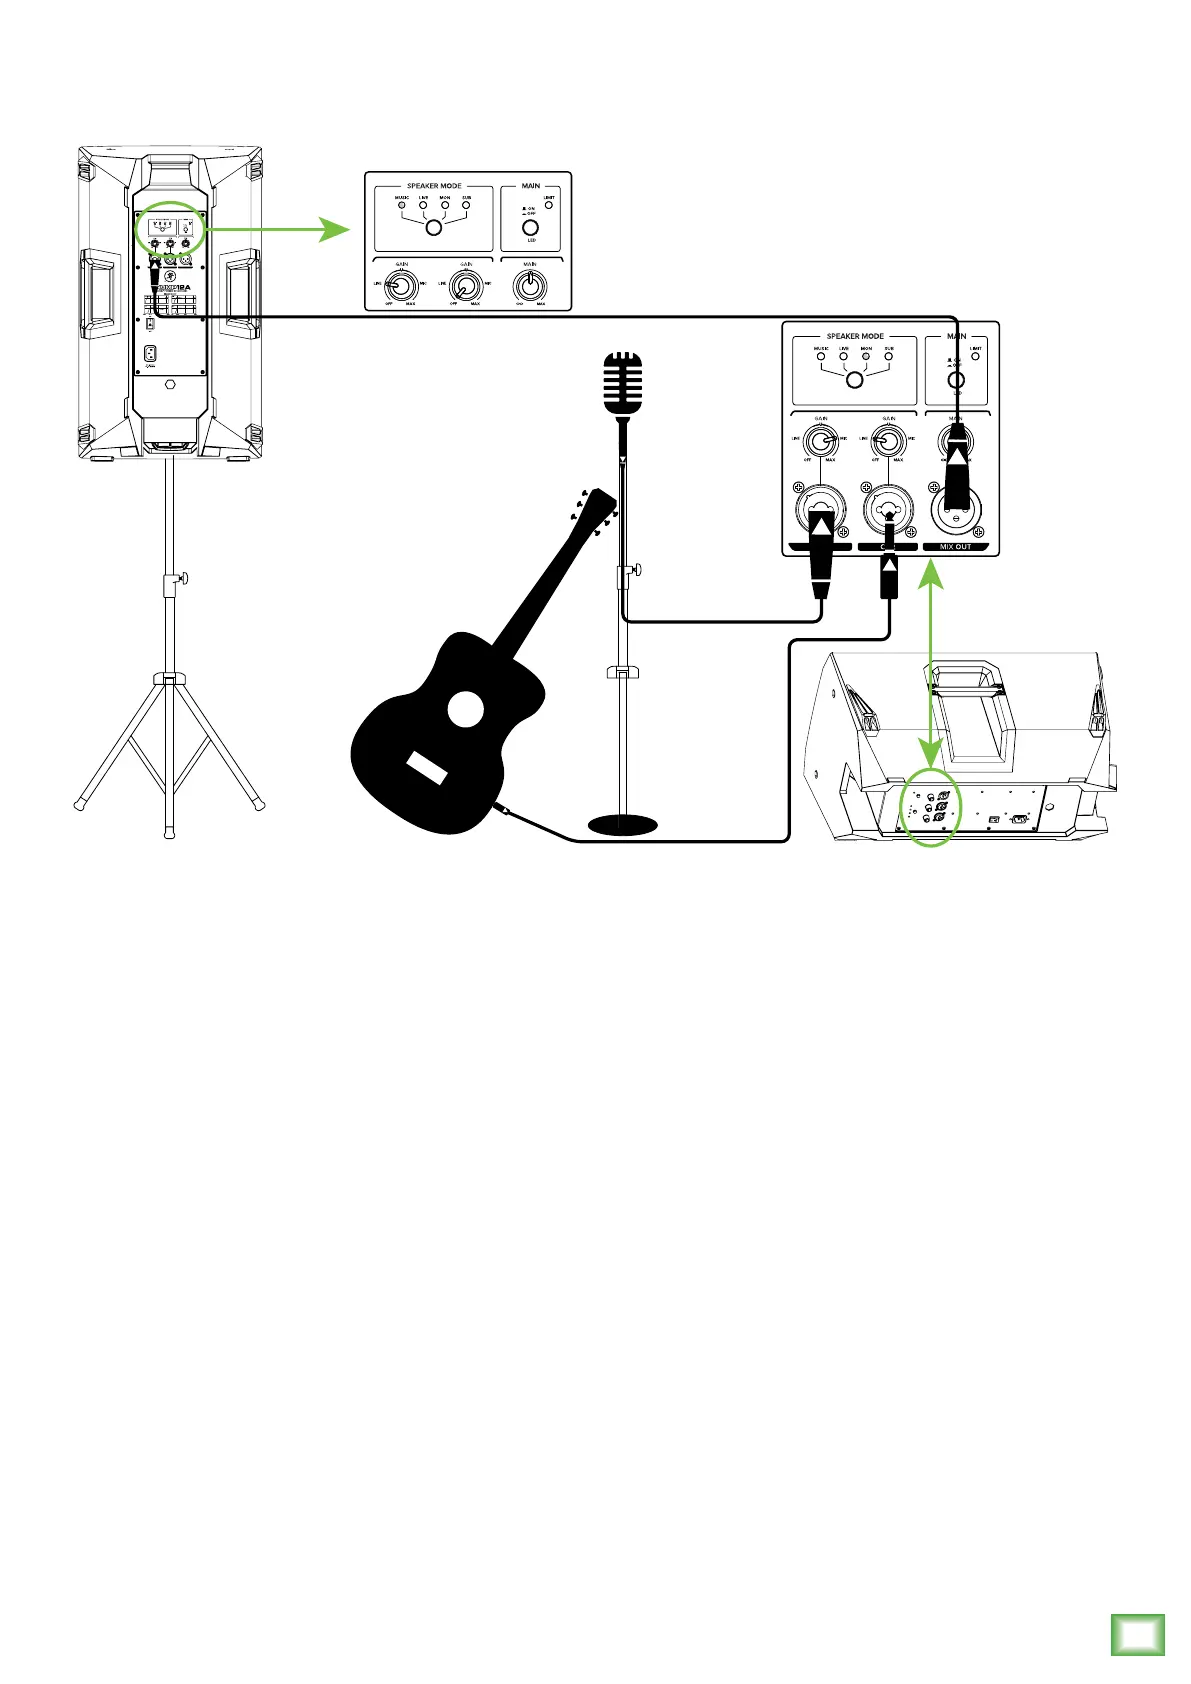
Thump loudspeakers are the perfect tool for singer-songwriters touring the local coffee shops.
Bring your favorite axe and mic, Thump loudspeakers and cables and power cords.
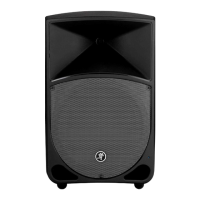
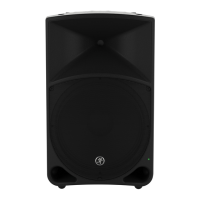
In this example, a dynamic microphone is connected to the channel 1 input of a Thump12A
loudspeaker, used for monitoring purposes. Be sure that the gain knob is set to “mic” in order to
get an extra boost for the mic. If anything other than a microphone is attached to a channel input,
make sure the gain knob is set to anything other than “mic” [“line” is a safe bet]. From there,
adjust the gain as described on page 11.
Now grab your axe and plug it directly into the channel 2 input. Or if you use effects, connect
the guitar to the effects input and another cable from the effects output to the channel 2 input.
Set the channel two gain knob to “line”.
Another Thump12A loudspeaker will be used for the main PA. Simply connect a cable from the Thum-
p12A monitor’s MIX OUT jack to the Thump12A PA’s channel 1 input [gain knob set to “line”].
For the output, you will want to set a speaker mode, described in detail on page 11. For this type of
setup, Music works well for the main Thump12A. However, don’t count out the Live mode! It has a nice
low cut and a brilliant high end. Select the Monitor mode for the Thump12A monitor.