5
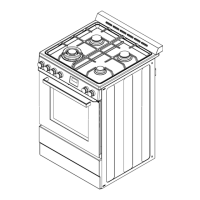
Figure 1
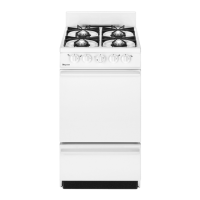
Figure 2
INSTALLATION REQUIREMENTS
TOOLS AND PARTS
Tools Required
Gather the necessary tools and parts before starting the installation. Carefully follow the instructions with the
tools and parts required for installation.
• Tape Measure
• Flat-Head Screwdriver
• Phillips Screwdriver
• Level
• Cordless Electric Drill
• Hammer
• Wrench or Pliers
• Pipe Wrench
• 10” Adjustable Wrenches (2)
• 3/8 Nut Driver
• 1/4 Nut Driver
• 1/8 (3.2mm) drill bit (wood floors)
• Marker or Pencil
• Masking Tape
• Pipe-Joint Compound resistant to LP/NG
• 3/16” Carbide-Tipped Masonry Drill Bit (Concrete/Ceramic Floors)
• Non-Corrosive Leak-Detection Solution
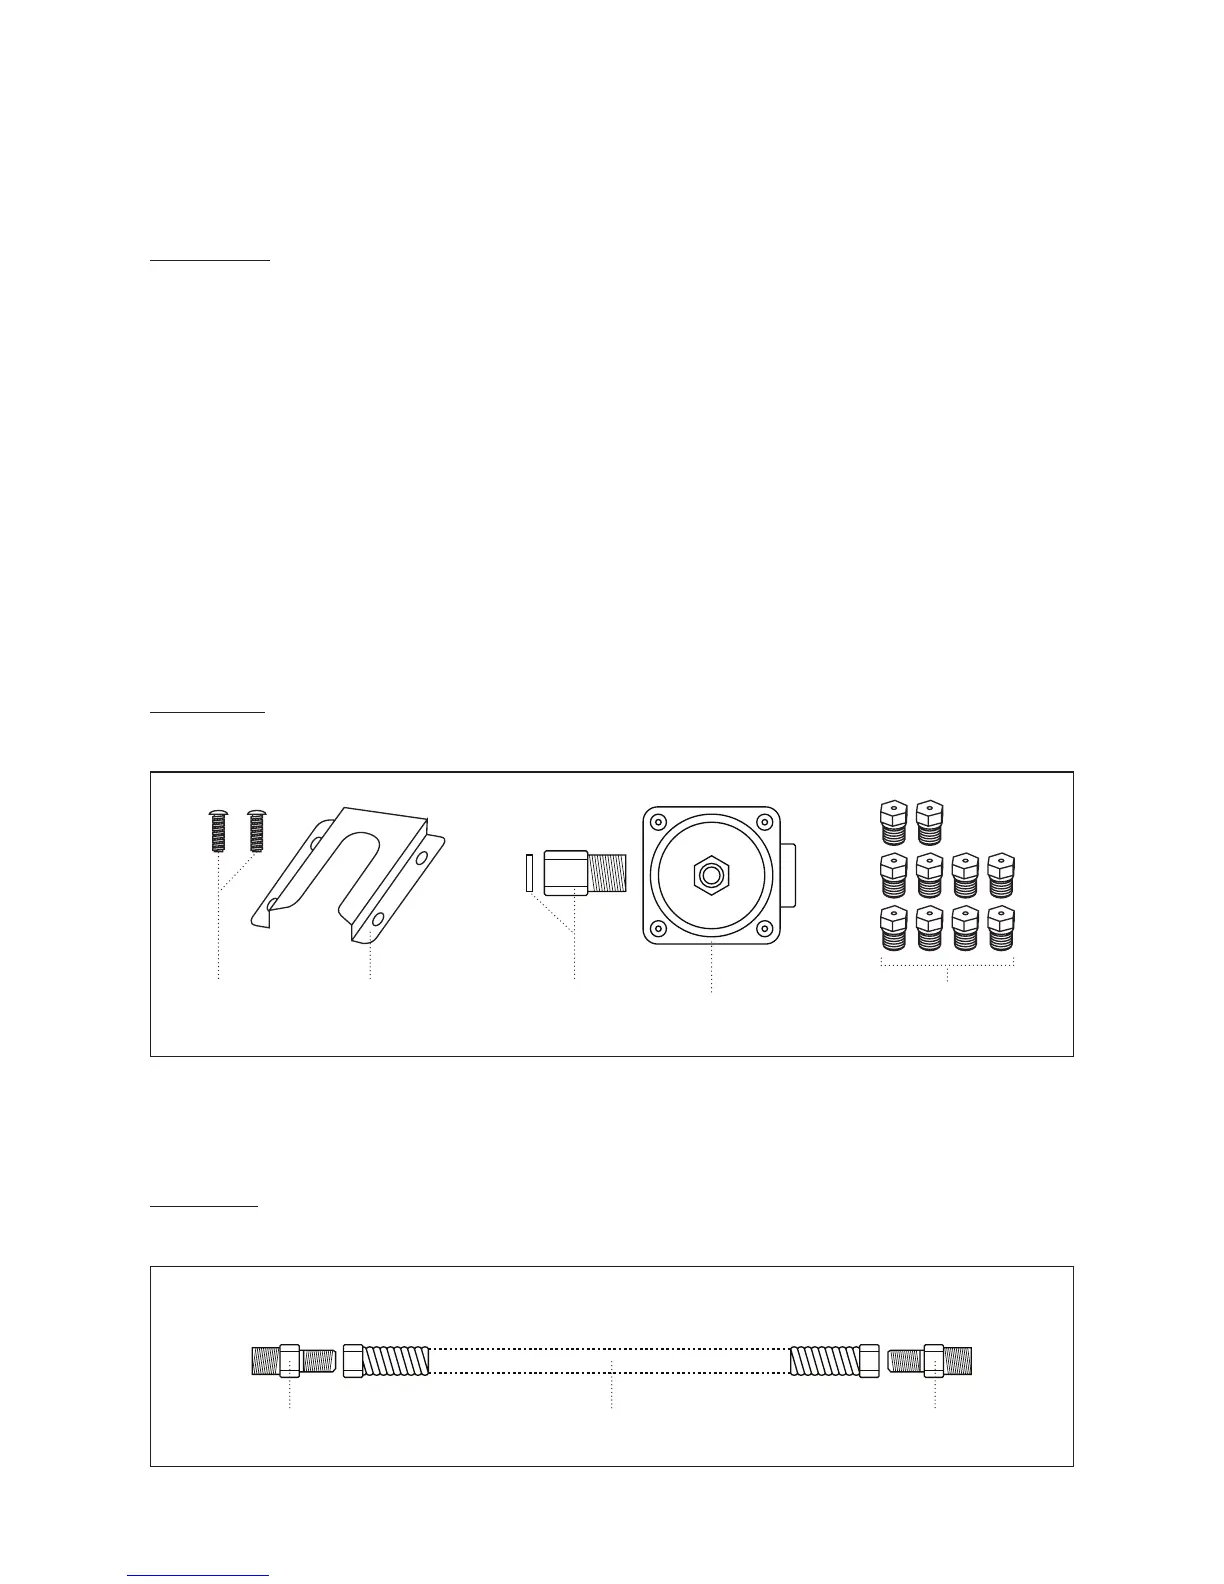
Parts Supplied
Check that all parts are included.
16 x 1-5/8”
Screws (2)
Anti-Tip
Bracket
Gas Pipe Adapter
with Washer
Regulator
Flexible Gas Supply LineAdapter
Gas Supply Line Kit
Adapter
LP/Natural Gas
Conversion Kit
Parts Needed
Check local codes and consult gas supplier.
Depending on the thickness of flooring, longer screws may be required to anchor the anti-tip bracket to the sub
floor. Longer screws should be available at your local hardware store.
The anti-tip bracket must be securely mounted to the floor.

 Loading...