EasyManuals Logo

MakerBot Replicator 2X Replacement Guide

MakerBot Replicator 2X
5 pages
To Next Page IconTo Next Page
Page #1 background imageLoading...
Page #1 background image
H
ow to Replace a Thermocouple on a MakerBot
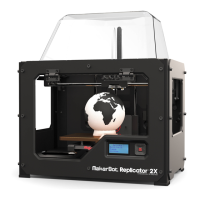
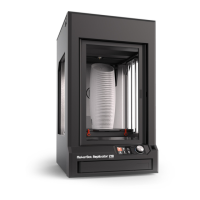
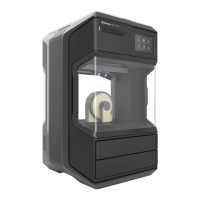
Replicator 2X
These are instructions for replacing a thermocouple on a MakerBot Replicator 2X. This
part replacement will require the use of a scissor or wire cutter, some tape, an
adjustable wrench, the 2.5 mm hex wrench that came with your bot, and possibly a
small flathead screwdriver.
Before you begin, do the following:
Unload any filament from the extruder being repaired.
Turn off the MakerBot Replicator 2X.
Unplug power and USB cables.
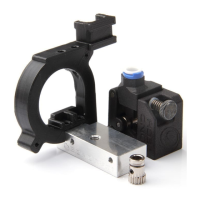
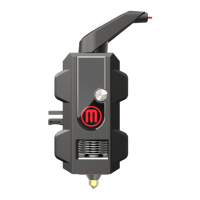
1. Remove the motor assembly from the extruder.
First detach the white plastic motor wire connector from the motor. Then use your 2.5
mm hex wrench to loosen the fan bolts at the front of the extruder until the motor is
free. Remove the motor assembly and set it aside.

Other manuals for MakerBot Replicator 2X

Questions and Answers:

Question and Answer IconNeed help?

Do you have a question about the MakerBot Replicator 2X and is the answer not in the manual?

MakerBot Replicator 2X Specifications

General IconGeneral
Print technologyFused Filament Fabrication (FFF)
Printing materialABS, Polylactic acid (PLA)
Layer thickness (min)- mm
Number of printing colors-
Maximum build size (WxDxH)152 x 246 x 155 mm
USB portYes
Ethernet LANNo
Compatible memory cardsSD
Storage temperature (T-T)0 - 32 °C
Operating temperature (T-T)15 - 32 °C
Input current4 A
AC input voltage100-240 V
AC input frequency50 - 60 Hz
Product colorBlack
Housing materialAluminium, Polyvinyl chloride (PVC), Steel
Weight and Dimensions IconWeight and Dimensions
Depth420 mm
Width490 mm
Height531 mm
Weight12600 g

Related product manuals