GETTING STARTED 11
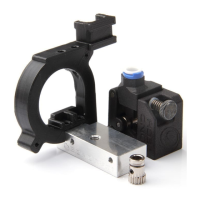
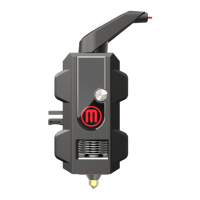
INSTALL THE SMART EXTRUDER+
Press the Smart Extruder+ against the back of the extruder carriage, with the connector pins facing the
extruder carriage. Magnets will lock the Smart Extruder+ into place.
Caution: Never remove the Smart Extruder+ from your MakerBot Replicator Mini+ during or
immediately aer printing. Always allow the Smart Extruder+ to cool completely for five to ten
minutes before removing it from the 3D printer.
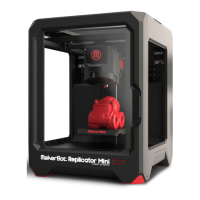
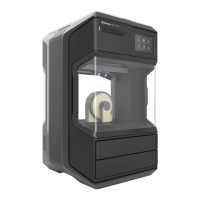
SETTING UP THE REPLICATOR MINI+