STEP 8
Cutting the design
To cut the design:
1. Ensure the protective base is removed before placing the Slice™ unit on paper.
2. Position the Slice™ on the paper. Use the ruled guides on the base of the unit
and the cutting mat to determine the proper location of the cut.
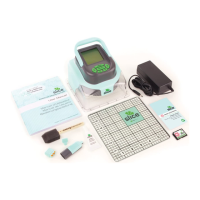
3. Press the Start Button on the top side of the unit to begin cutting the design, as shown below.
4. Lightly hold the unit in place with both hands while unit cuts the design, as shown below.
5. When the design cutting is complete, the screen displays the message “cutting completed,”
as shown below.
6. Remove the Slice™ from the cutting mat and place it on the table
STEP 9
Removing the paper design
To remove the paper designs:
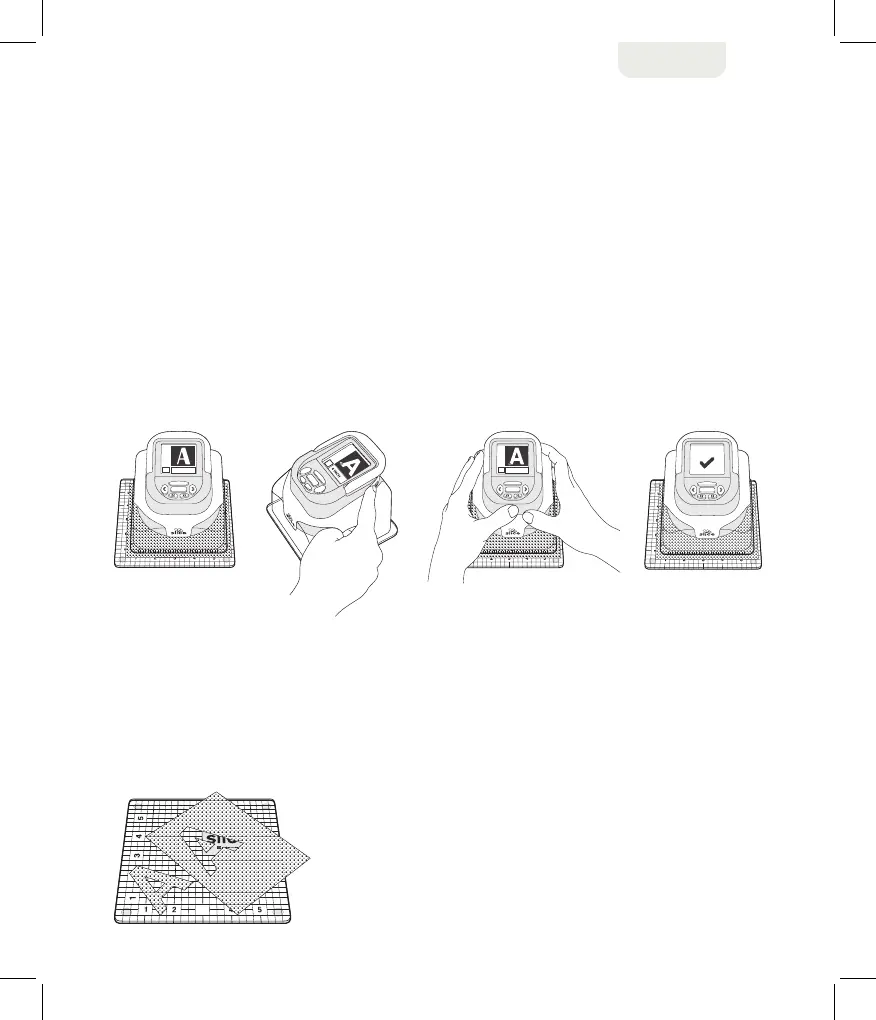
1. Gently peel the paper from the edge of the cutting mat, as shown below.
The design remains on the glass mat as the surrounding paper is removed.
2. Remove the design. For easy removal, use the Slice™ Spatula (sold separately).
BASIC OPERATIONS
2 3 4 5