October 2015
2.2. DISASSEMBLY/ASSEMBLY
2.2.1. DRILL CHUCK (ONLY FOR HP331D, DF331D)
2.2.1.1. DISASSEMBLING
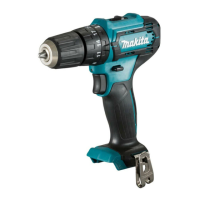
1. R
emove M6x22(-) Flat head screw by turning it clockwise
with Impact driver.
Note:
M6x22(-) Flat head screw: HP331D
M5x22(-) Pan head screw: DF331D
Stable operation is available if you tighten claws of Drill
chuck with a Round -bit in advance.
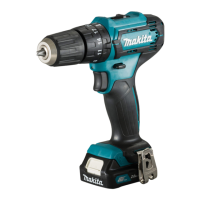
2. S
et Speed change lever to Low speed mode designated
with 1.
Fix the shorter leg of Hex wrench 8 in the jaws of Drill
chuck.
In order not to break Spindle, be sure to put the three
circled portions of the tool on a workbench.
Hit the other end of Hex wrench 8 with Plastic hammer
to remove Drill chuck.
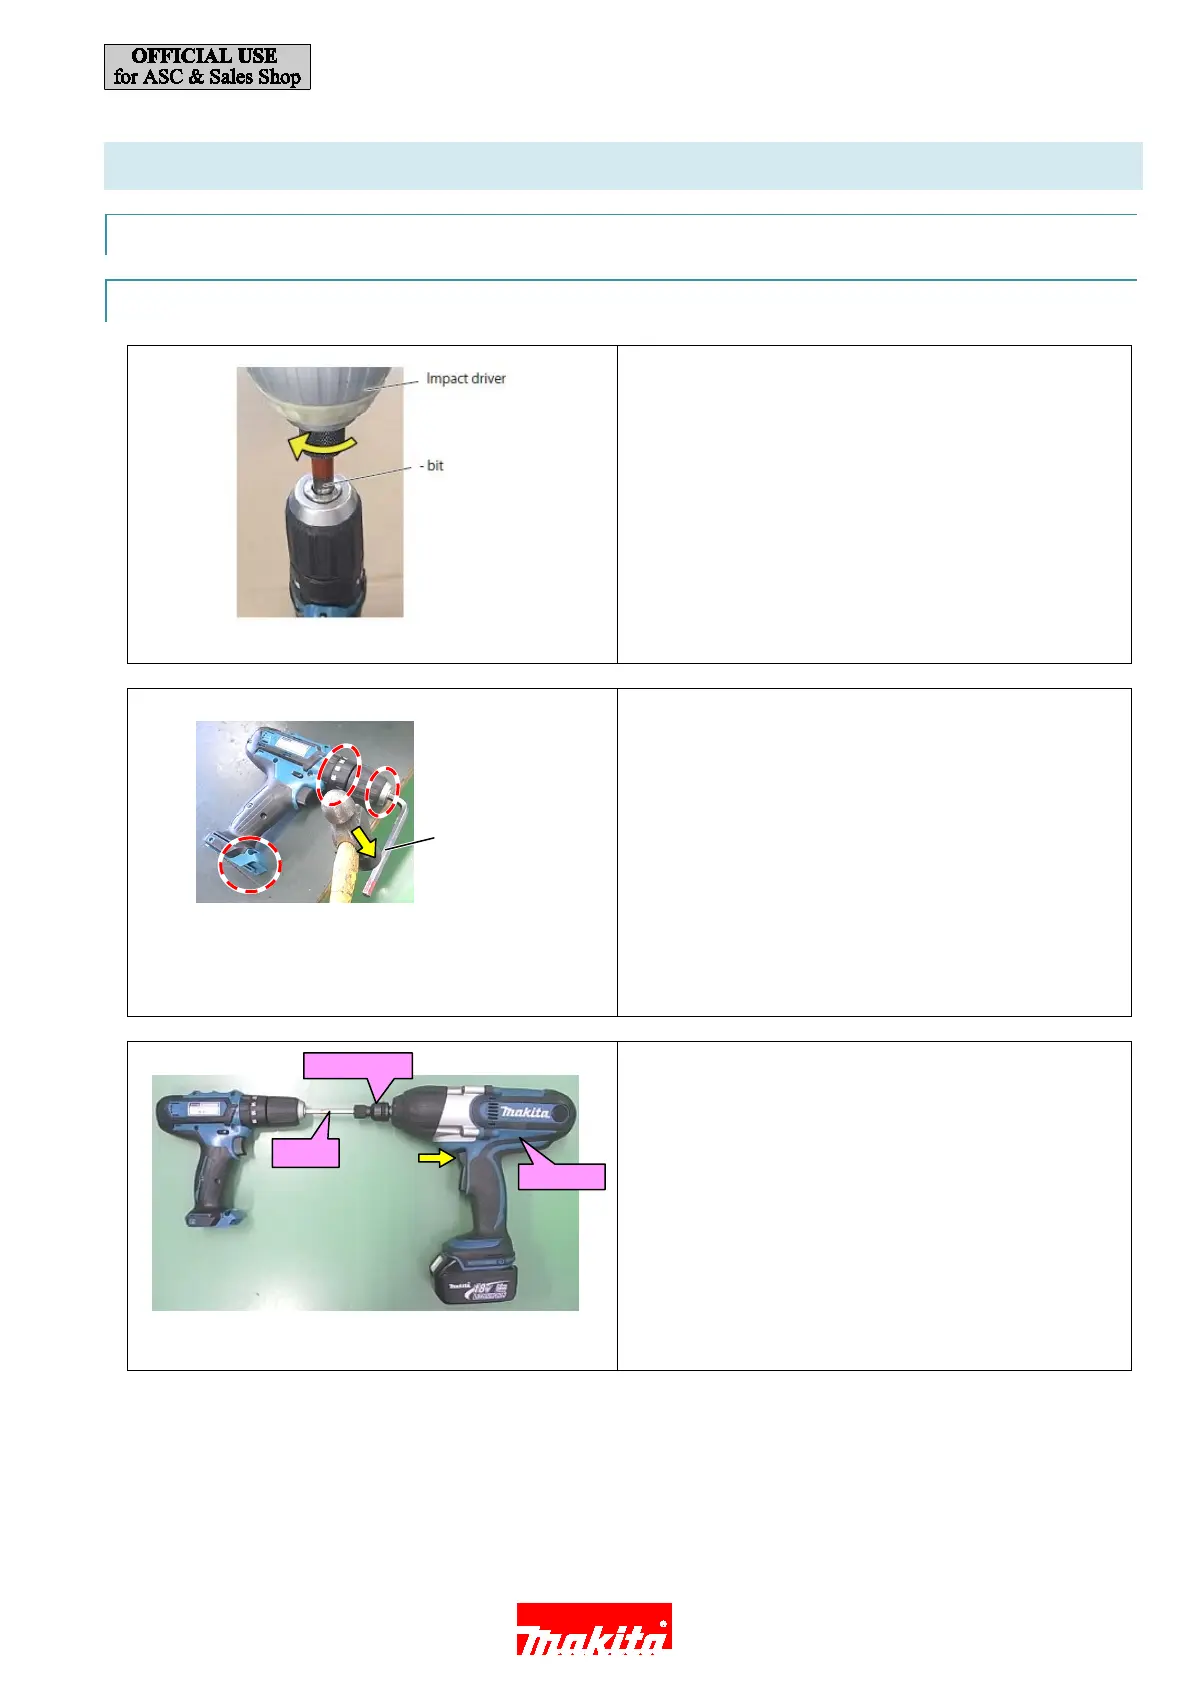
3. I
f it is difficult to remove, follow the steps below.
Set 1R231 to Bit adapter and fix it in Drill chuck.
Insert DTW450 into Bit adapter.
Hold the body tightly.
Push the upside of Switch to turn 1R231
co
unterclockwise.
or
Push the upside of Switch to remove Drill chuck.
8 / 18

 Loading...